Leaderboard


Popular Content
Showing content with the highest reputation on 19/03/24 in all areas
-
41.3 million plus vehicles on the UK roads or parked up and less than 1 million being BEV,s and maybe 1/2 of those or more not big BEV,s.4 points
-
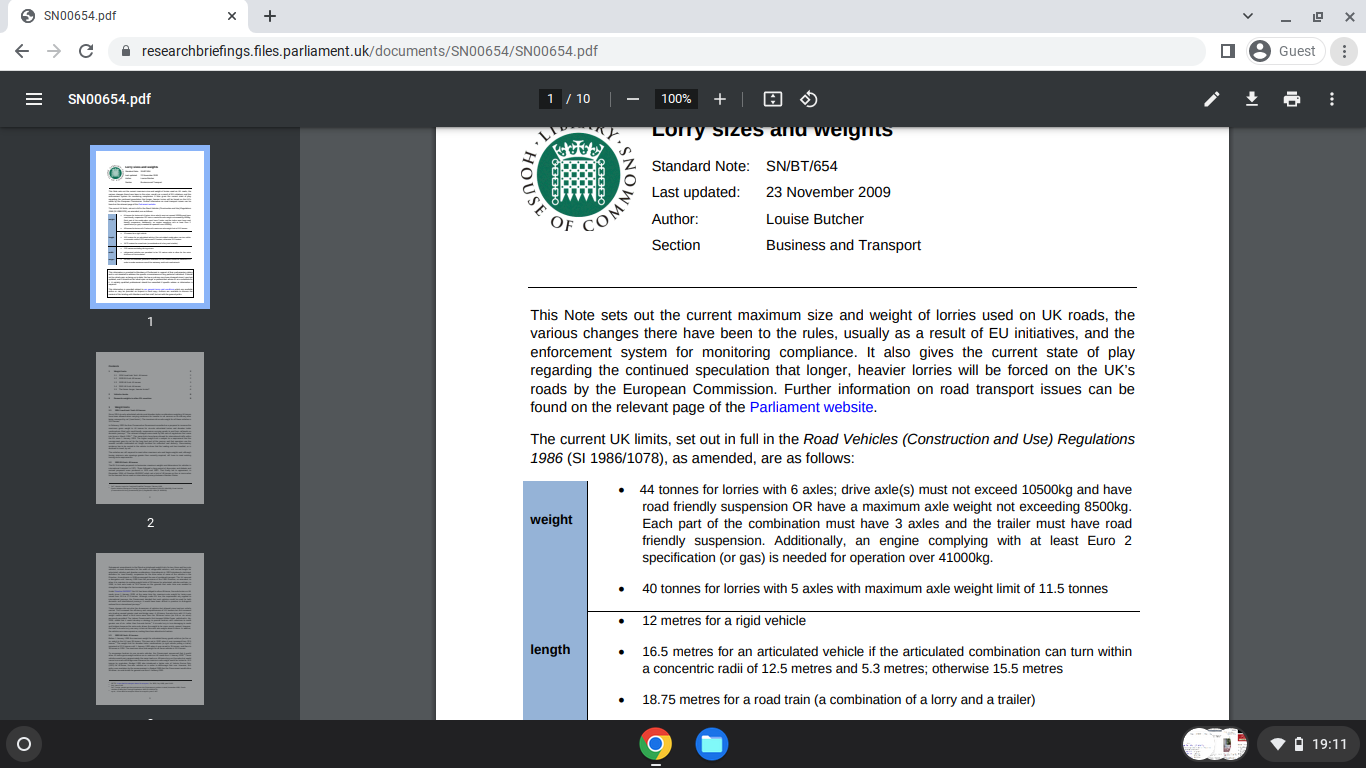
It is widely circulated that road damage related to axle weight is to the 4th power so twice the weight then 16 times the road damage. But then not only heavy Audis etc are some part of the problem but truck which can now be 44 tonnes, six axles I recall which would have four tyres I presume on that axles which works out about 3 tonnes through a tyre. There are things called friendly axles I now read. Some cars might be putting about 1.5 tonnes on an axle or a bit less than a tonne a tyre. Massively less than trucks therefore using the power to the forth. My little Zoe is not that heavy compared to many road cars though quite a lot more than cars of a generation or two ago which were half the weight but then they had little safely equipment. Like so many current social issues which is deflection from massive under investment and taxes not be collected like against non-Doms. Decaying society from a morally bankrupt government. https://www.hagerty.co.uk/articles/opinion/opinion-cars-have-a-weight-problem-and-its-damaging-more-than-the-environment/#:~:text=We've known this since,than a one-tonne car.4 points
-
Pure water will have the highest heat capacity, so will boil slowest for a given heat input.3 points
-
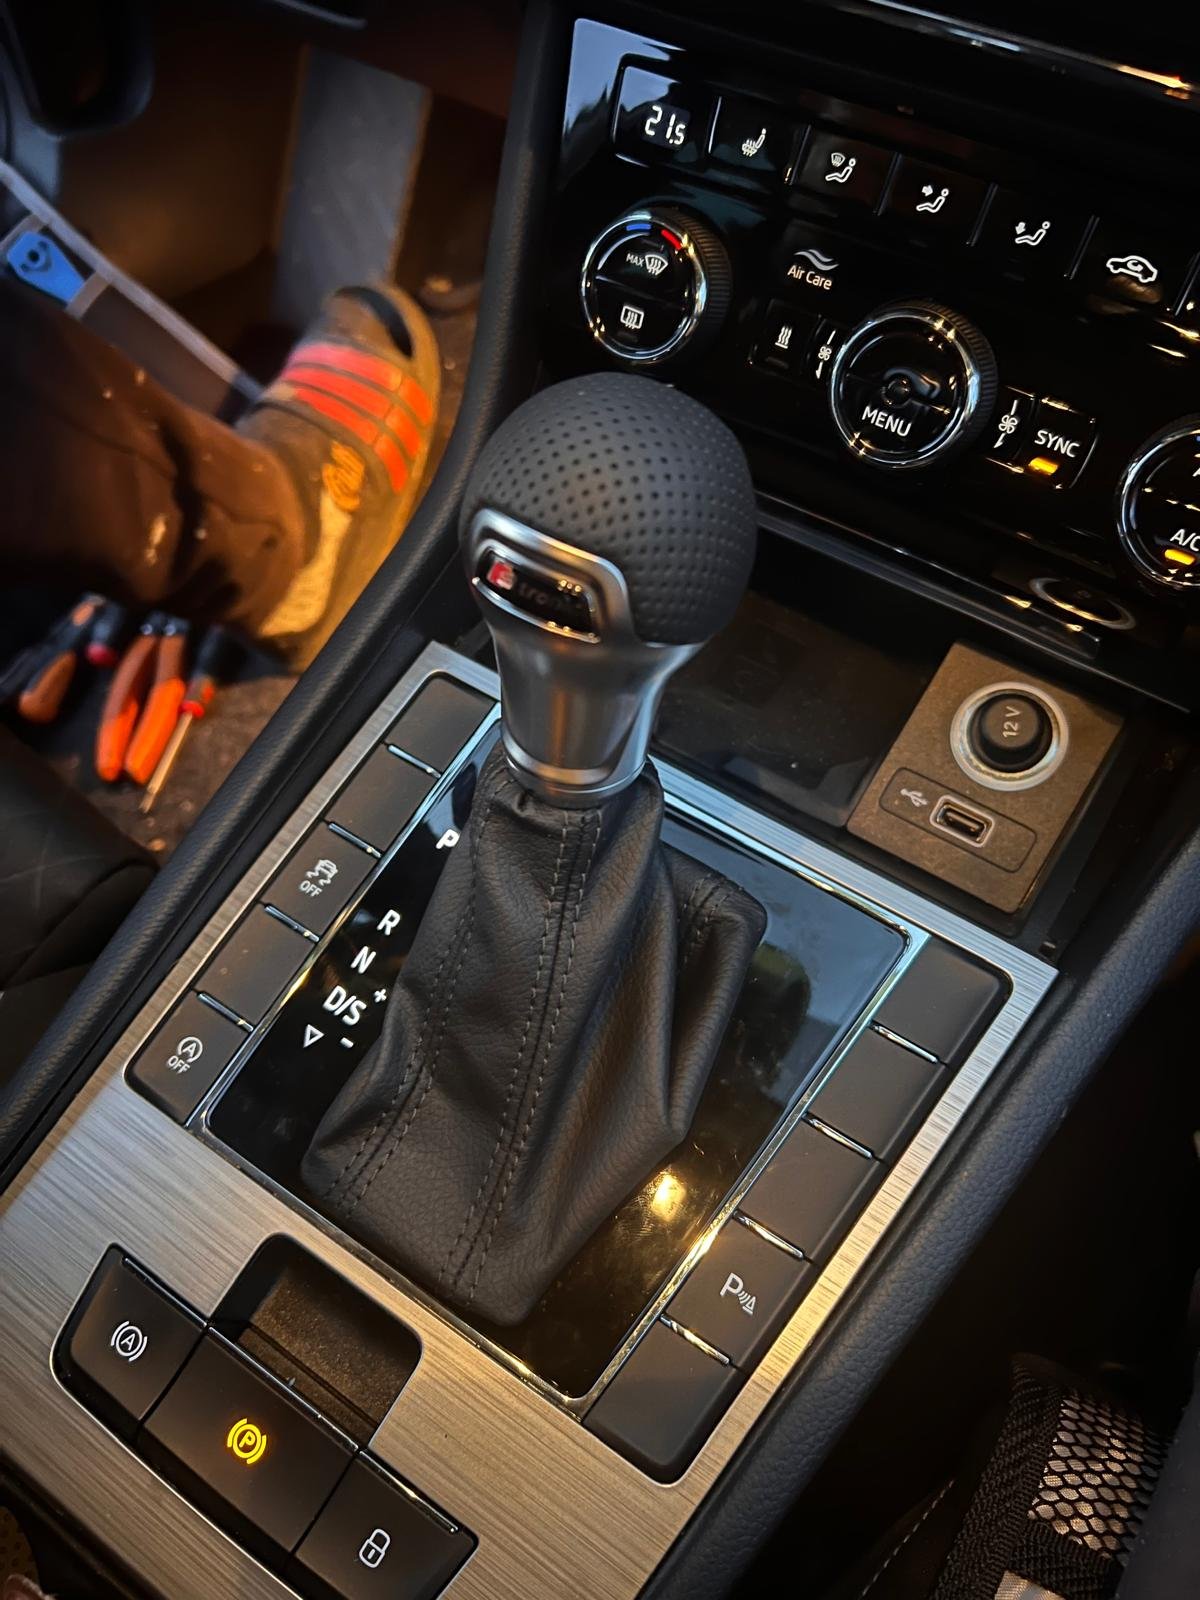
retrofit some AUDI TT gear knob
 3 points
 -
Re the hot tar being poured to seal the edges. I seem to remember something about cyclists complaining that it was slippy to ride on. Might be a reason they stopped using it. All I know is it was a massive pothole that I hit that threw me arse over tit requiring a bone graft and screws to stop my left arm dislocating at random and nothing to do with hot tar sealing.2 points
-
Weird. Attempt #2
2 points
-
Ur link doesn't work - can't see the pic. As for lift kit, here is one I took earlier of Gandalf pretending....
2 points
-
Someone will be to blame and if they were Right Wing Tories then we know who supported them. SN00654.pdf
2 points
-
Have a close look there, and around the cam cover, for loose bolt(s). I've fixed several oil leaks (not just on my car) by tightening up loose bolts.2 points
-
Upskirting on a Zebra crossing? Just a thought, sorry for my mind!!2 points
-
Its like I said, repeat a lie often enough, then the gullible will believe it. So all the damage is done by electric cars and none by far heavier vehicles then, Idiots don't seem able to apply logic and or think for themselves any longer.🙄2 points
-
Elephant in the room / on roads. Light Commercials, not so Light Commercials / goods vehicles, heavy goods vehicles. Mini Buses. Black Cabs. Busses, Bin lorries.2 points
-
Dozens or hundreds of other drivers will have used the same fuel from the same tank at the pumps. So if any question on fuel ask the Filling Station Manager if their tanks were mis-fuelled or others are having issues. Surely they could not lie because of just how easily they can be found out. Social Media, Local Radio, Press. The water and diesel does not mix. Think where the water is in the Filling stations tank if there is H20 and their systems & filters & out take.2 points
-
Moi j'ai fait ça
2 points
-
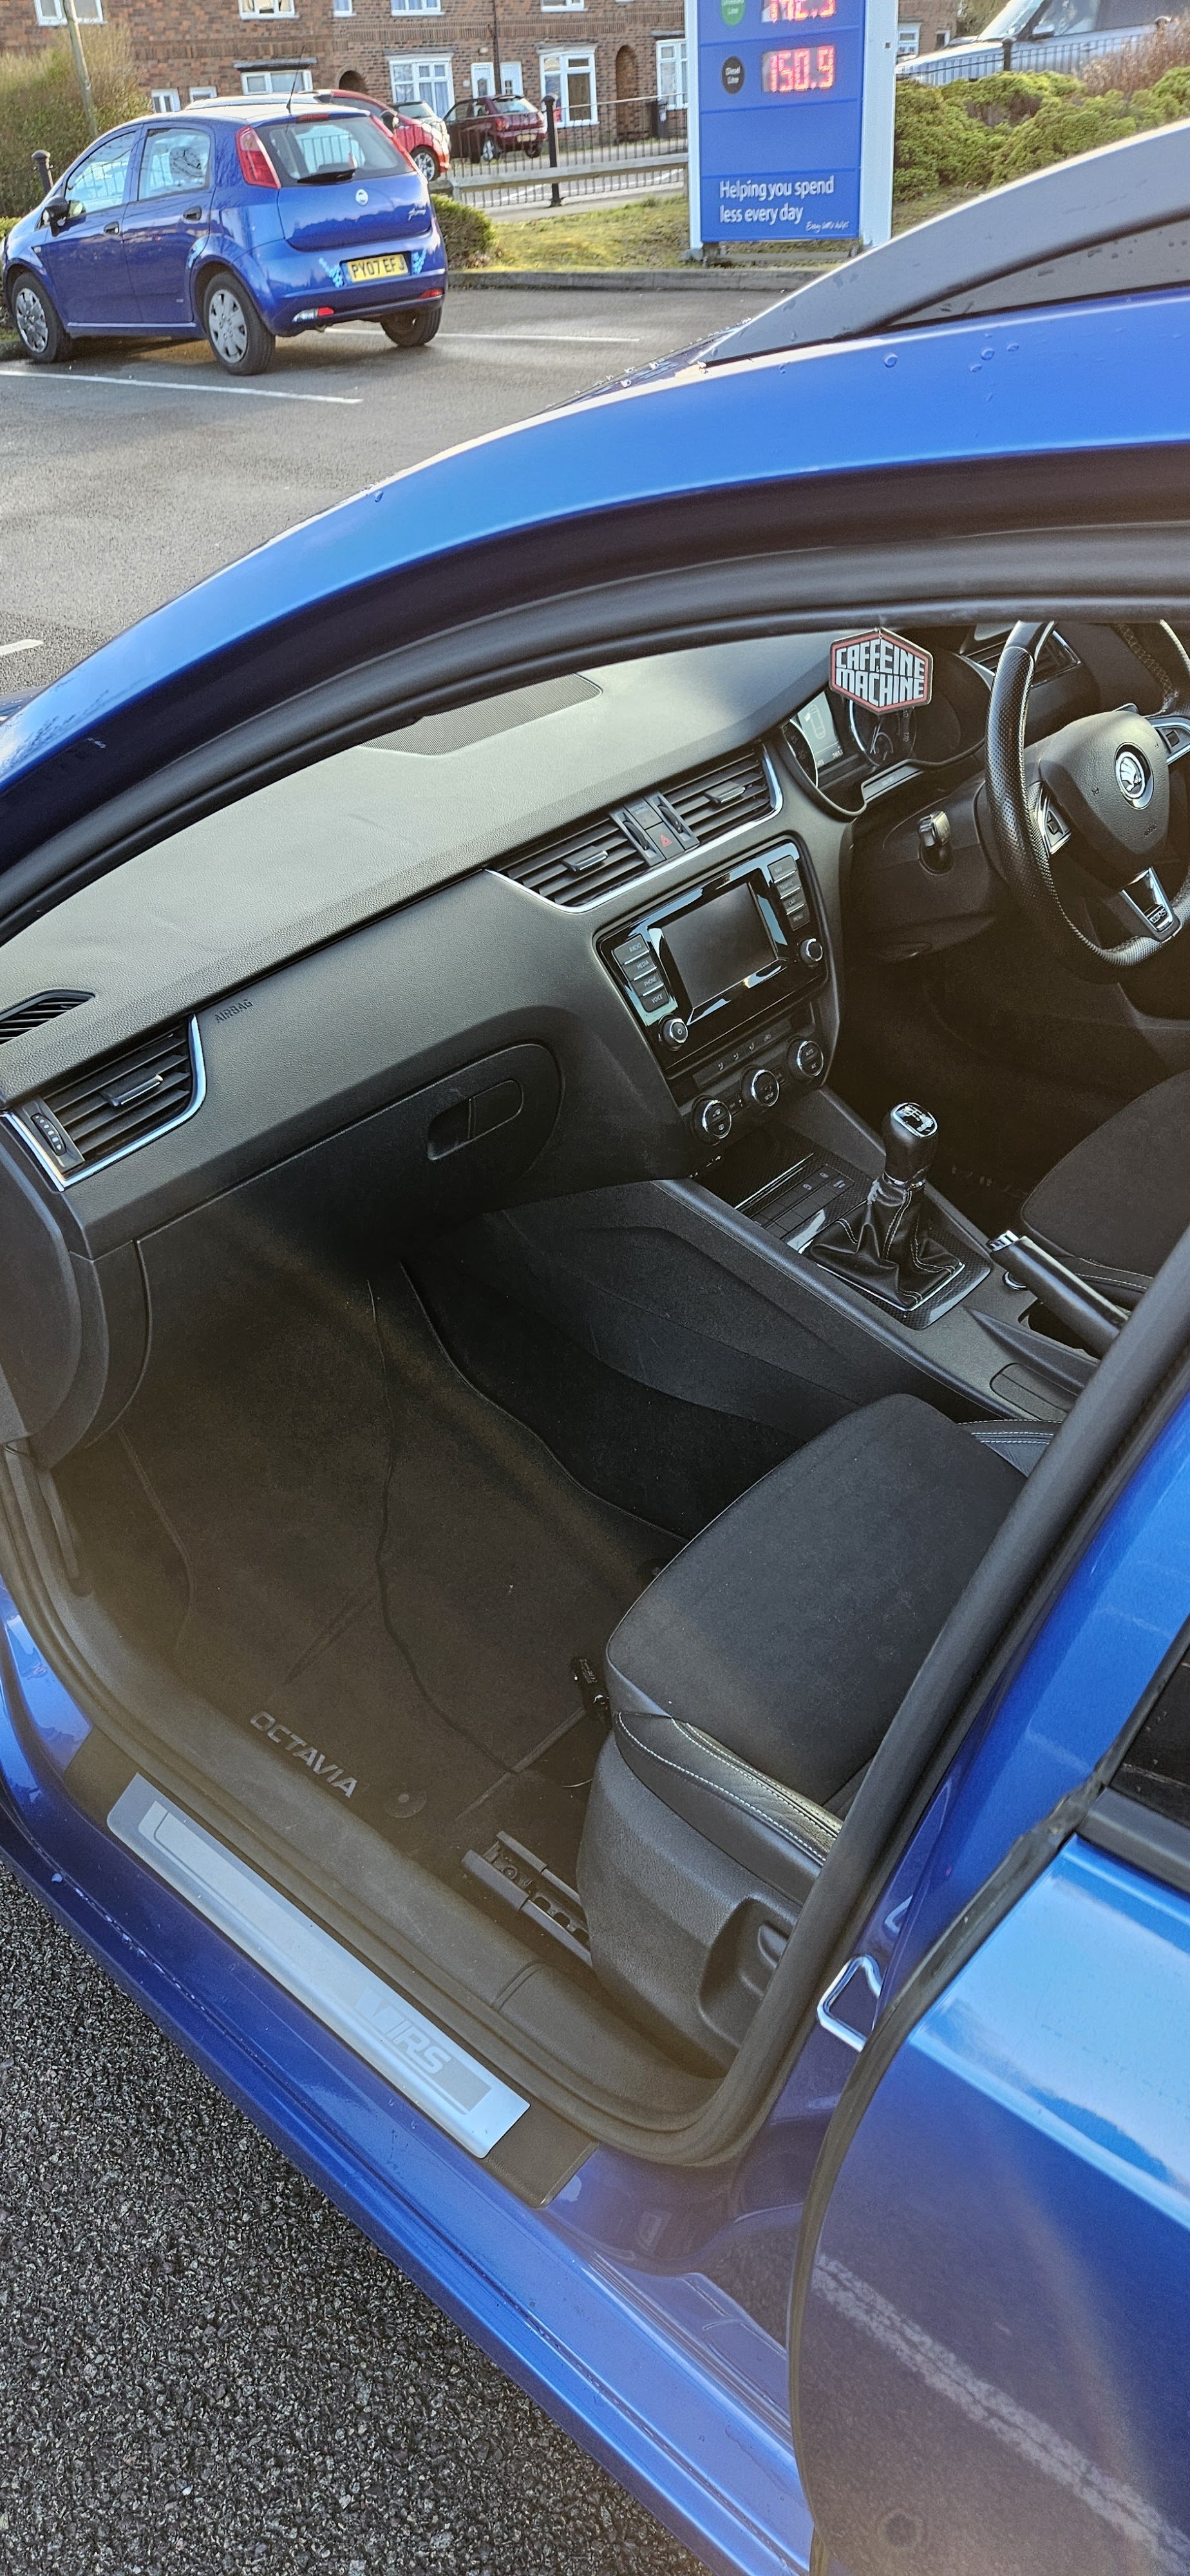
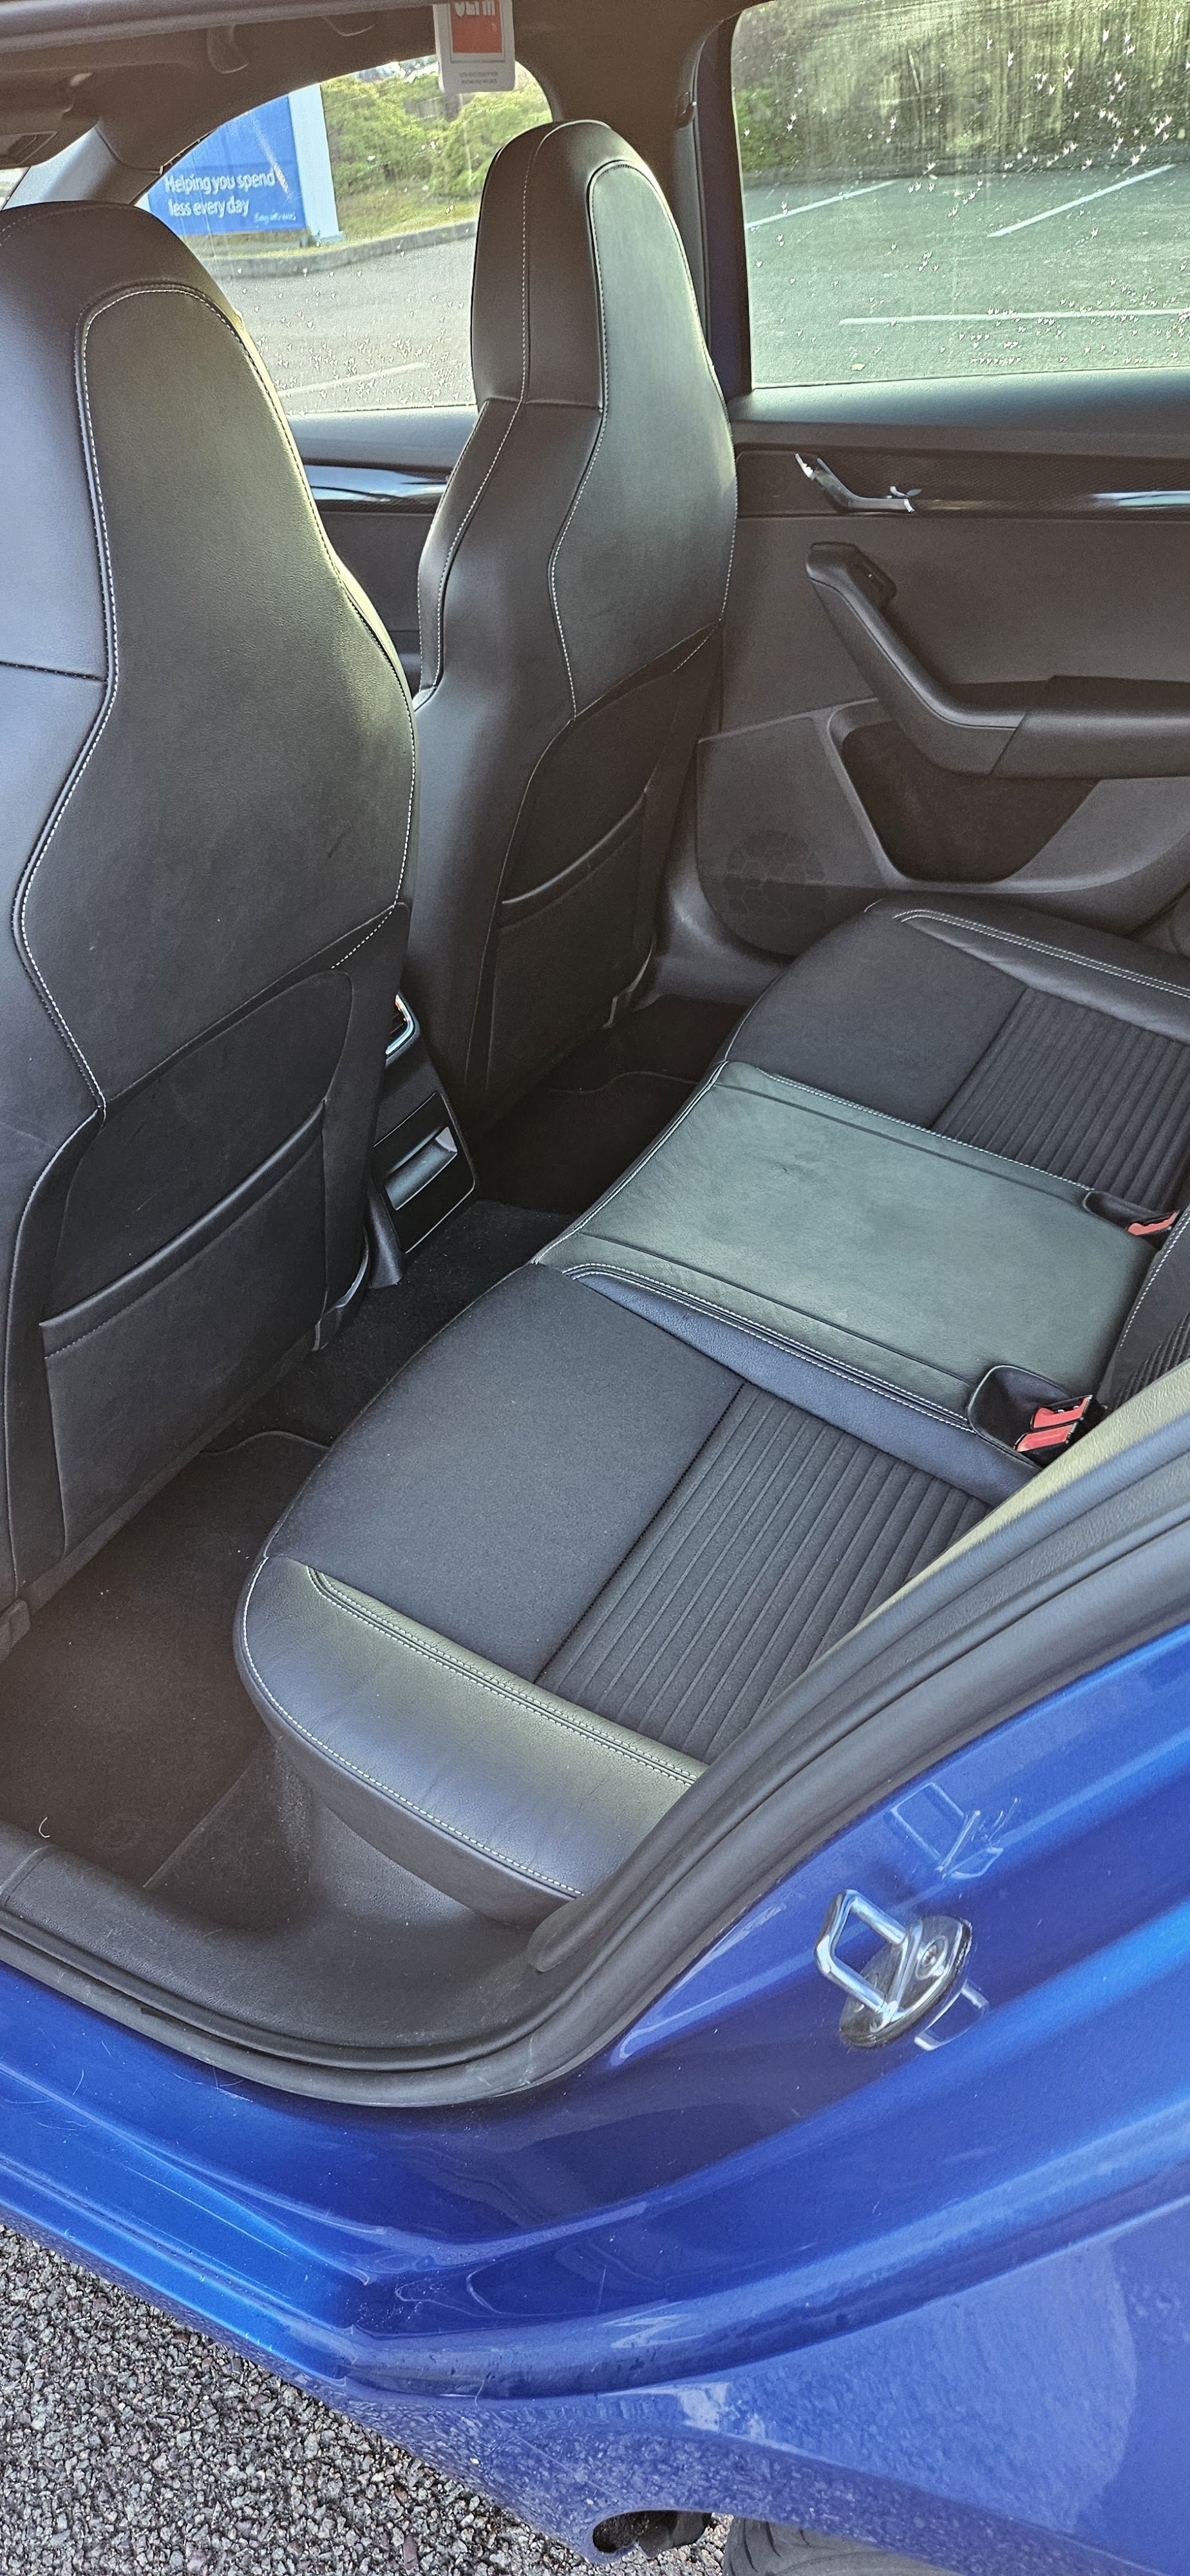
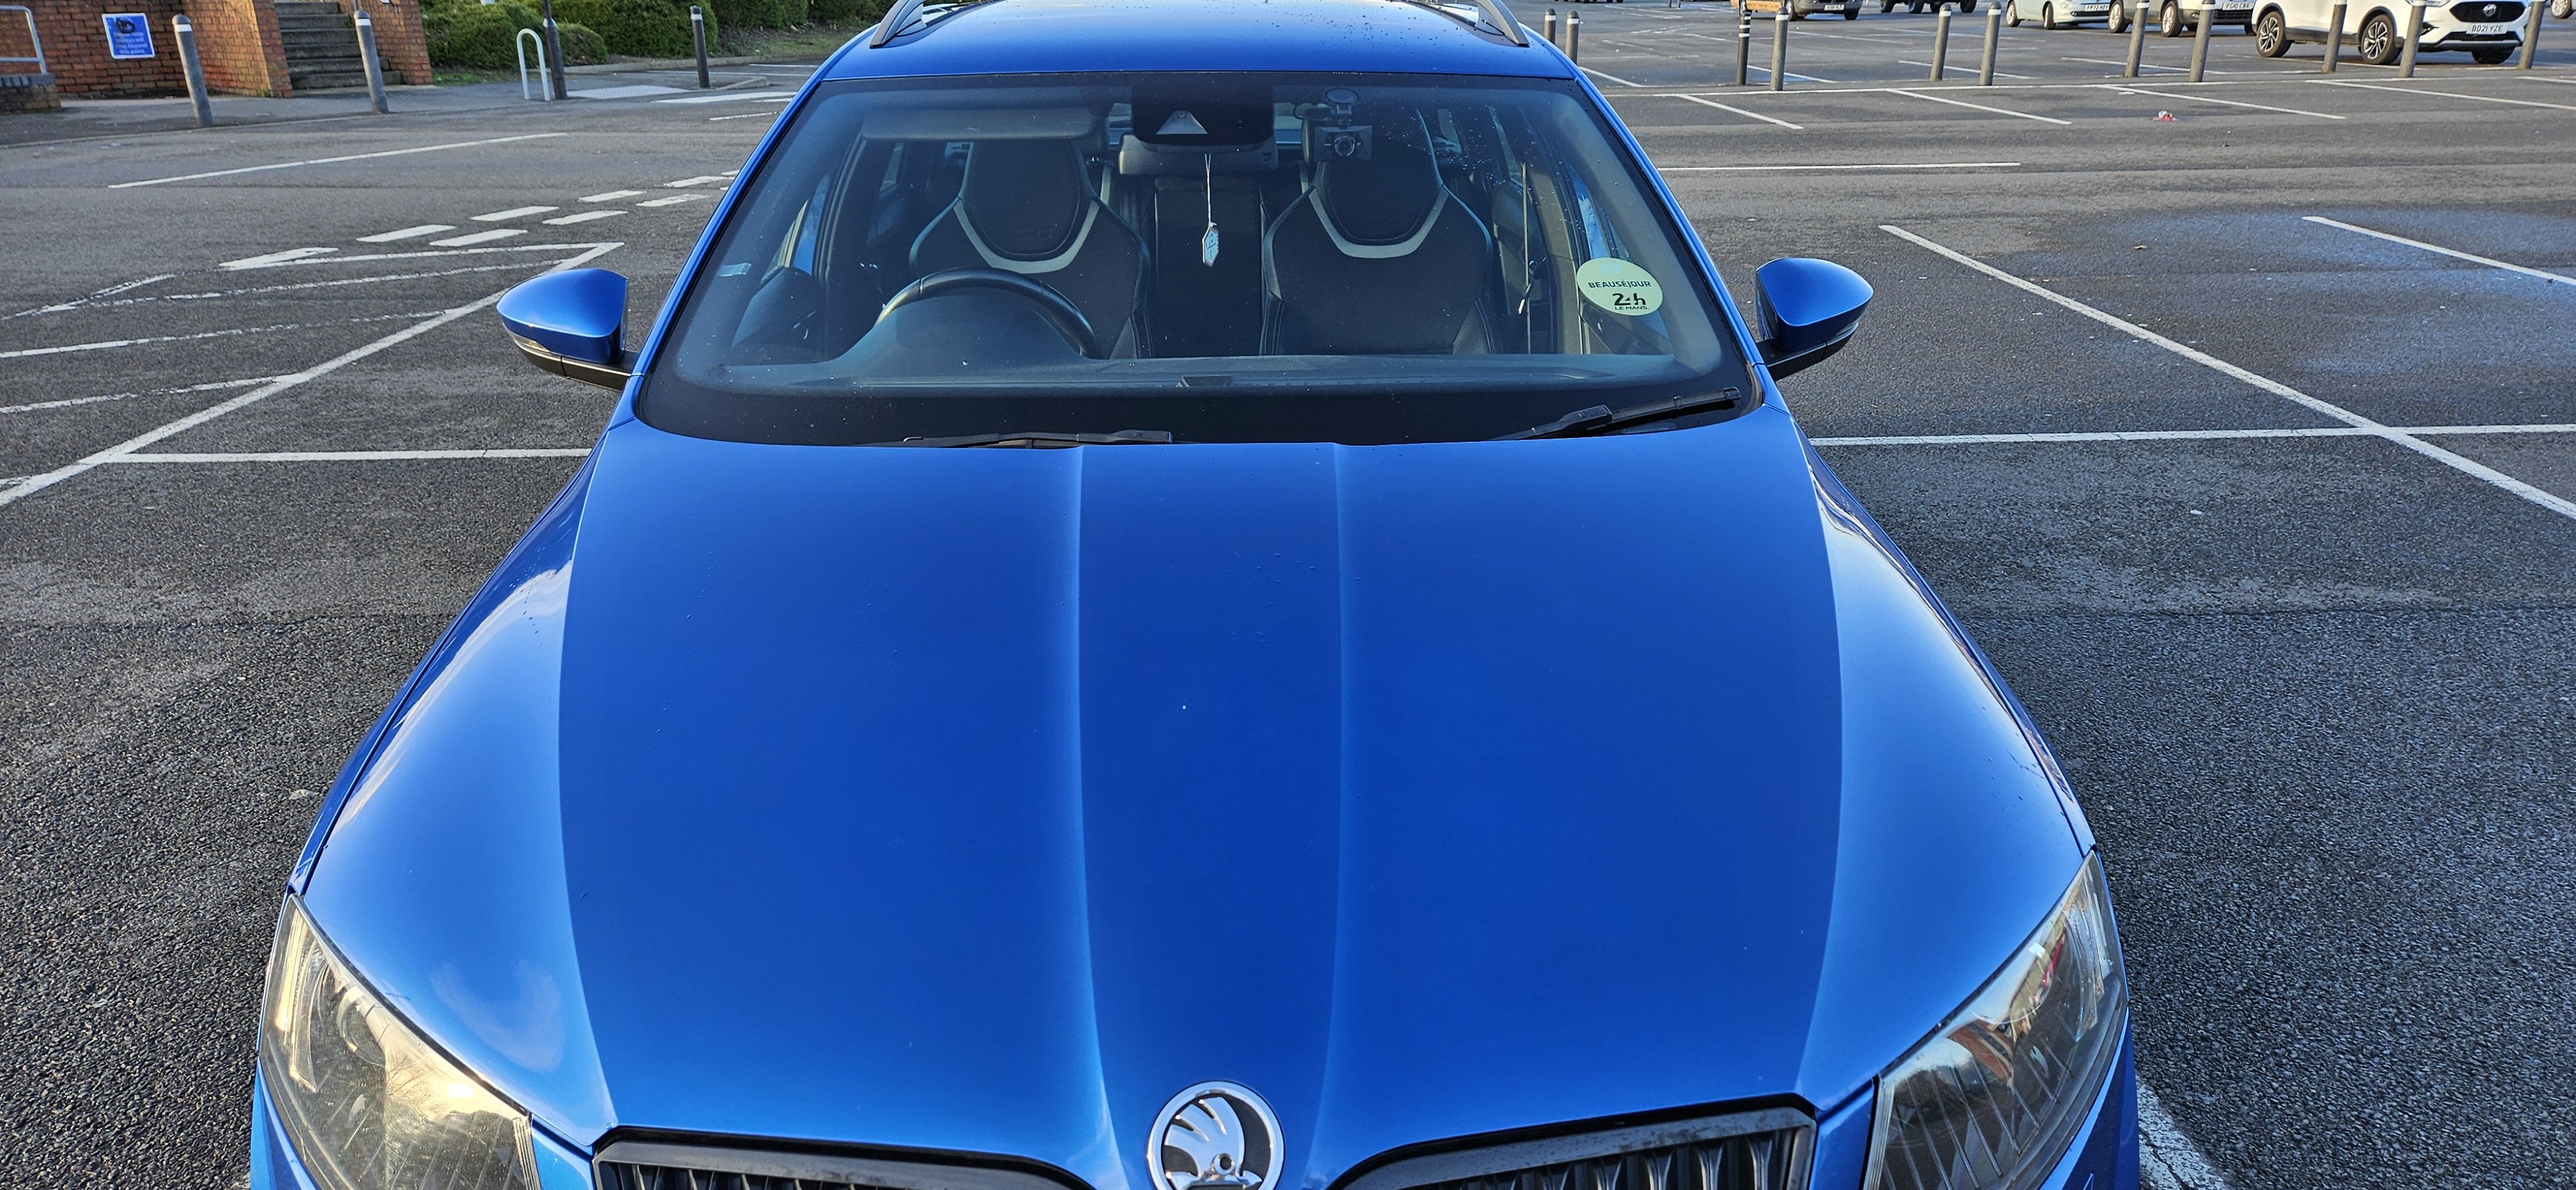
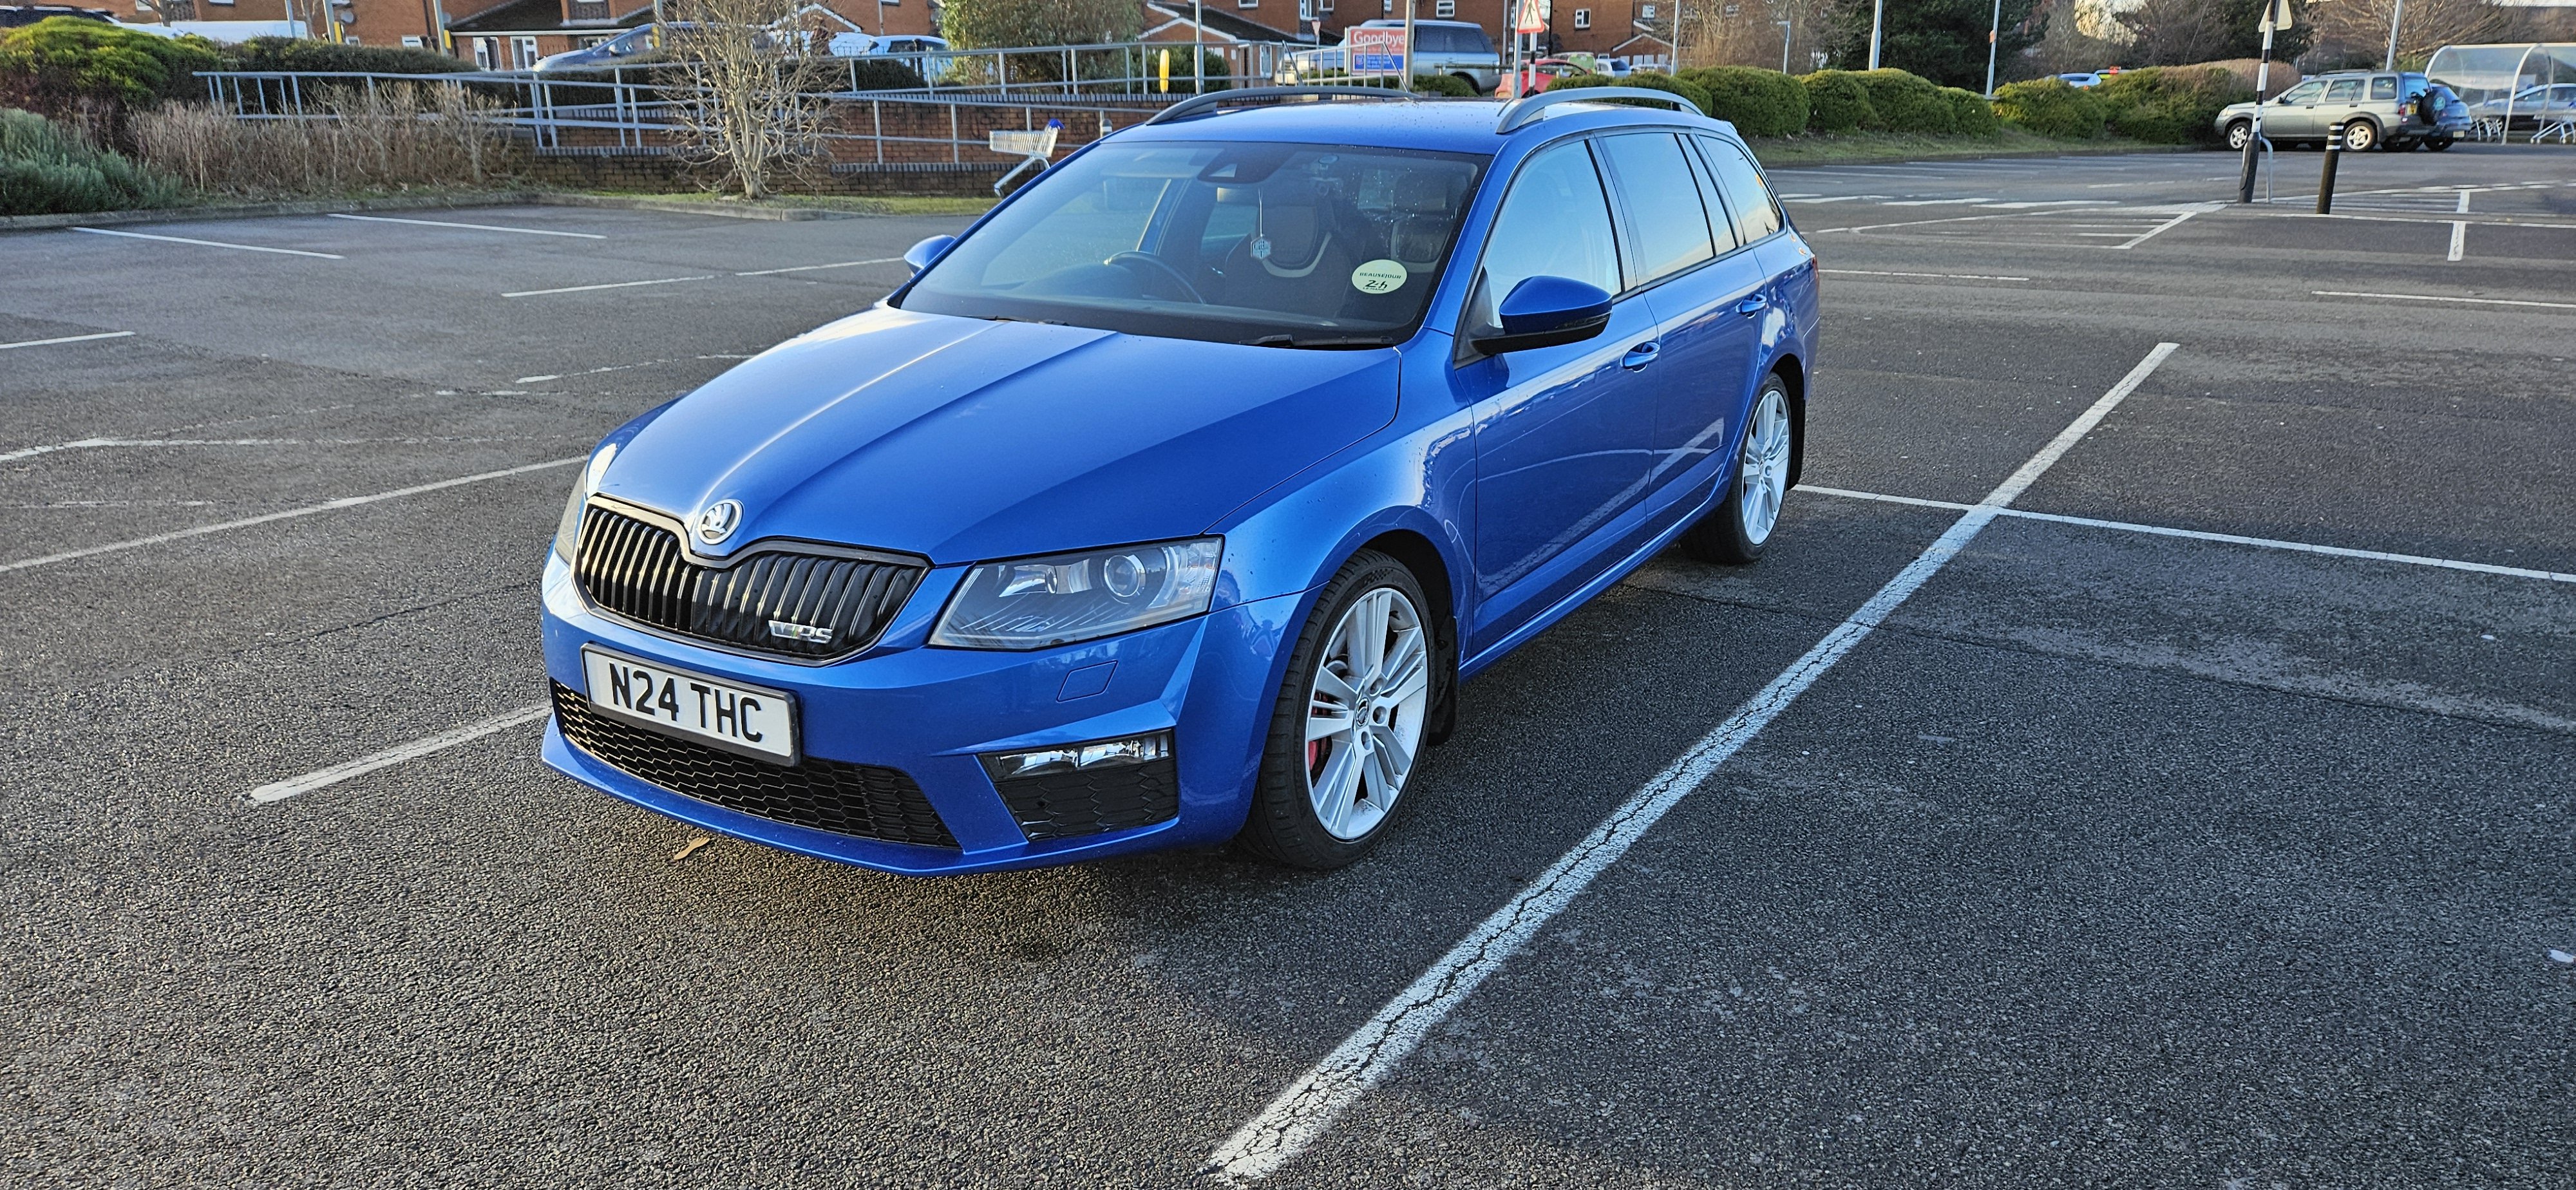
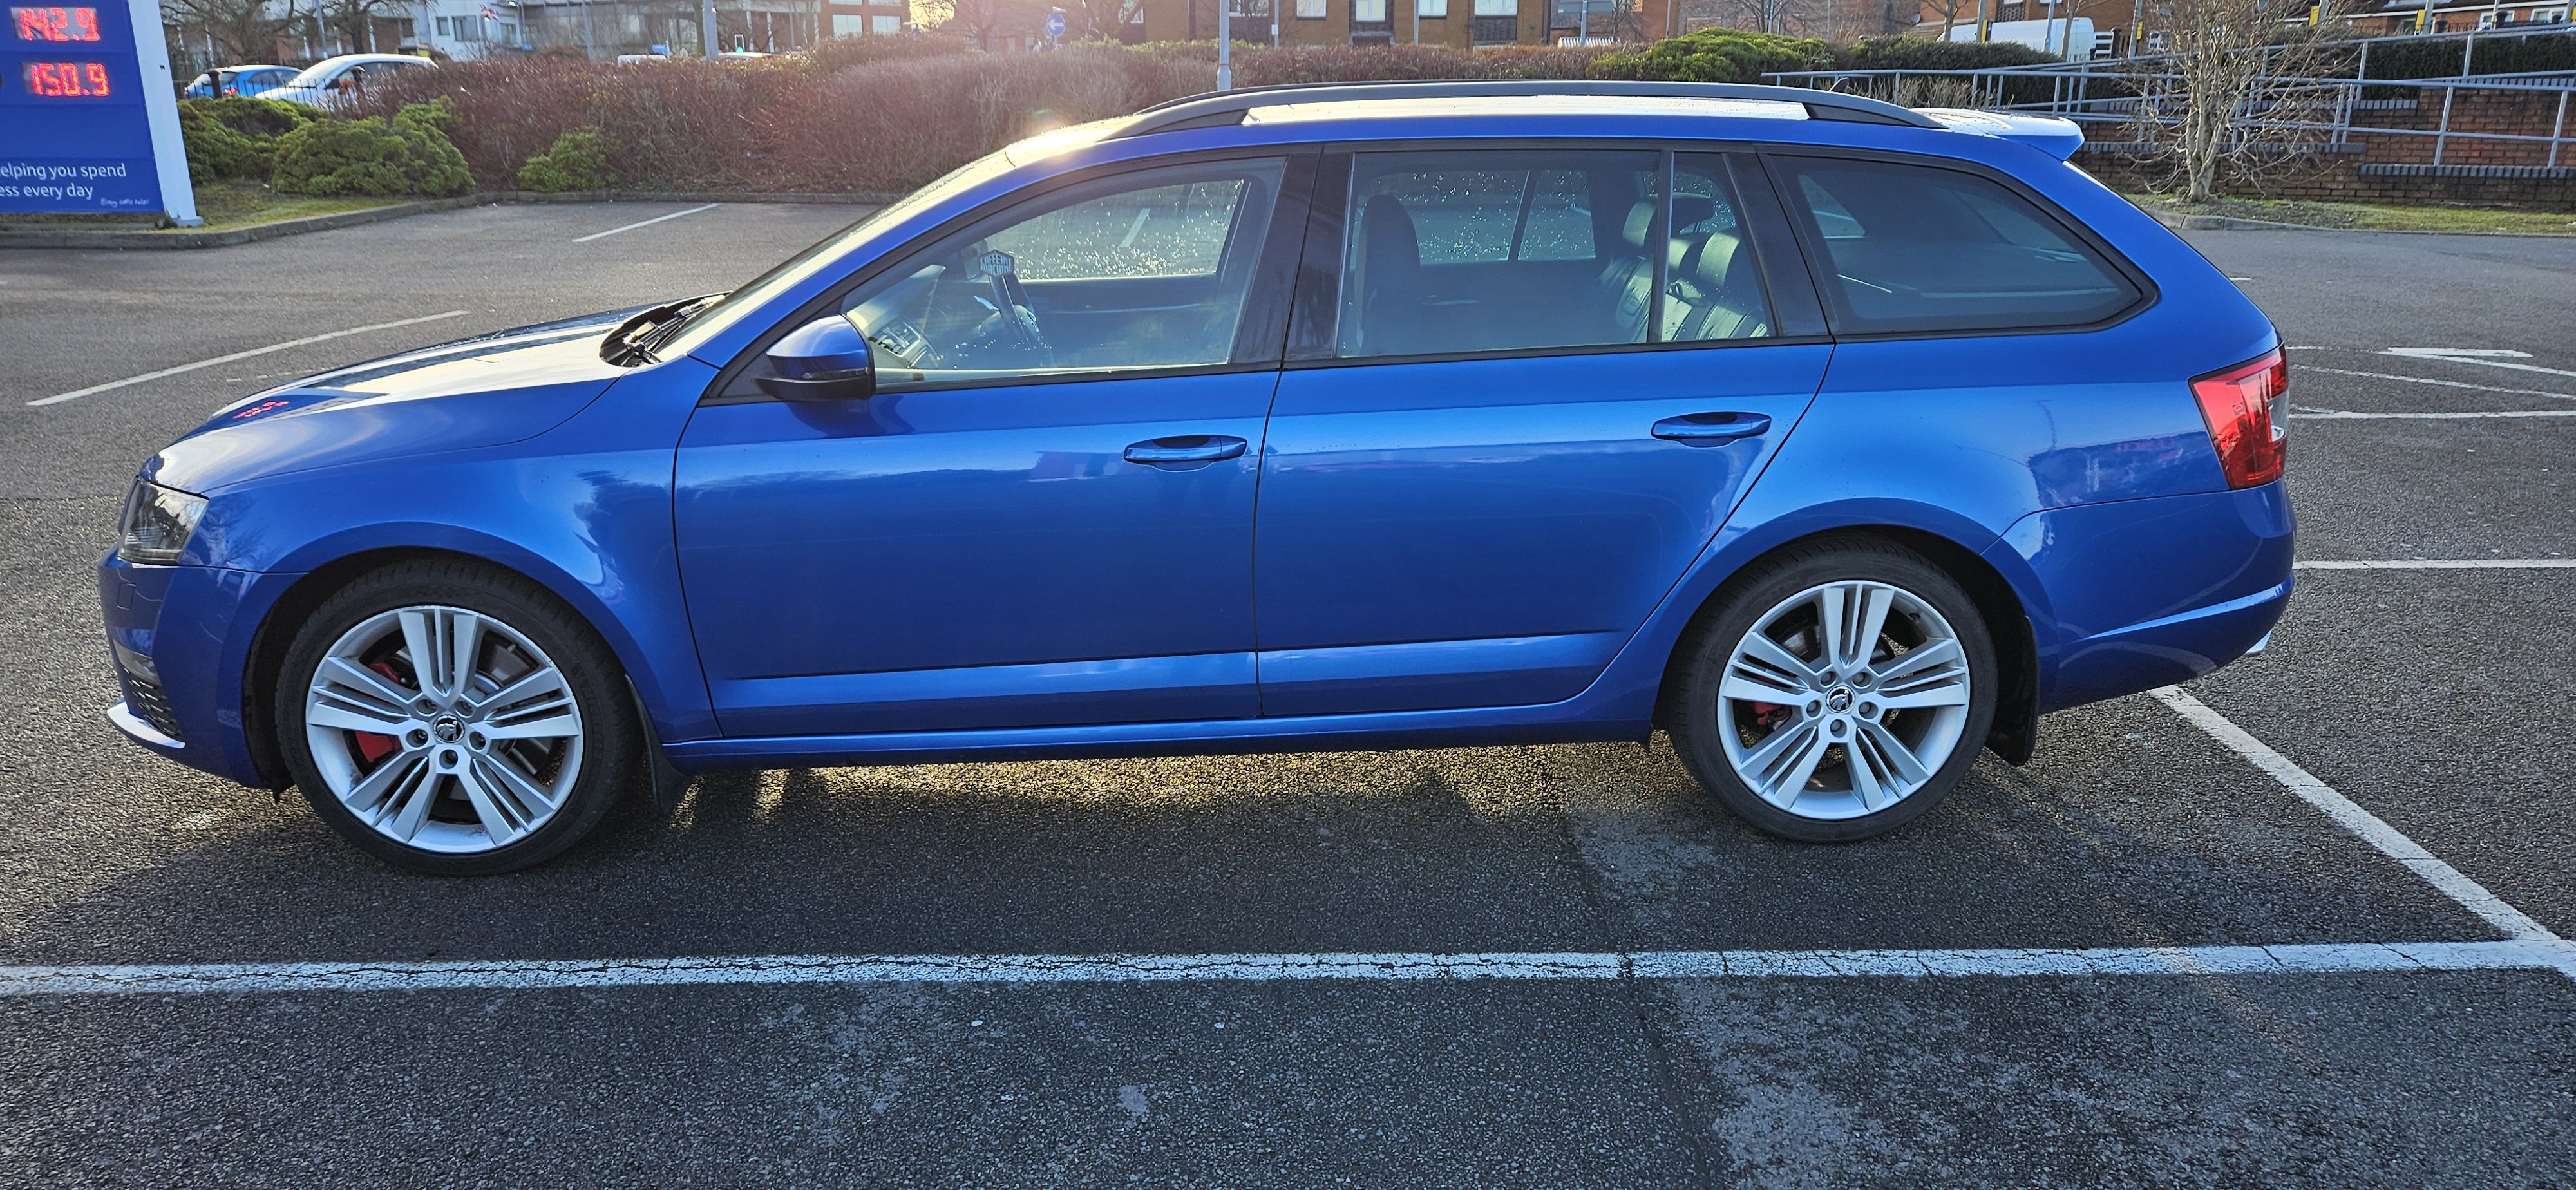
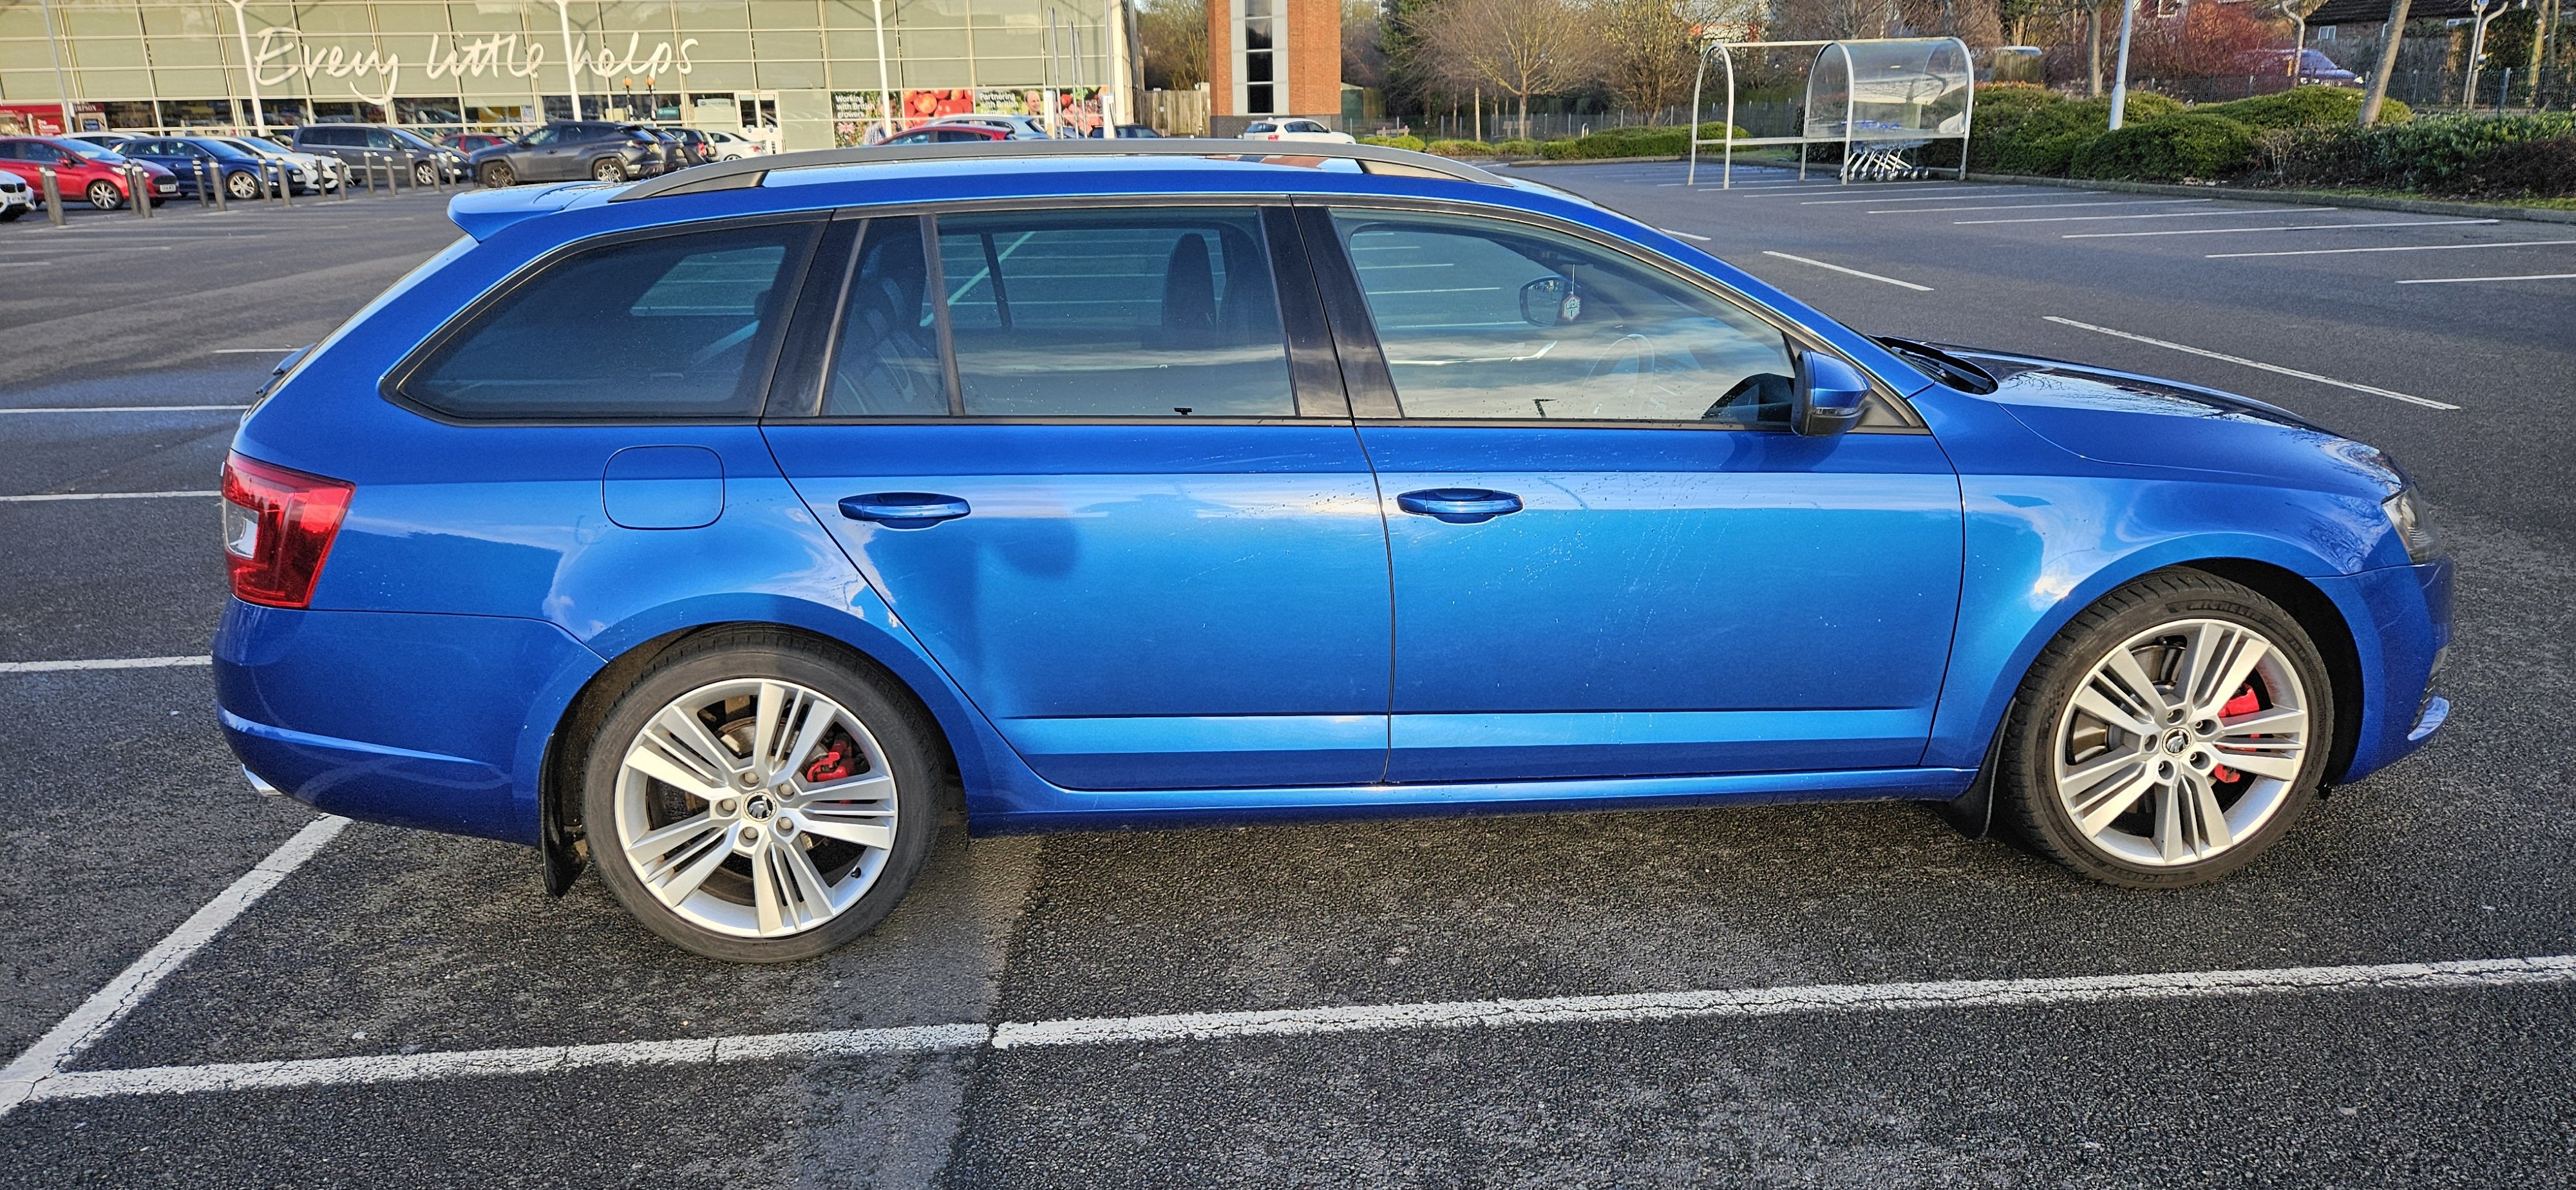
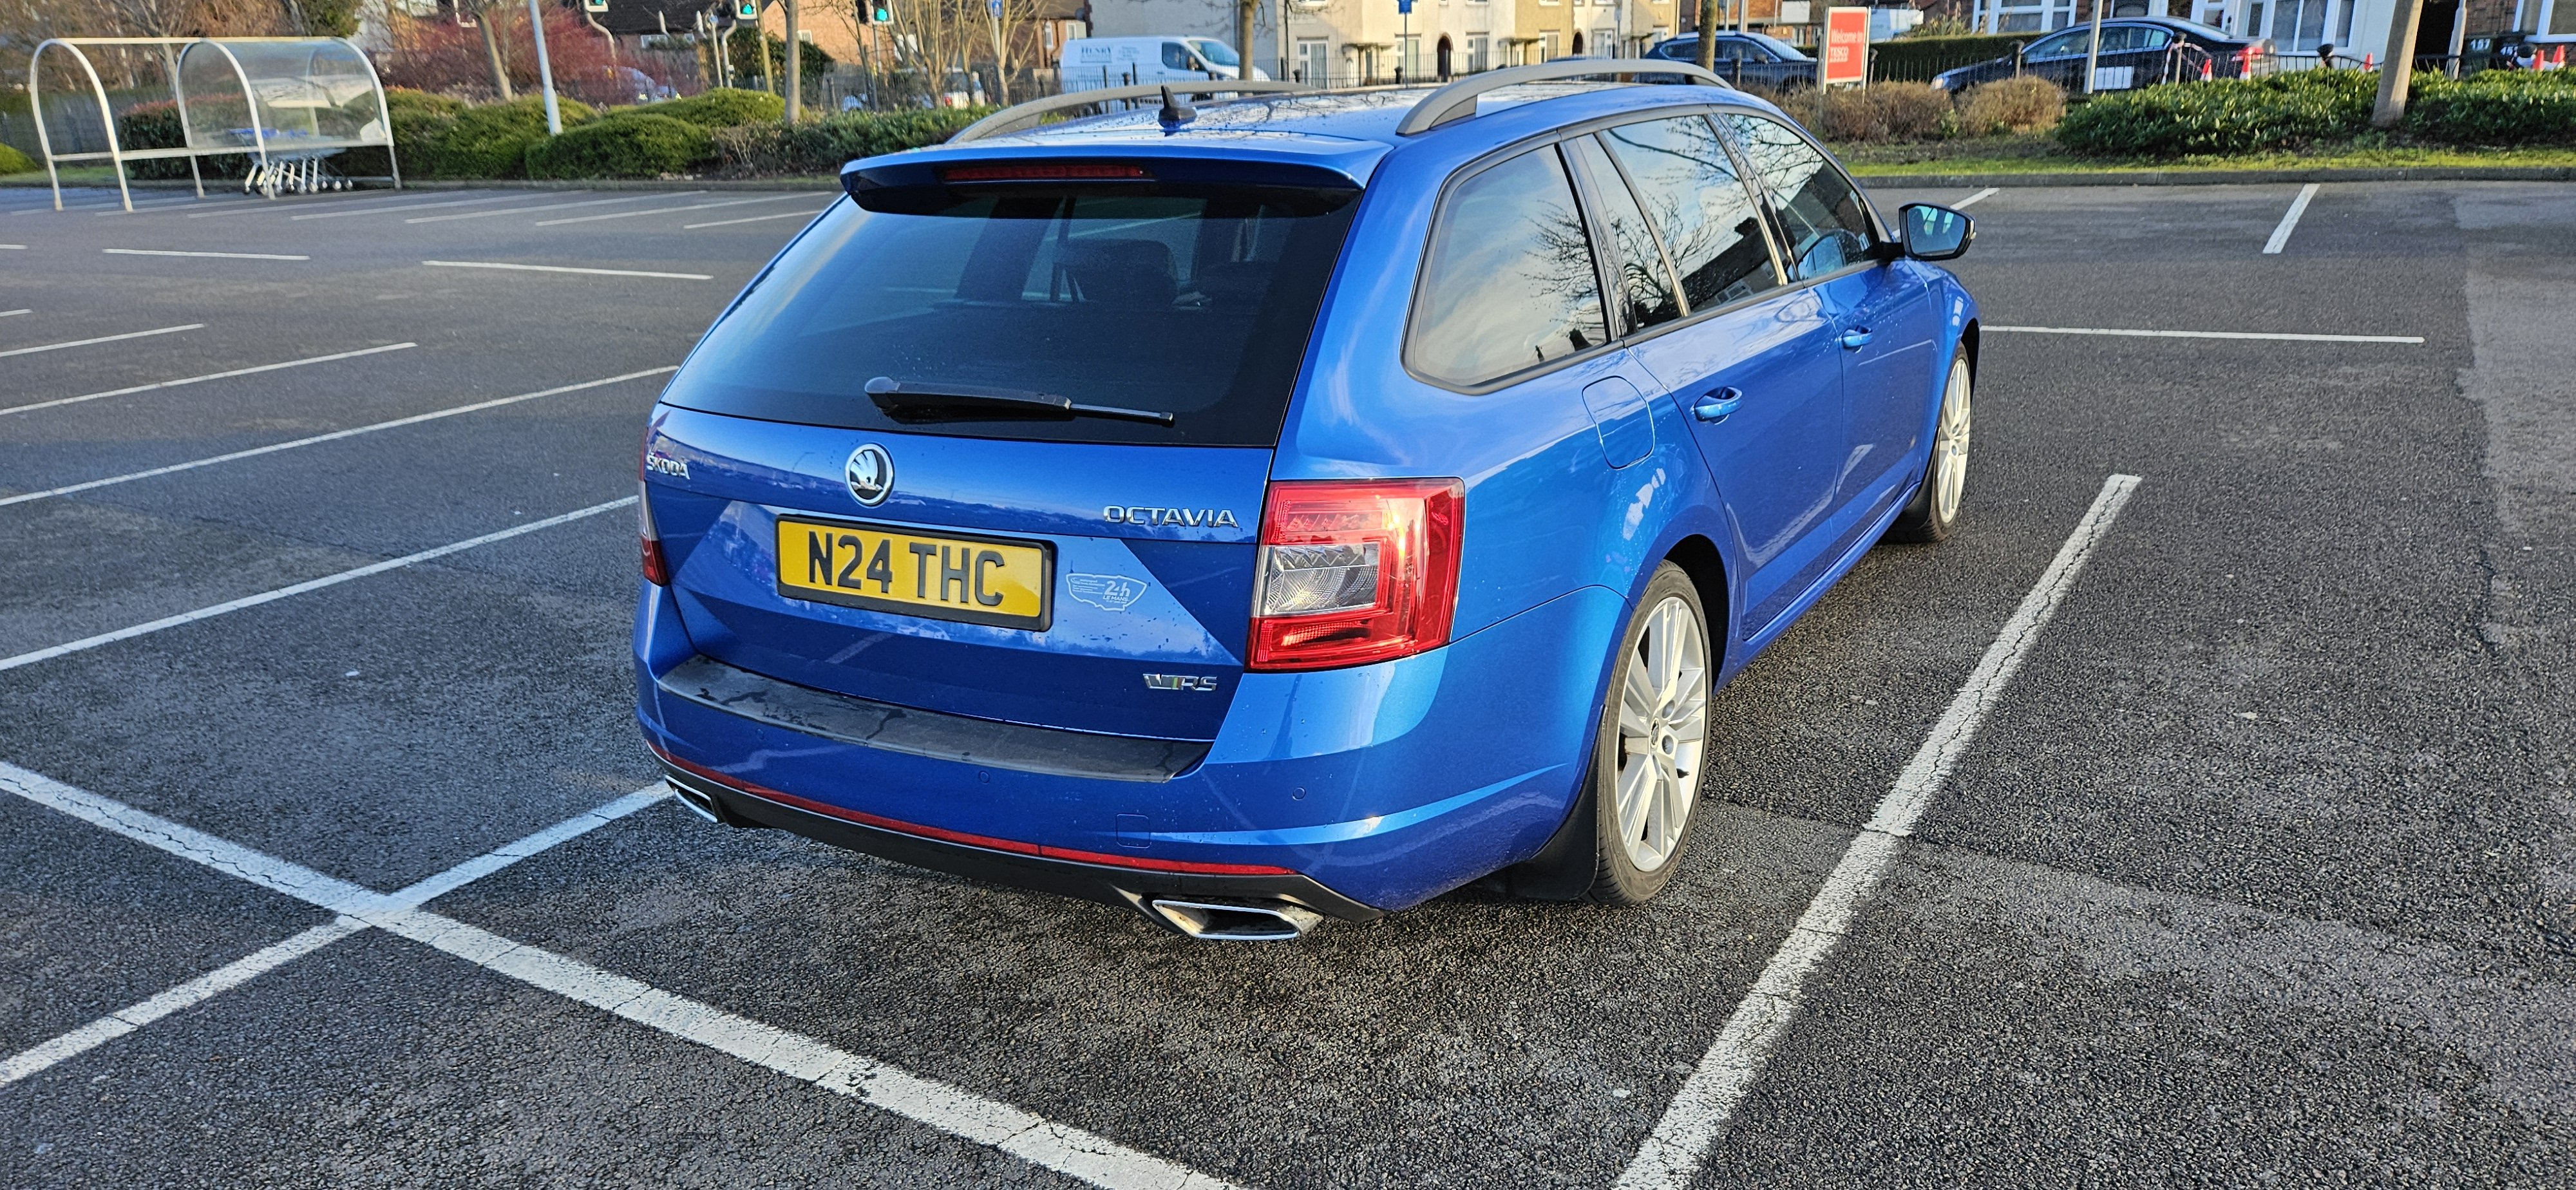
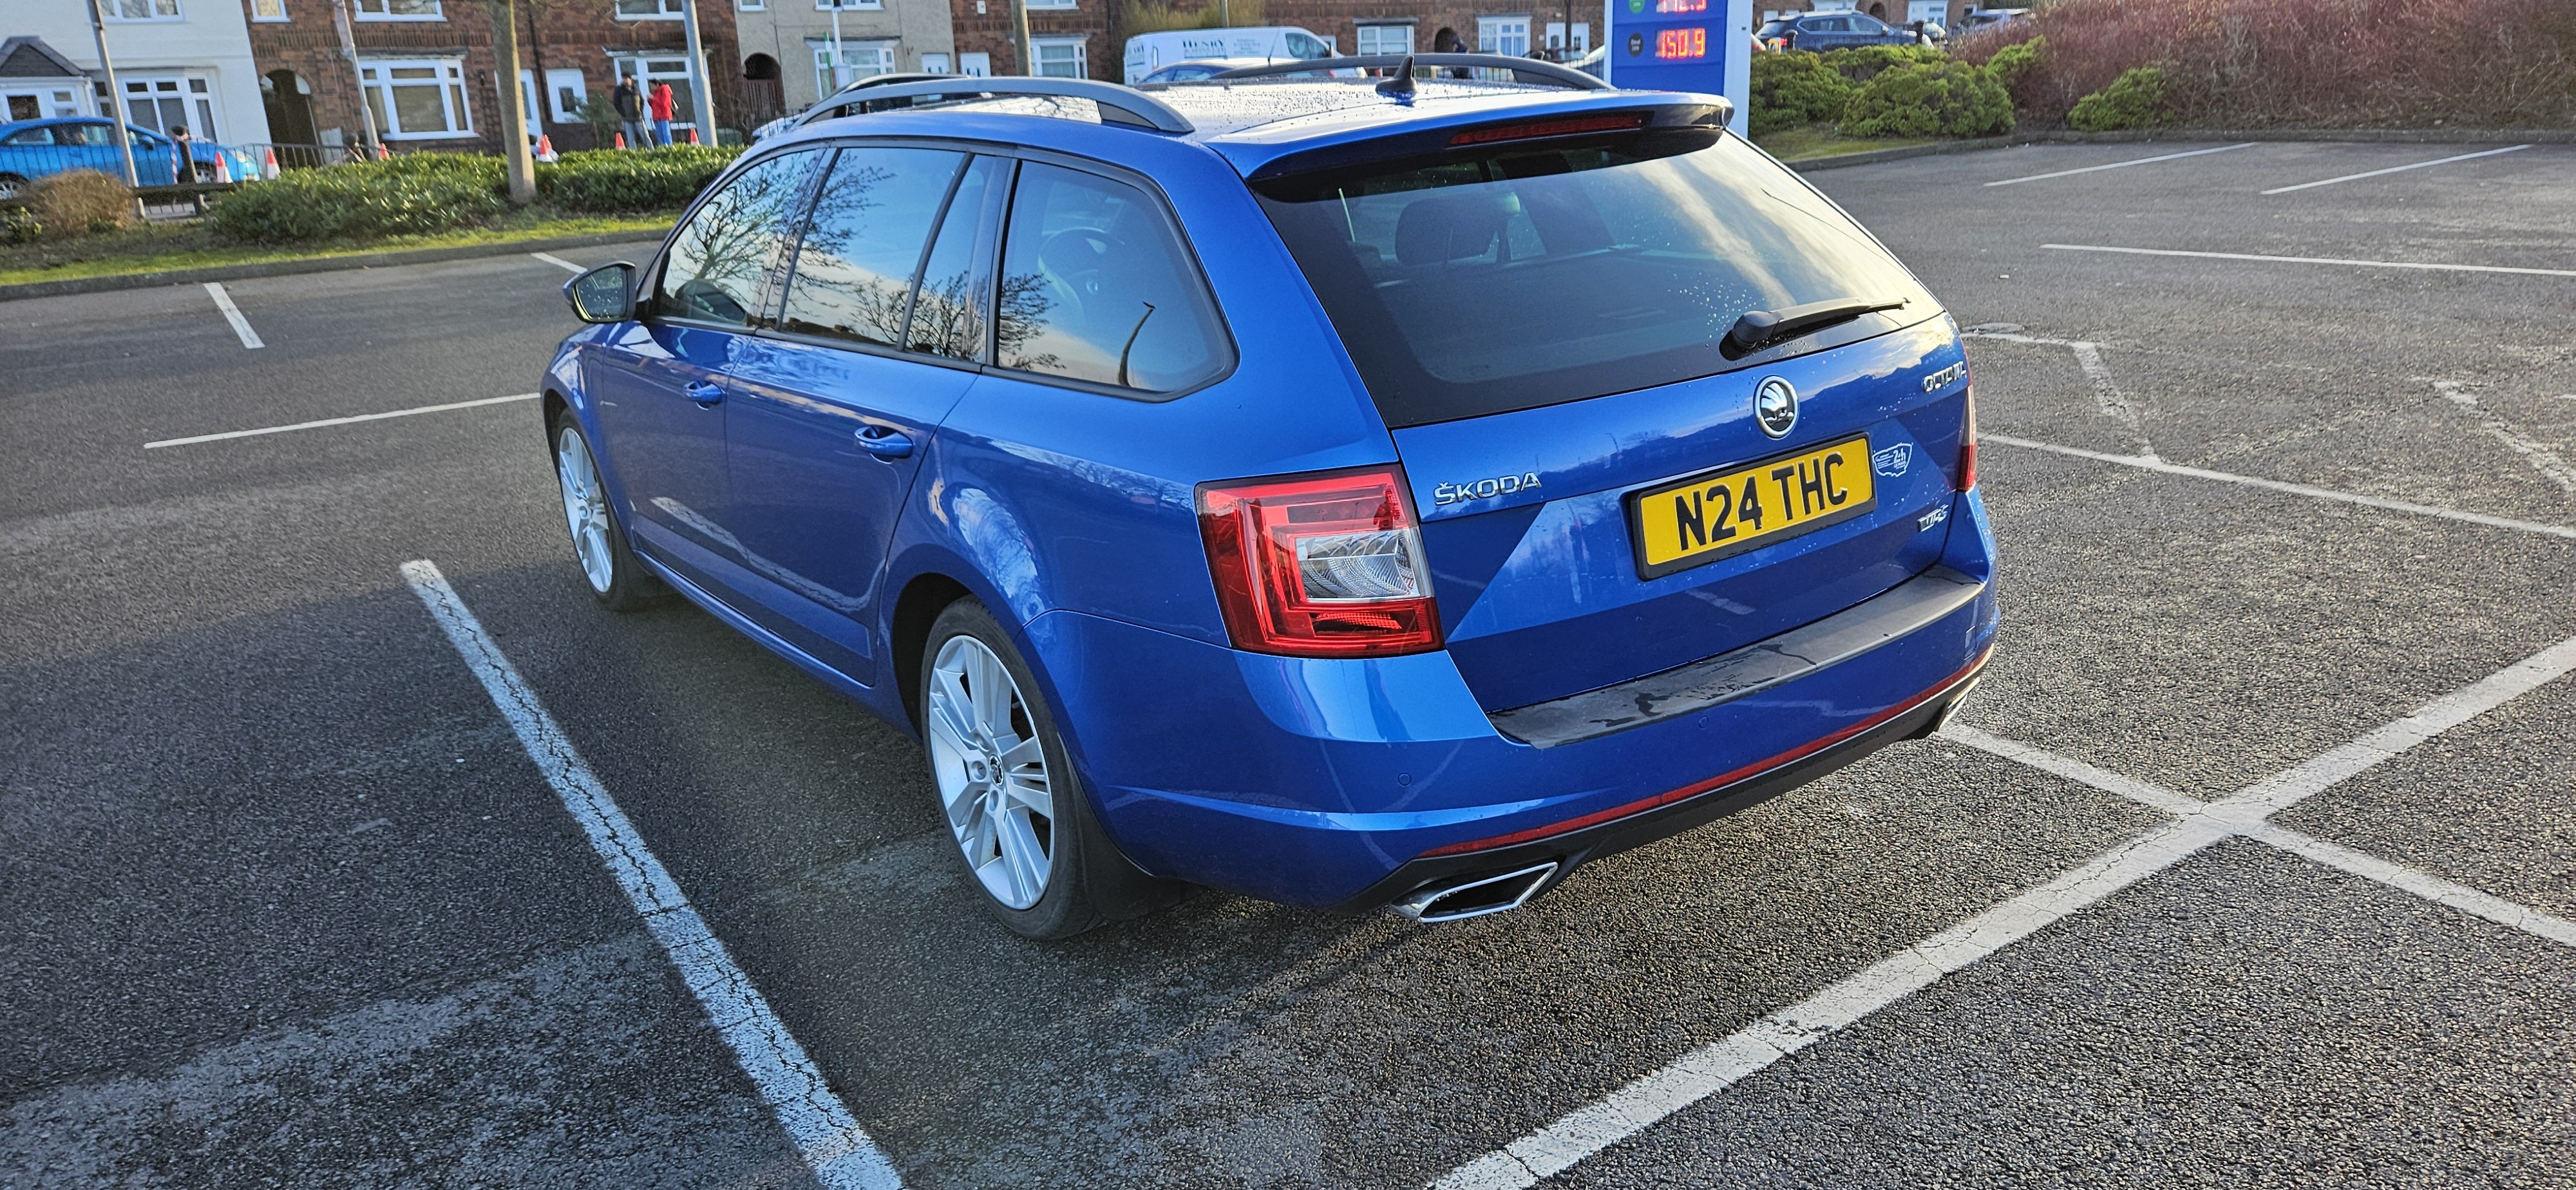
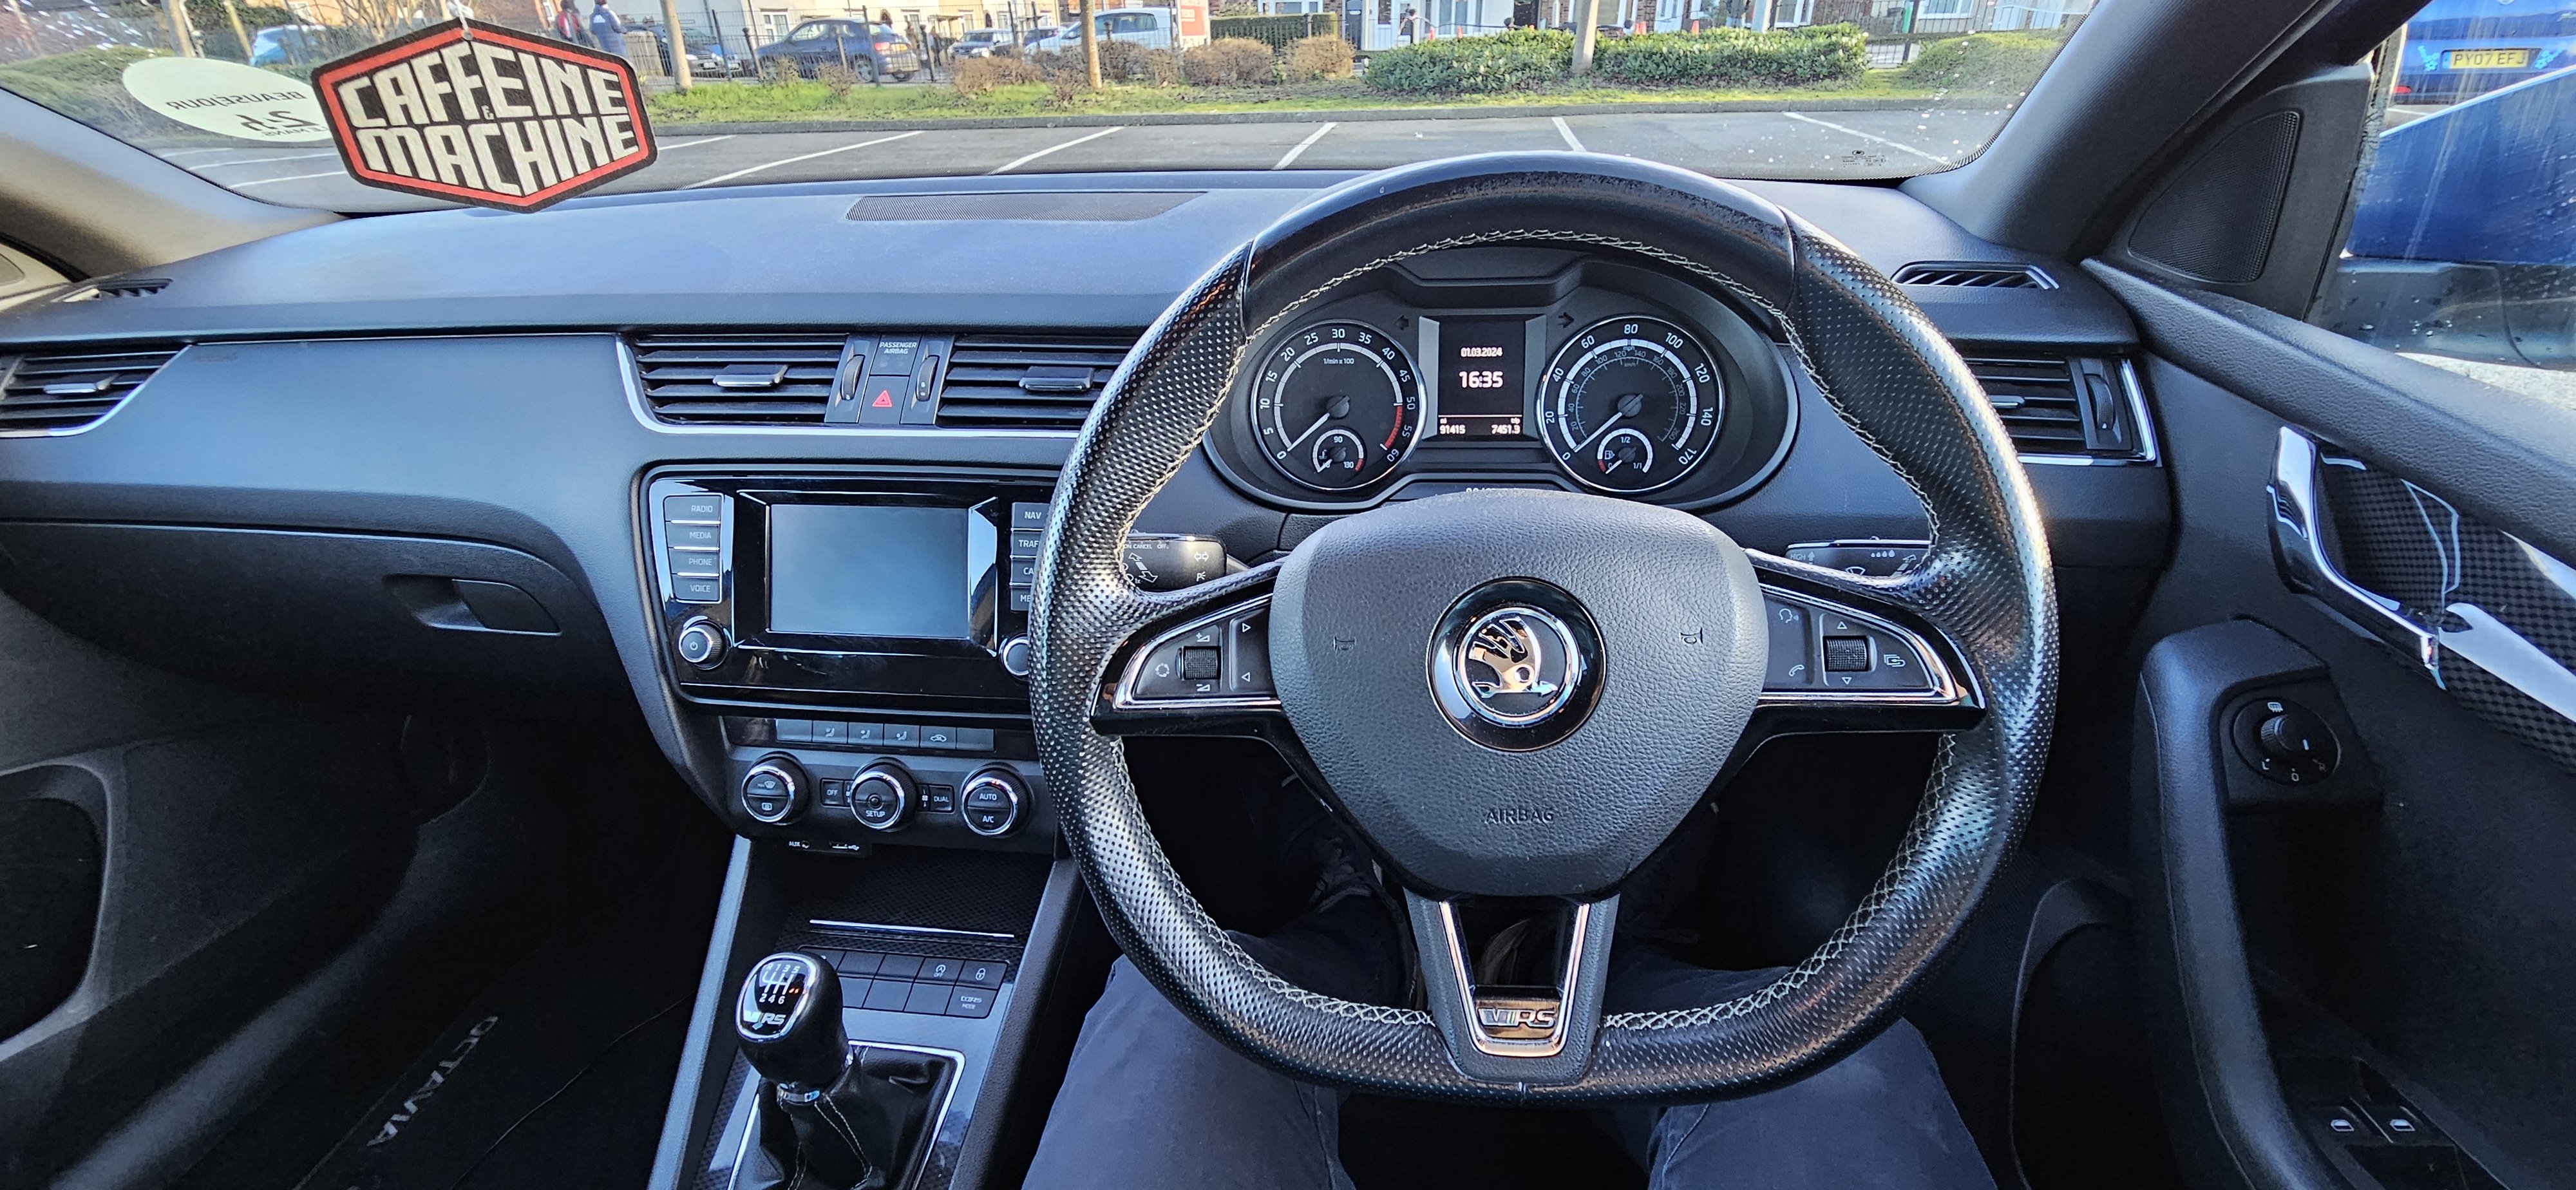
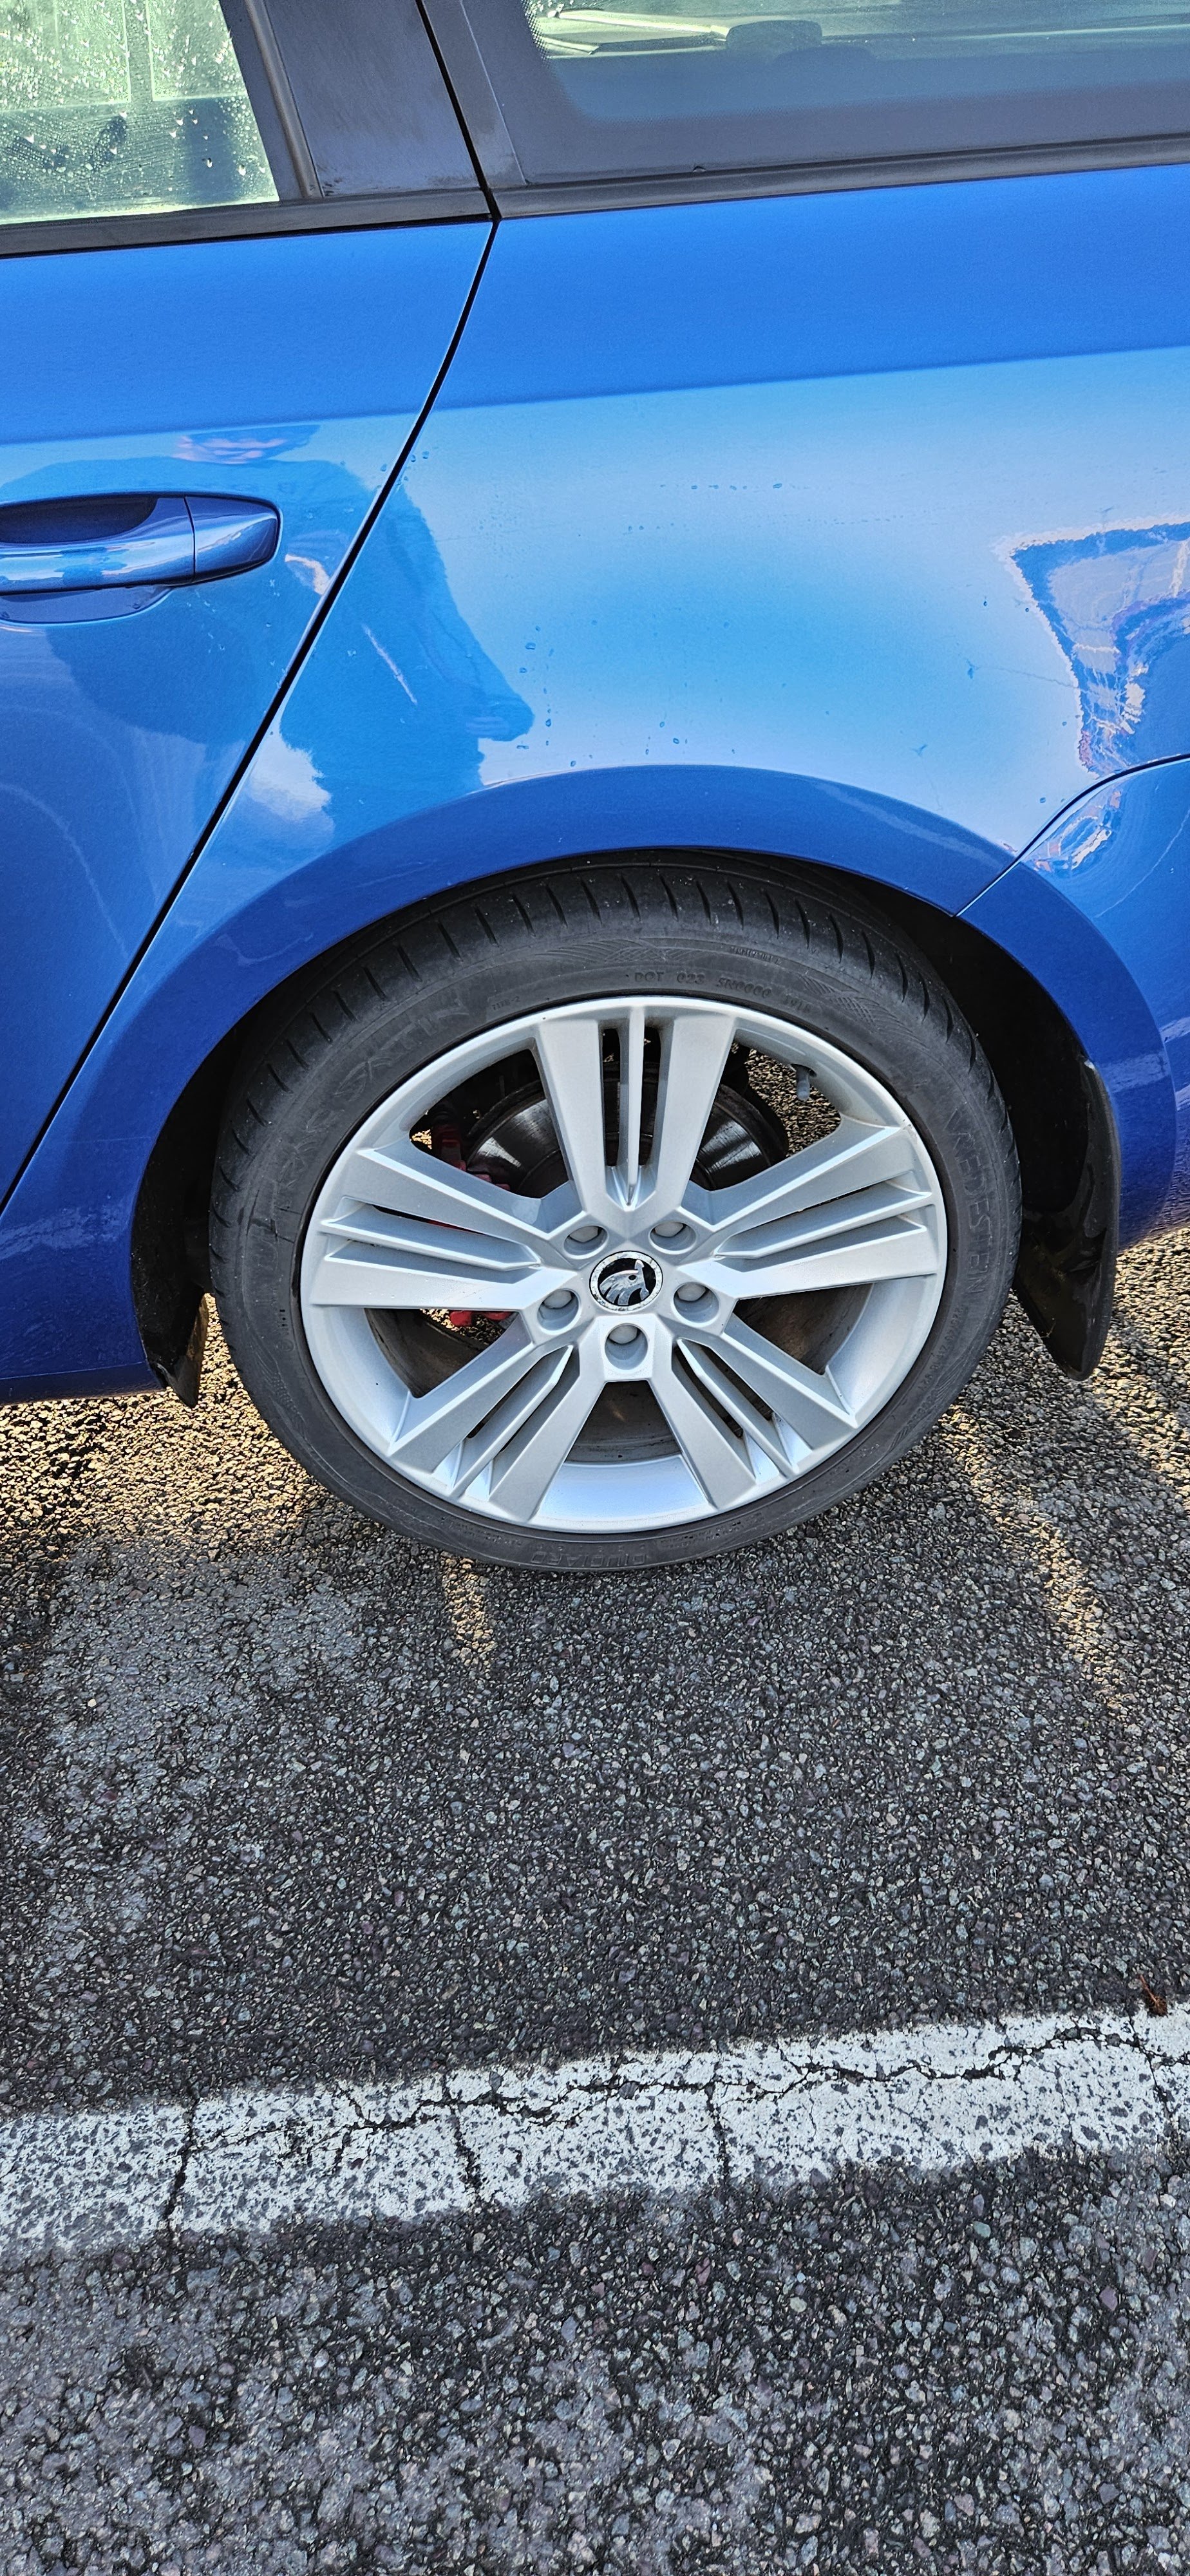
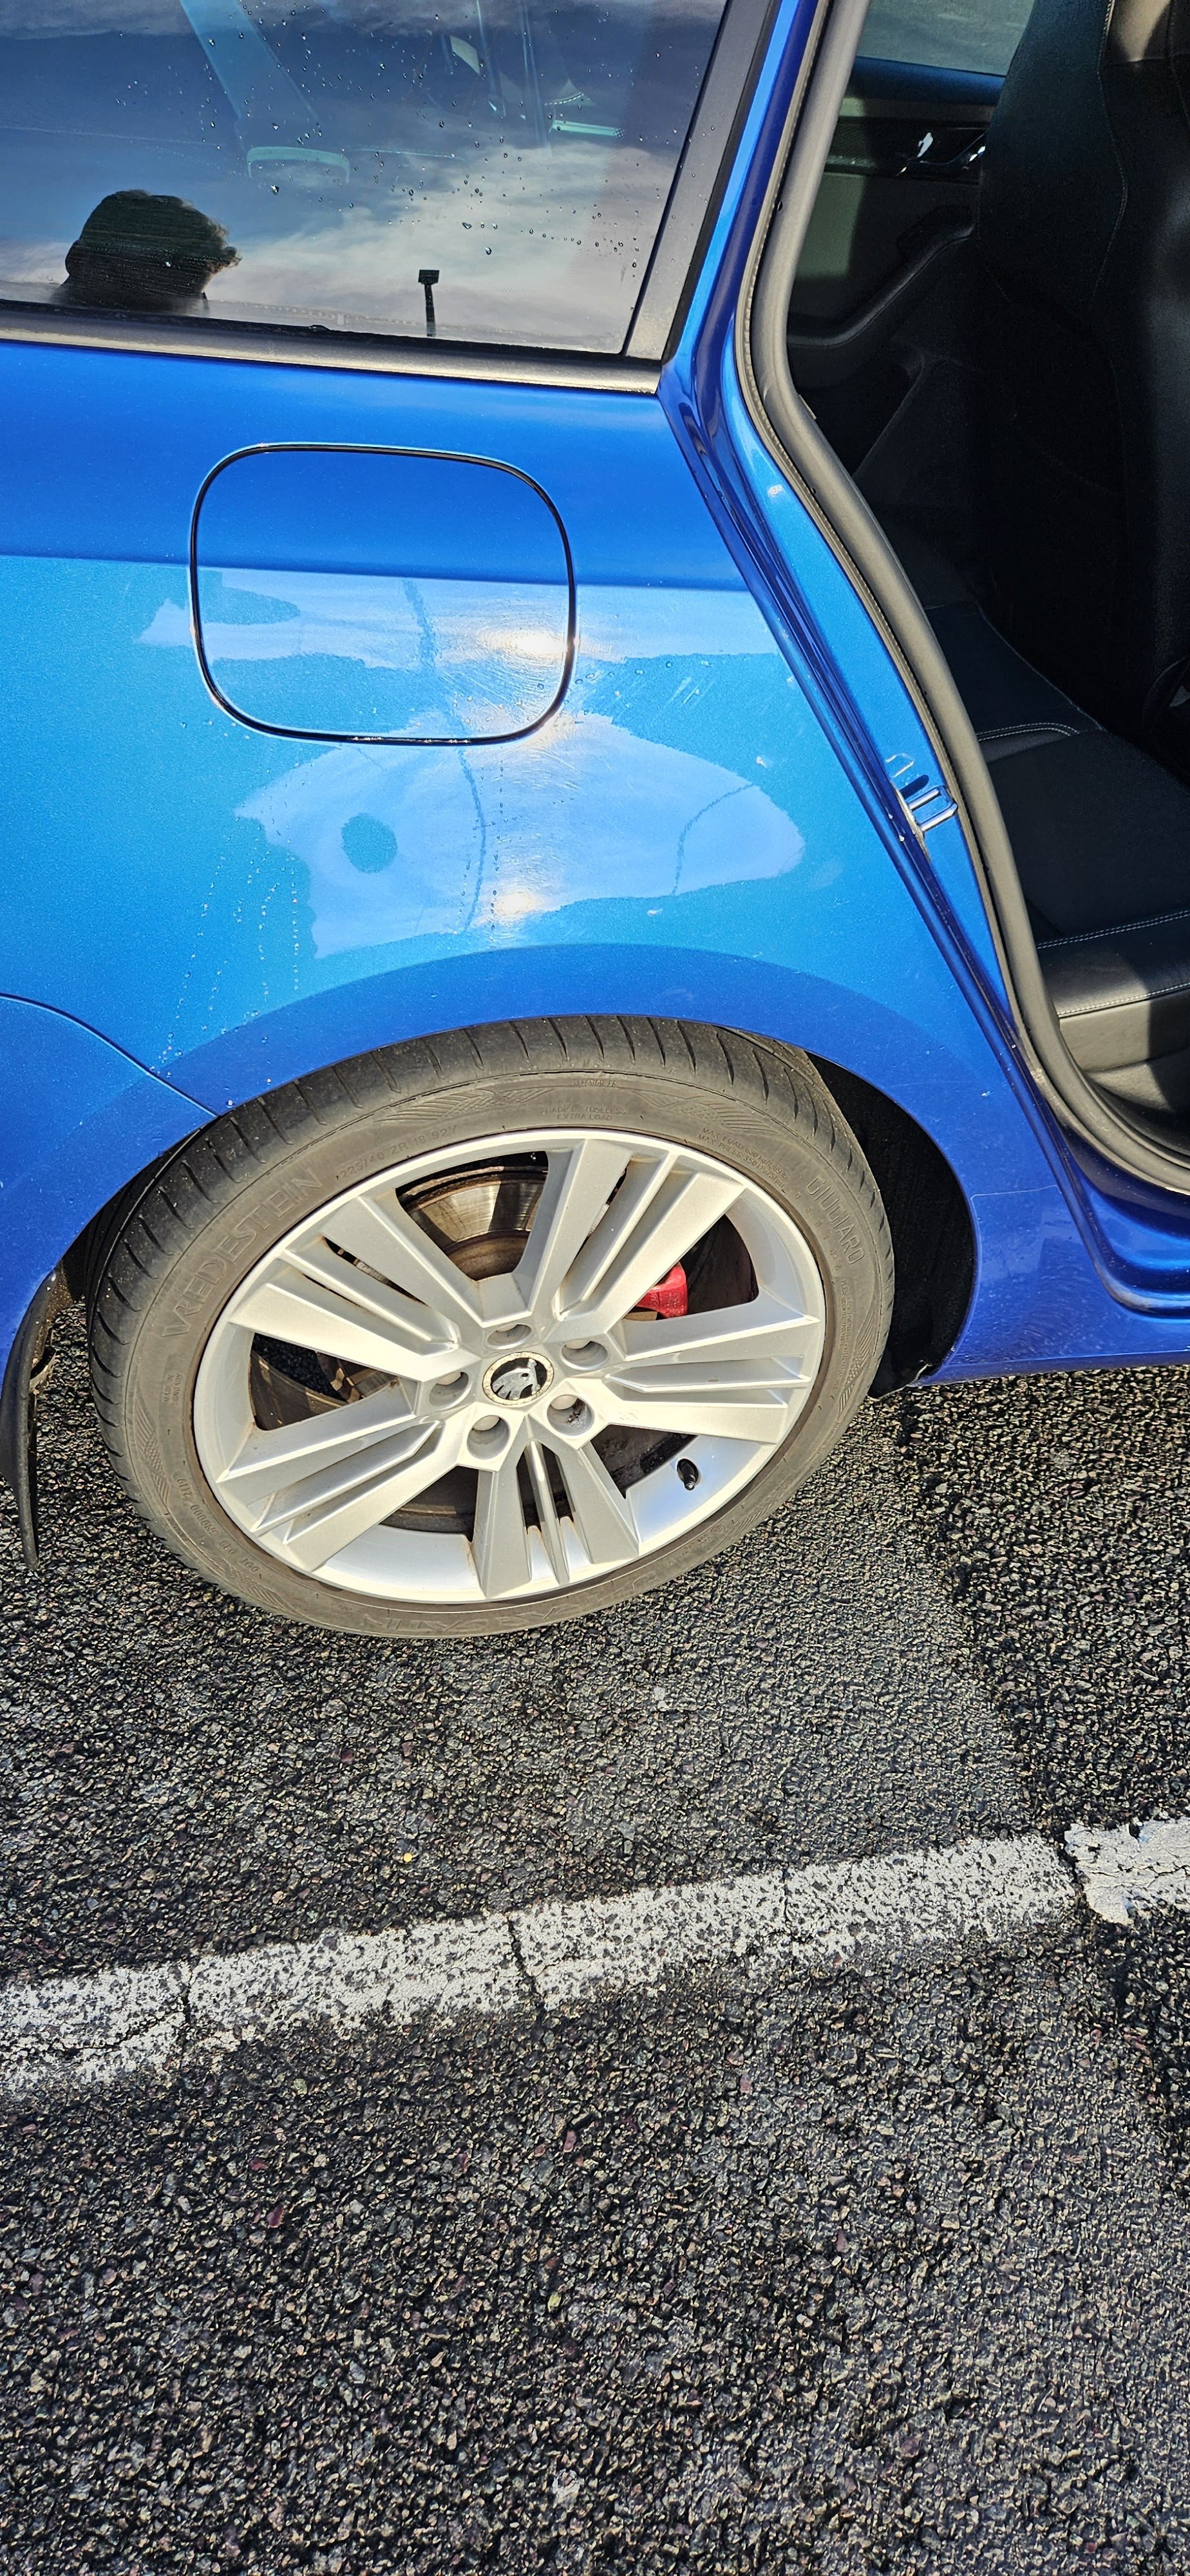
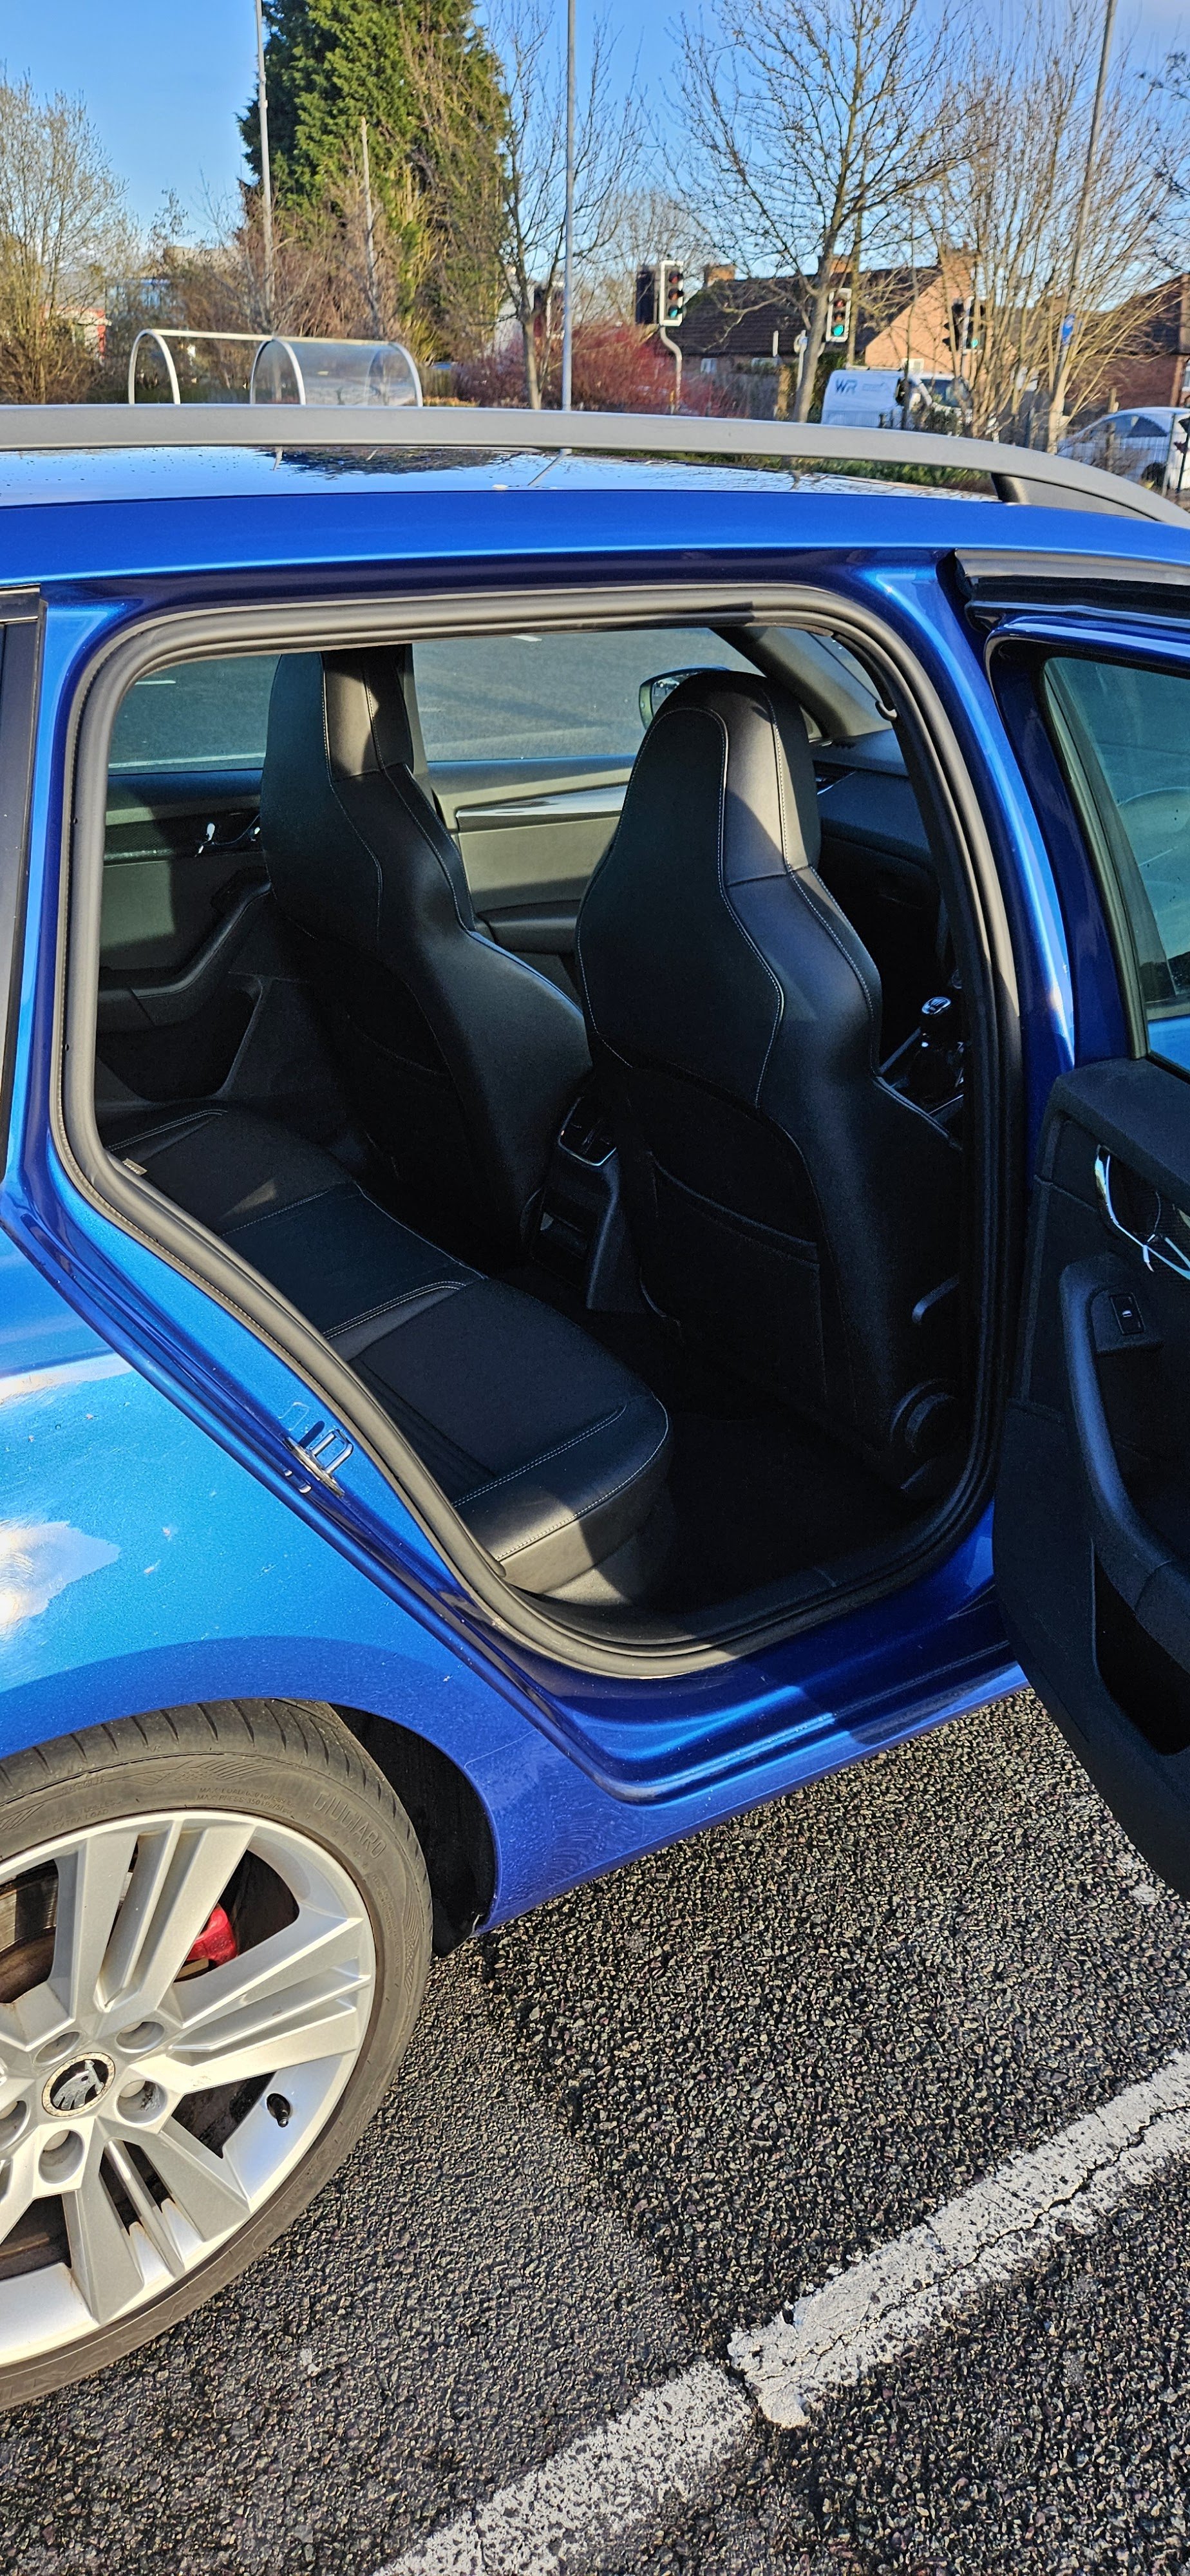
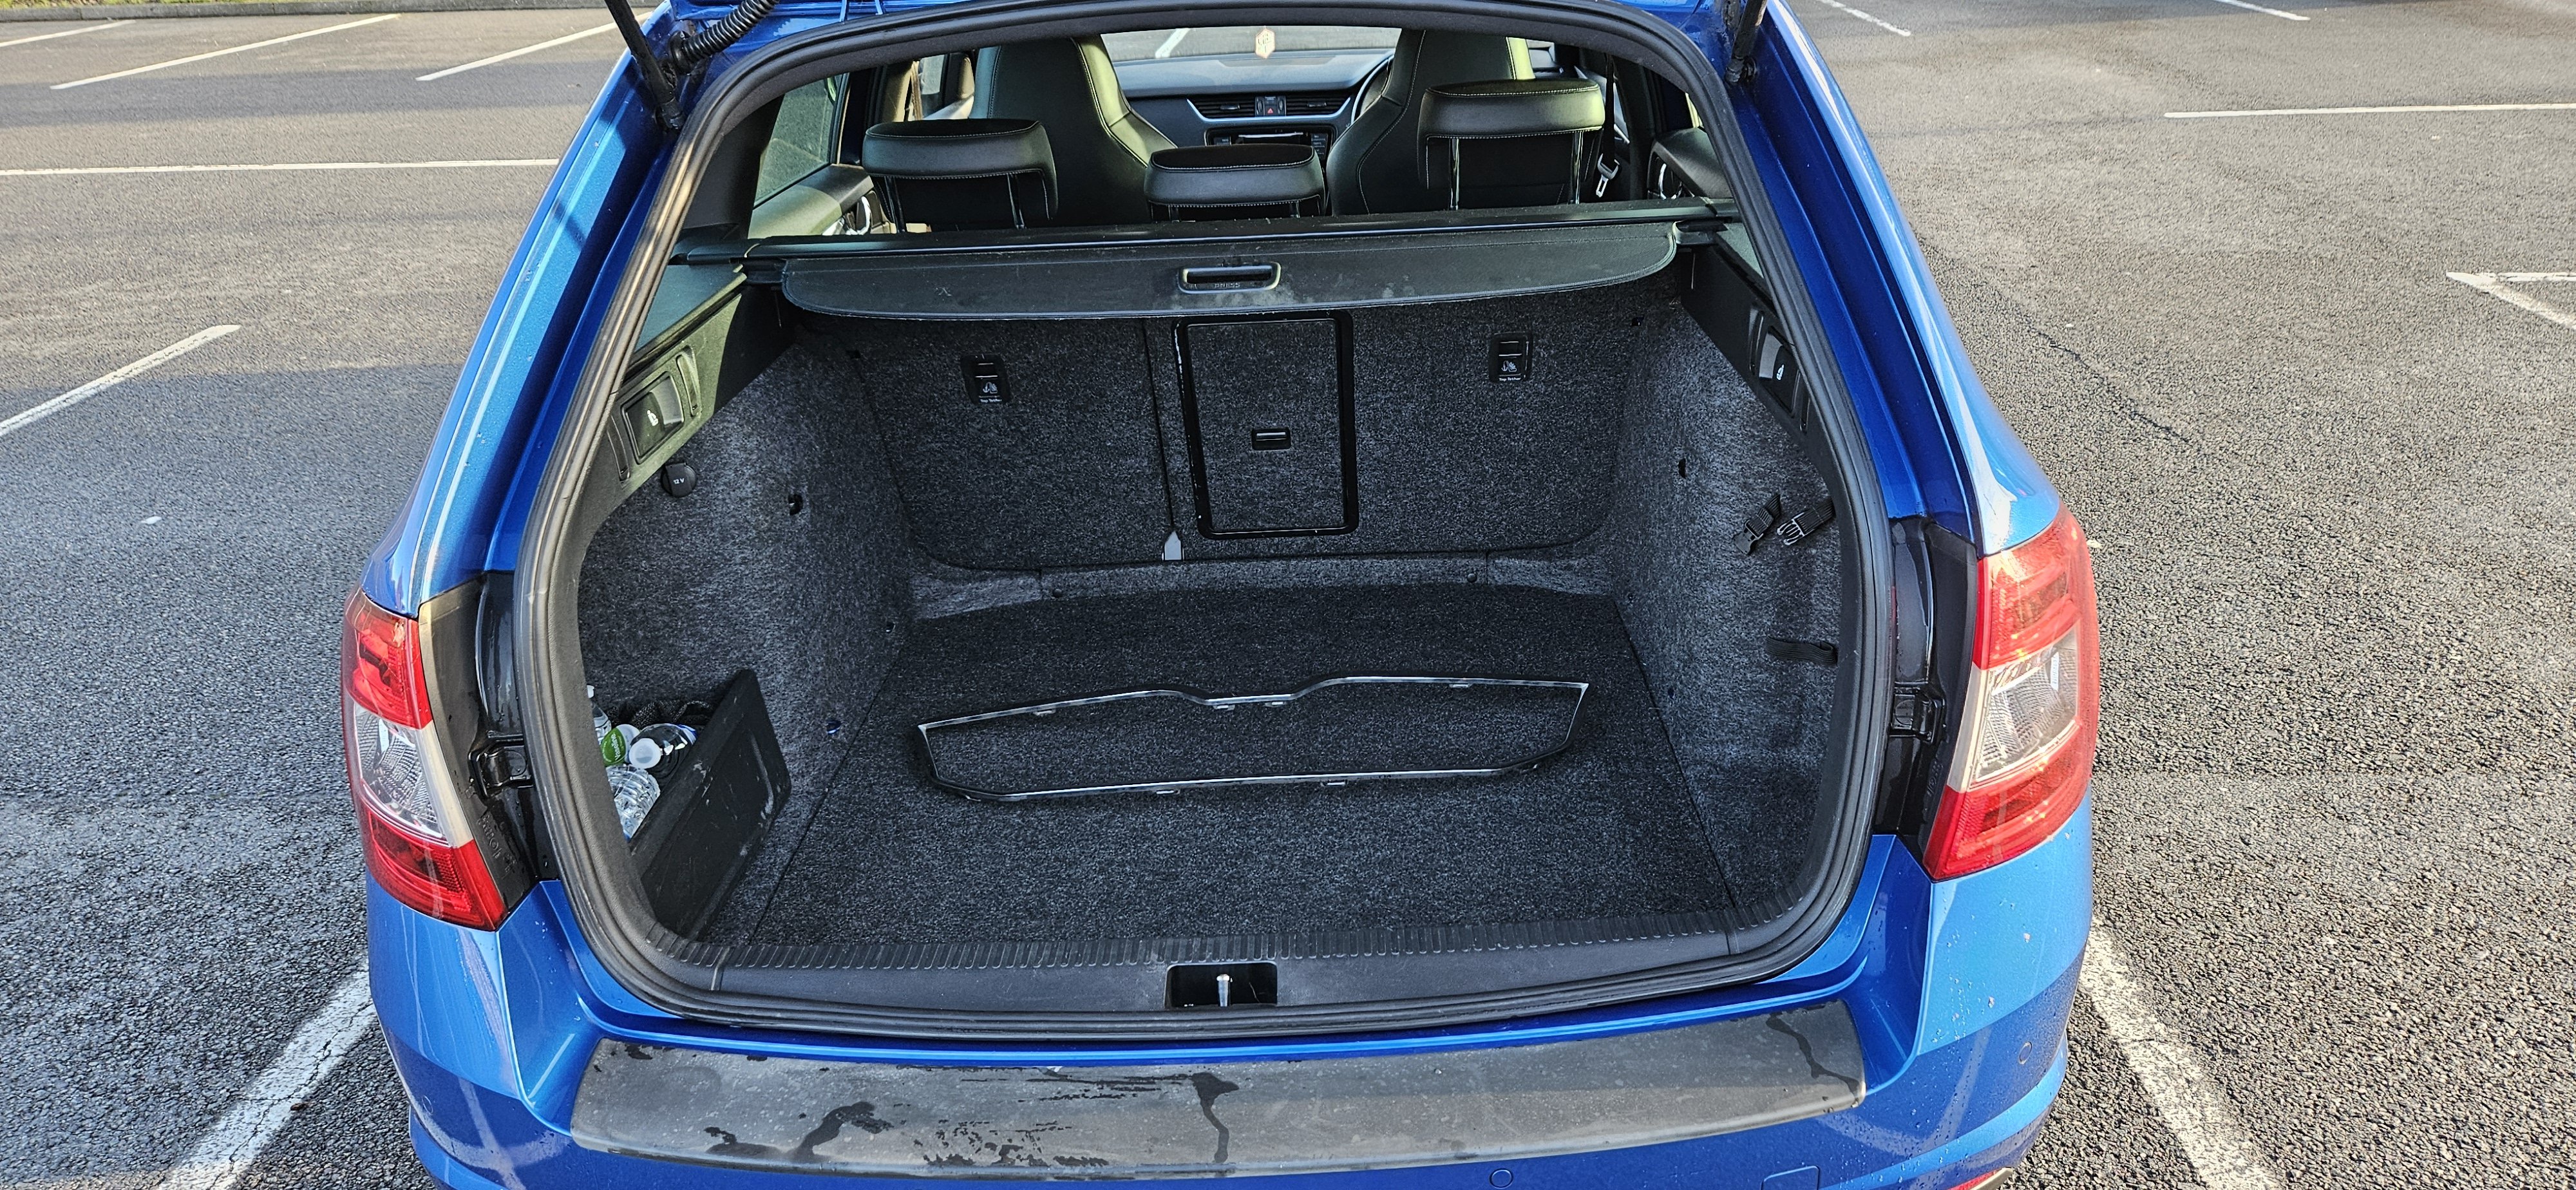
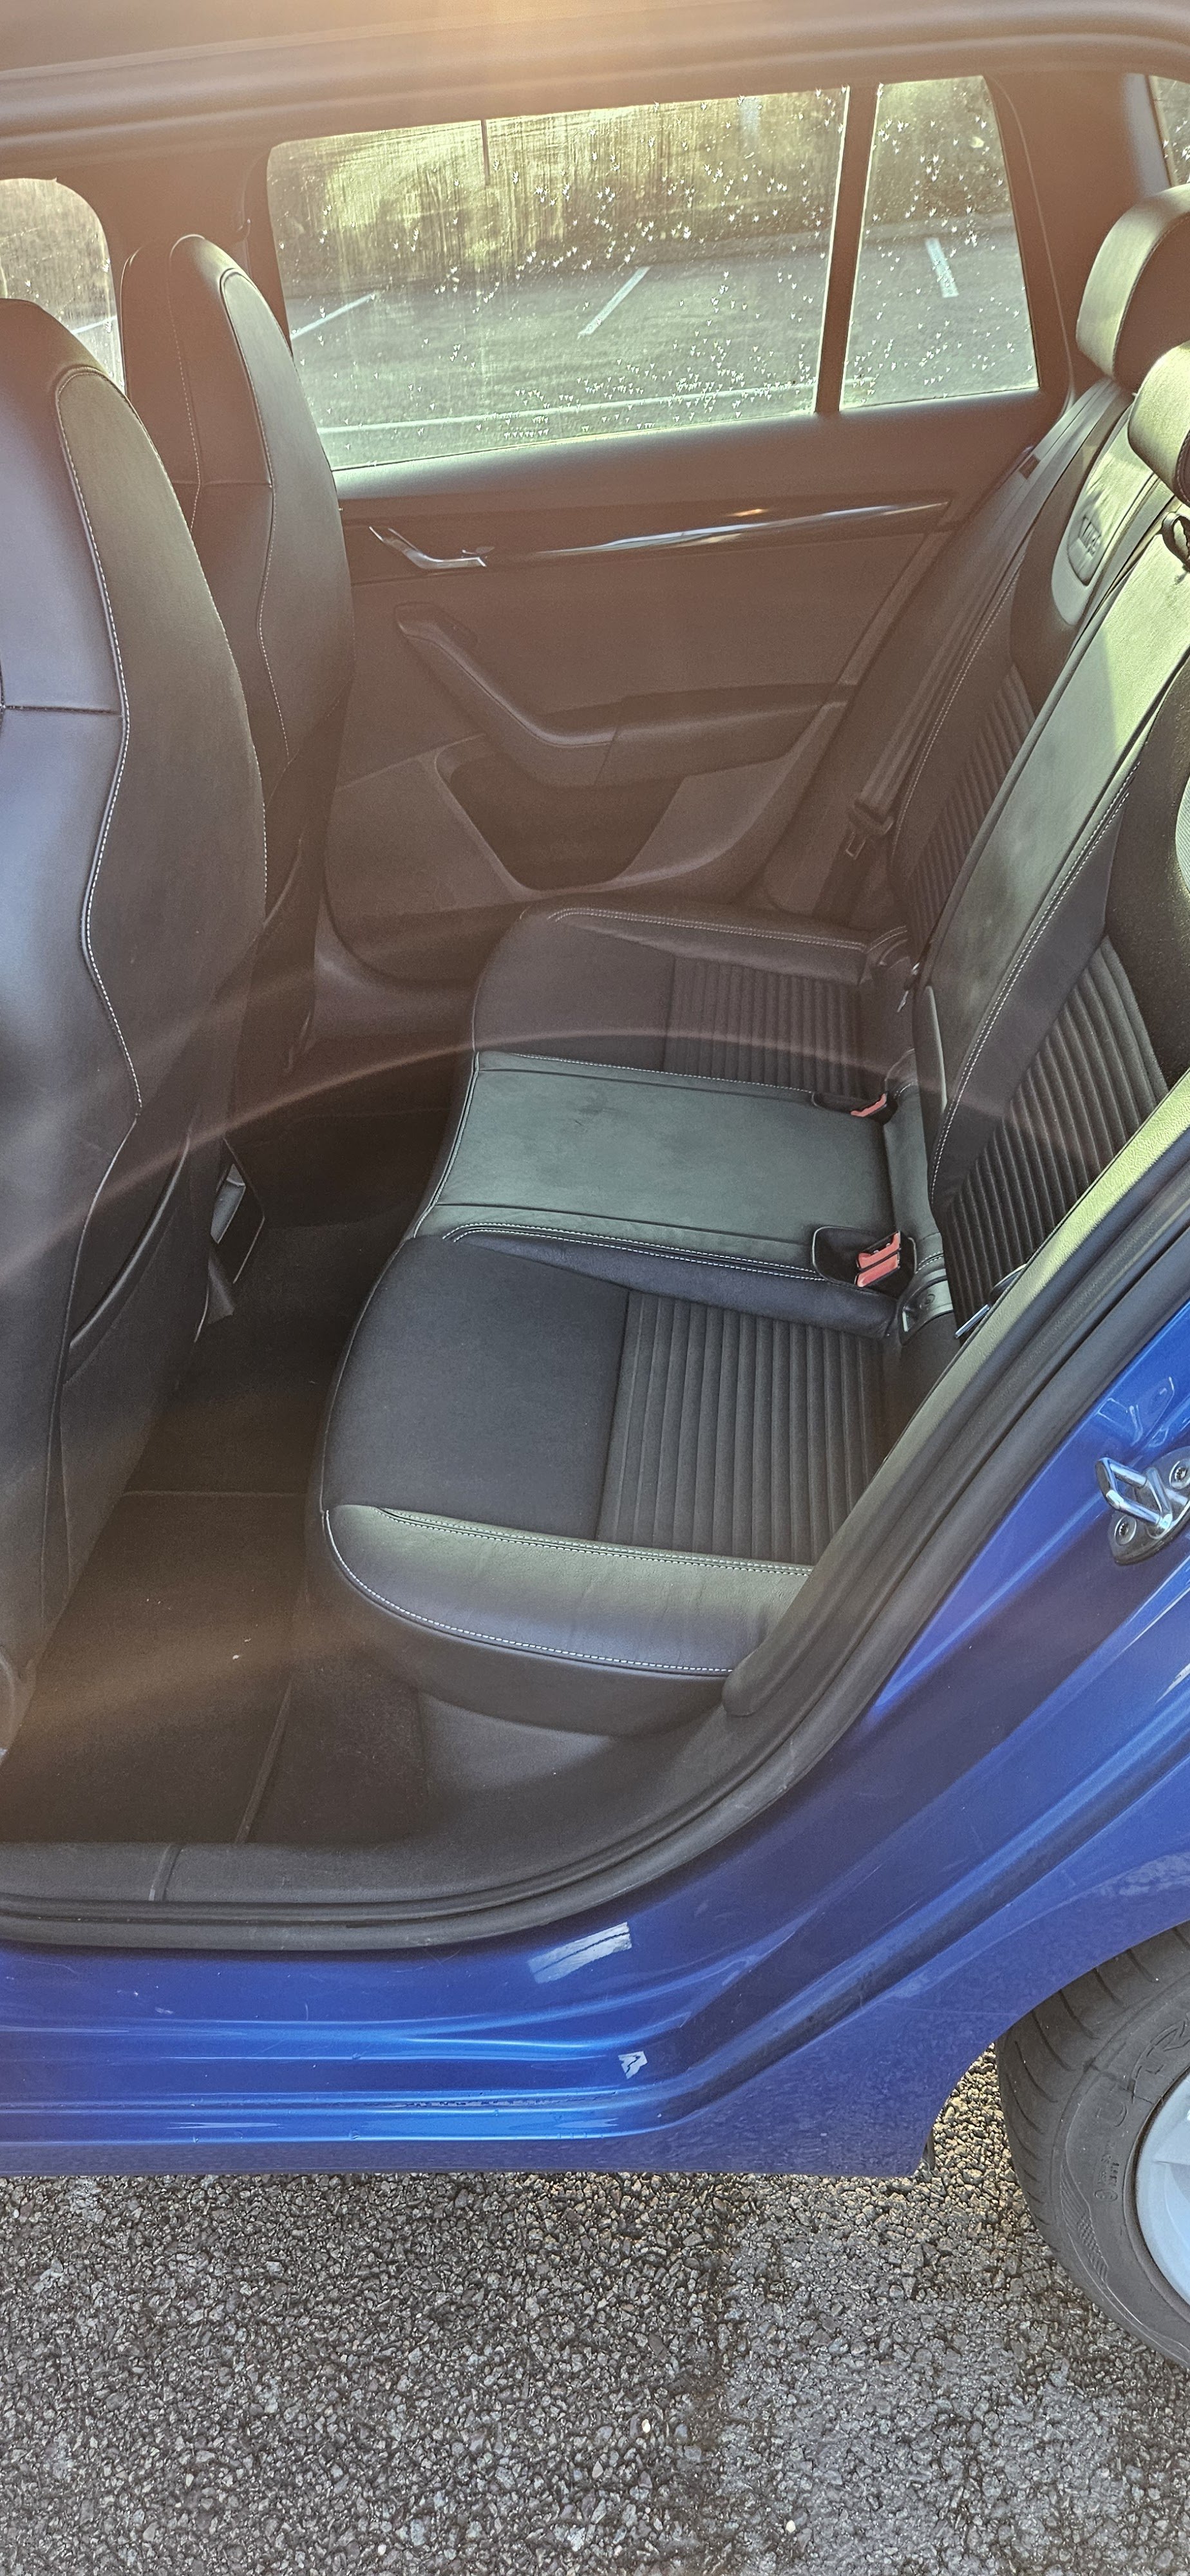
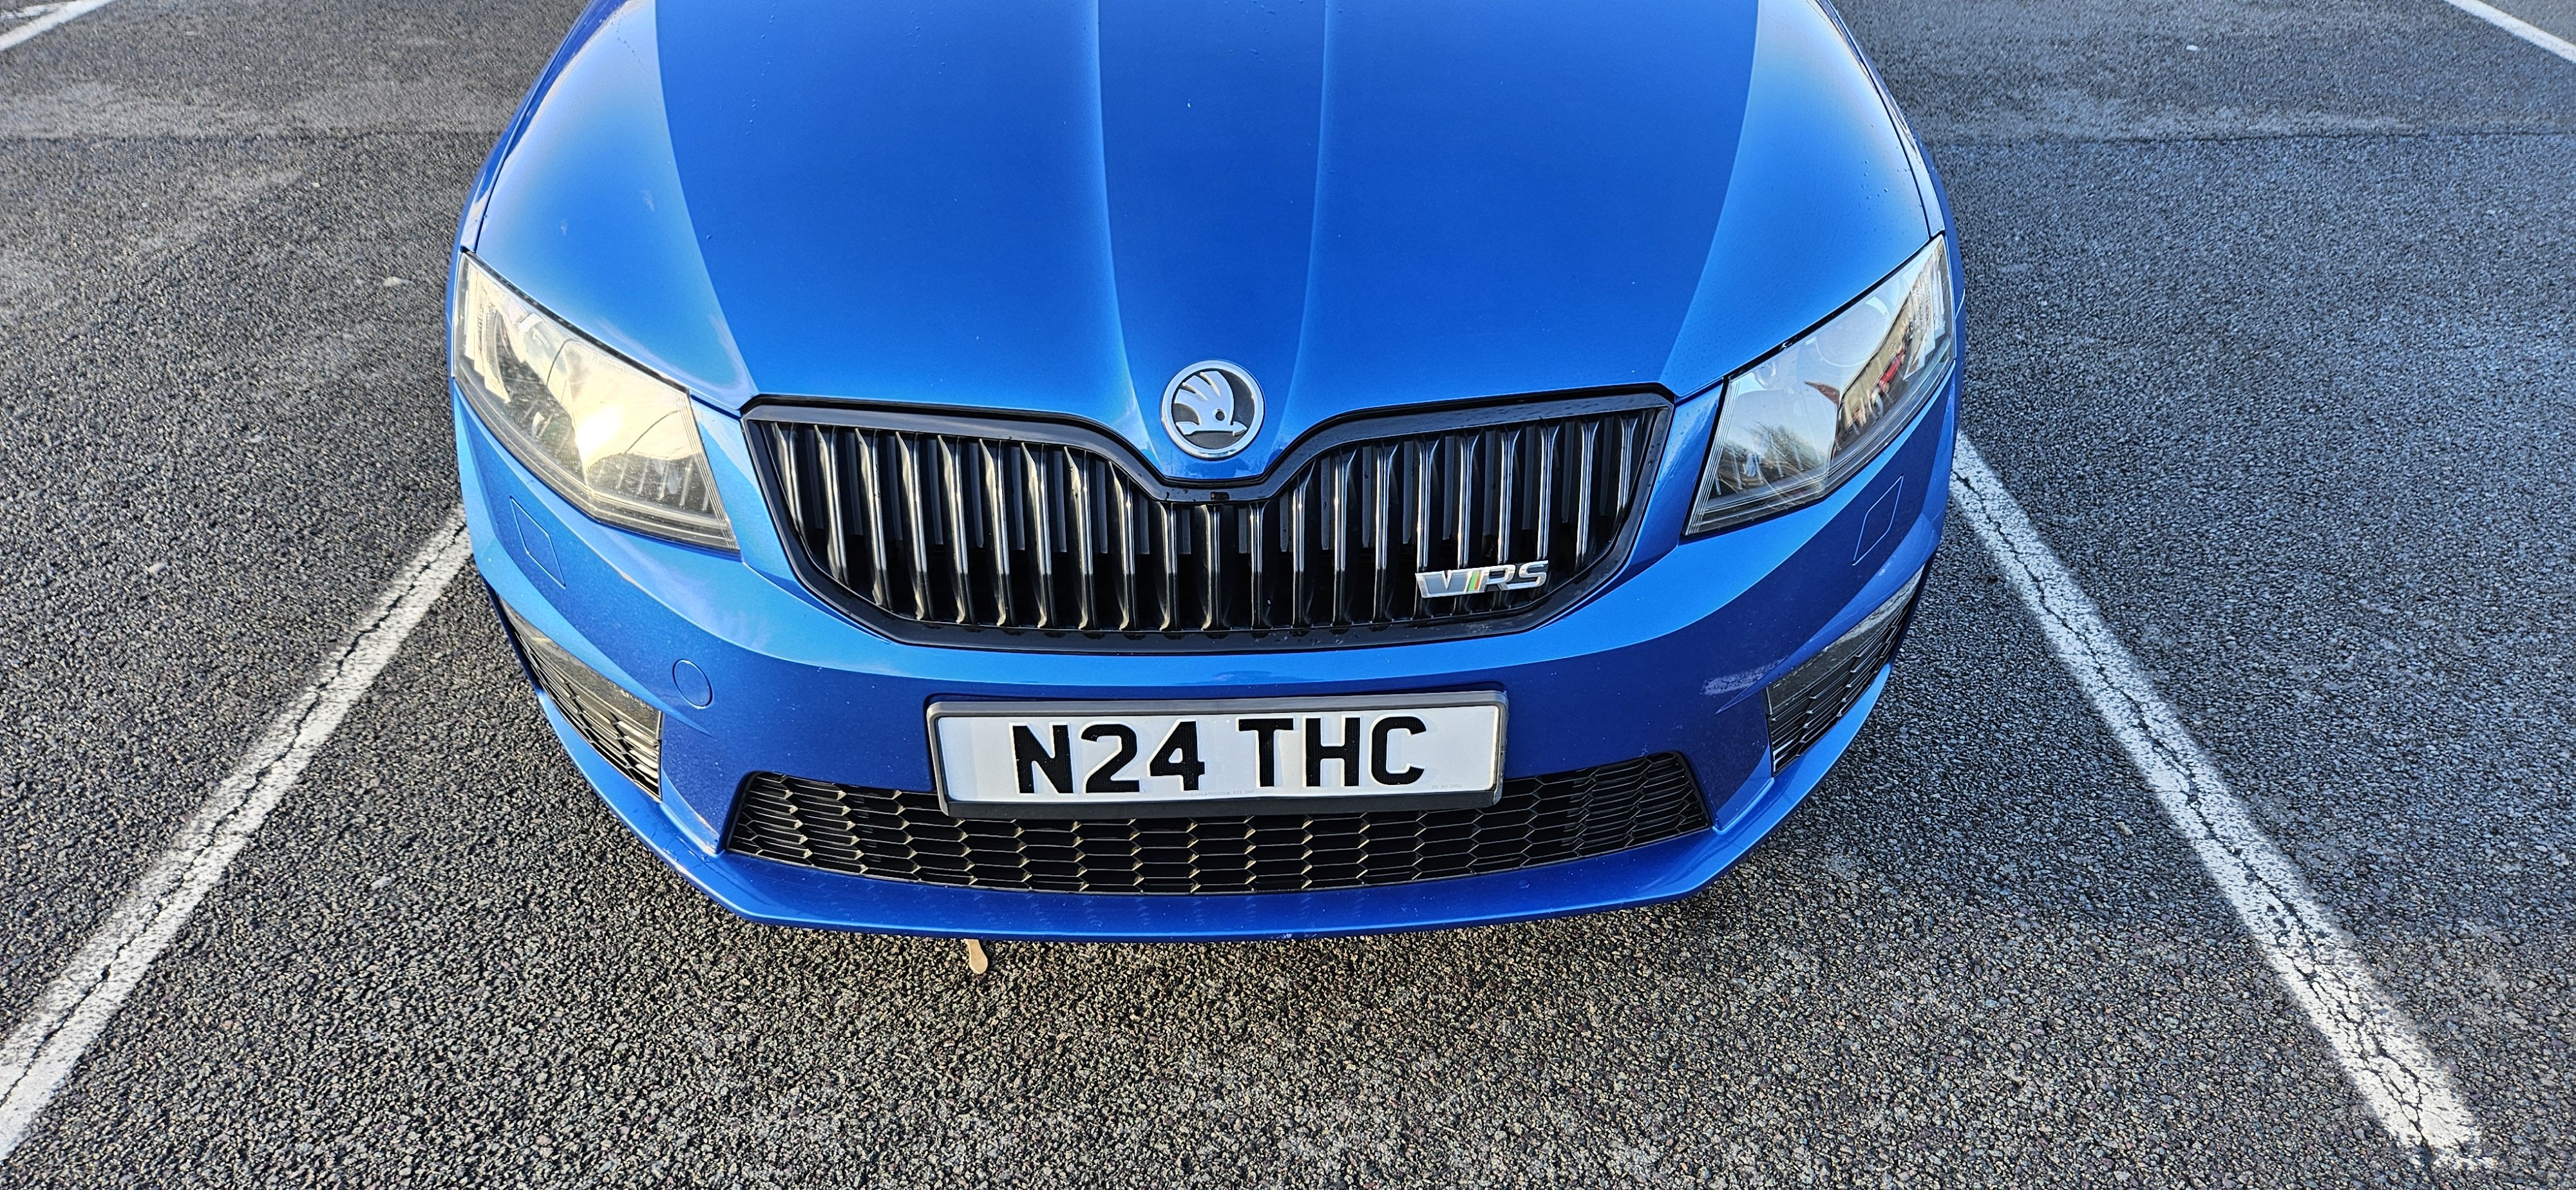
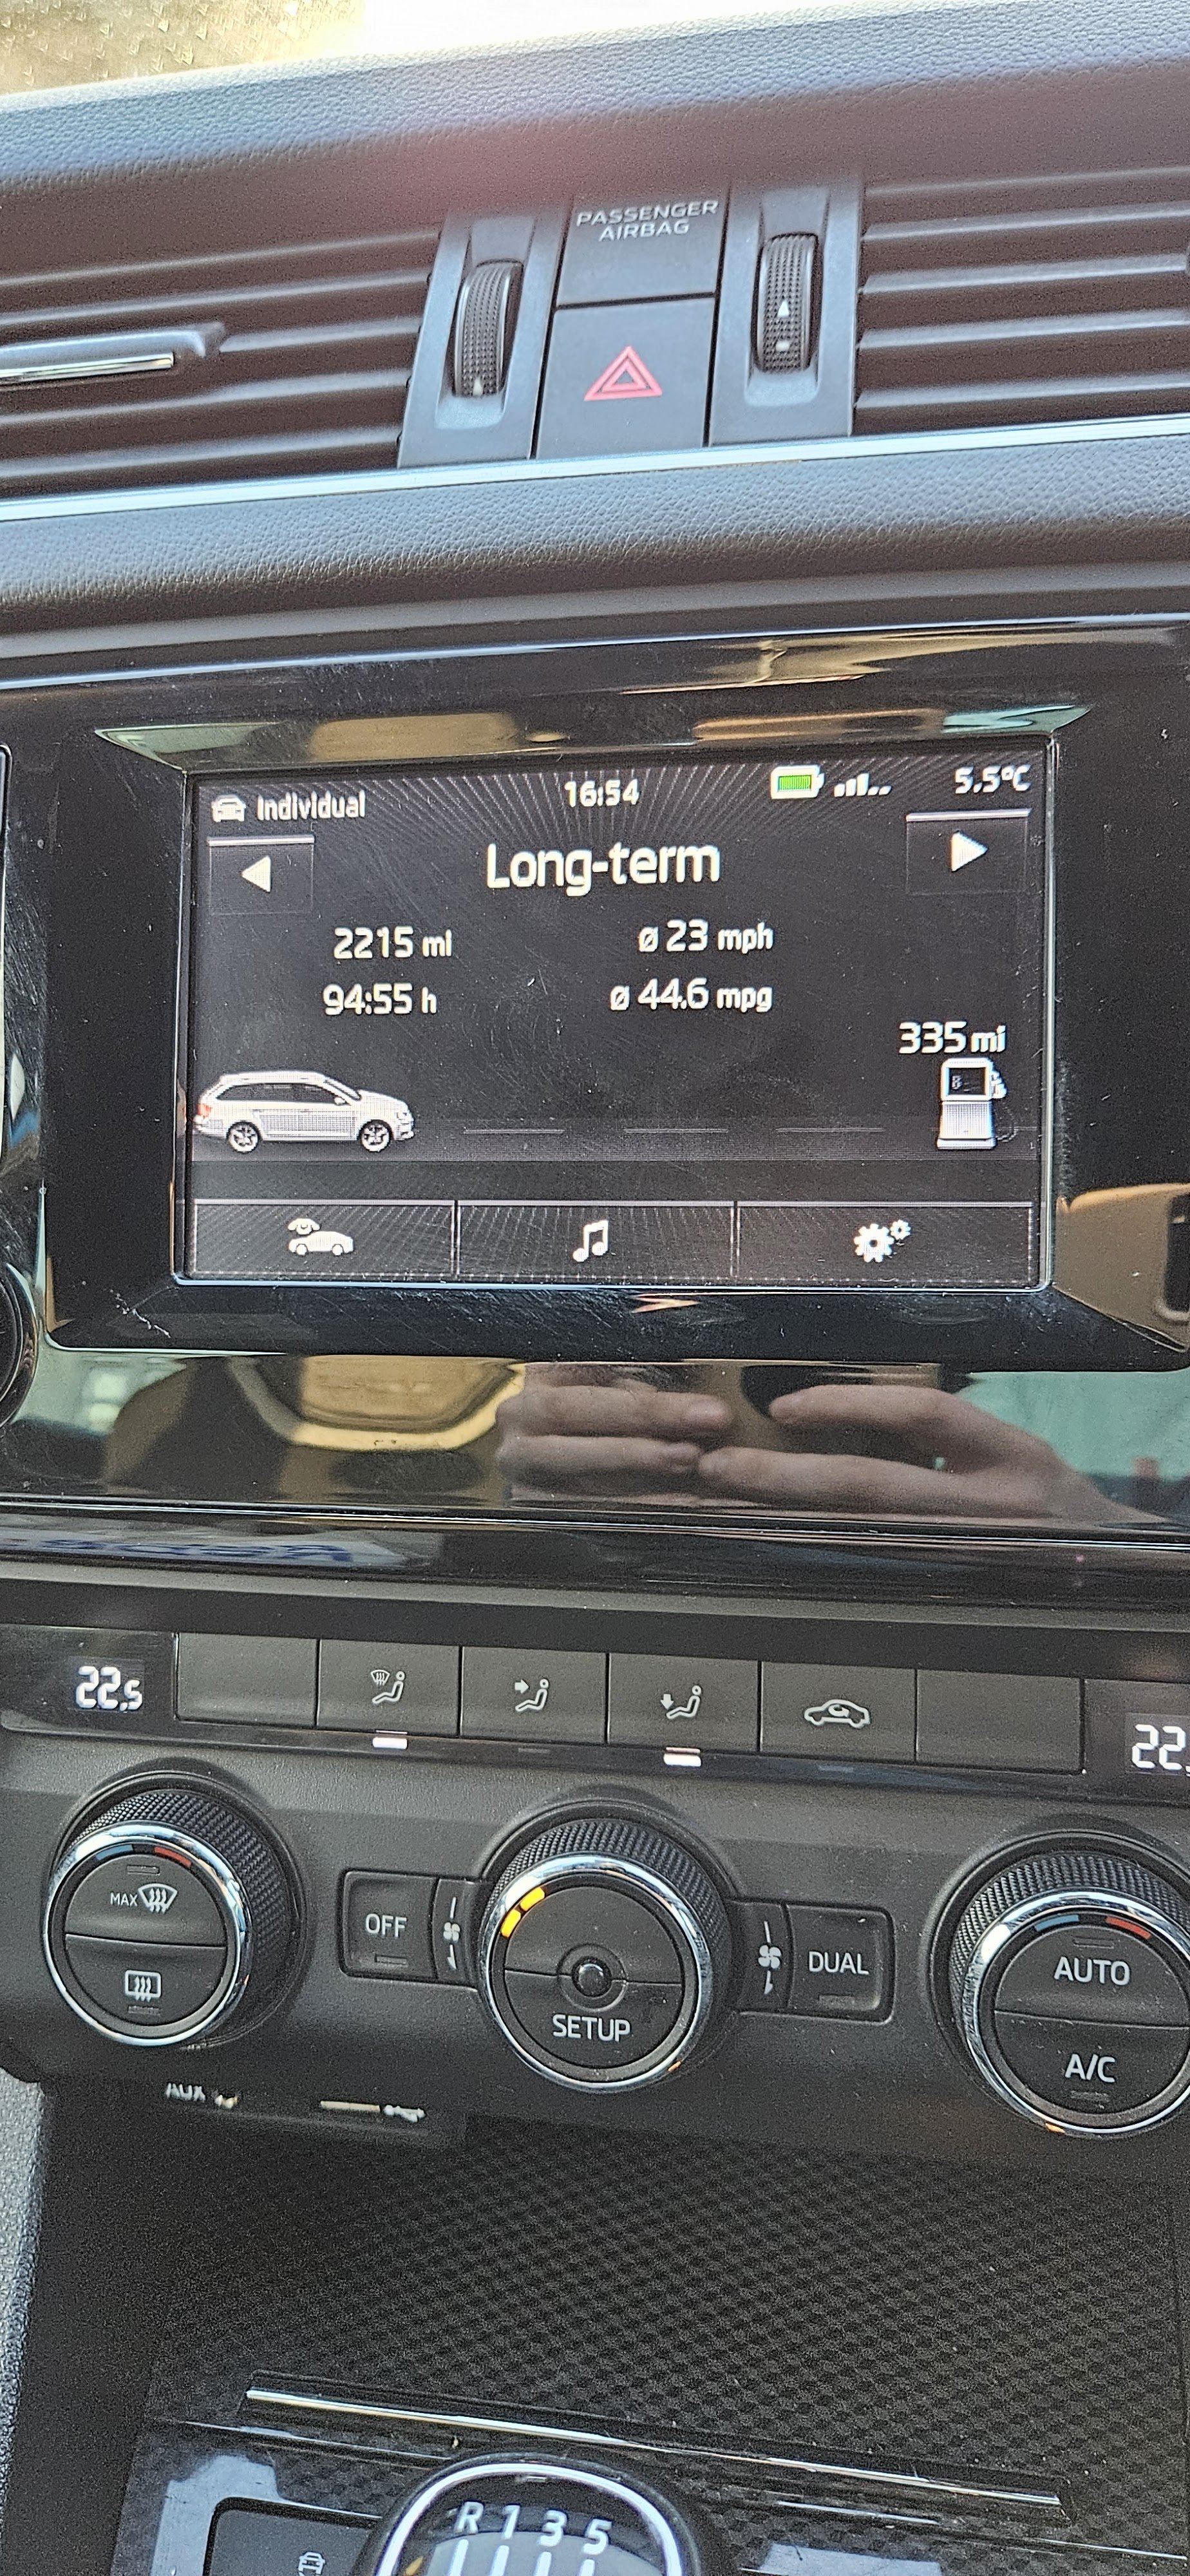
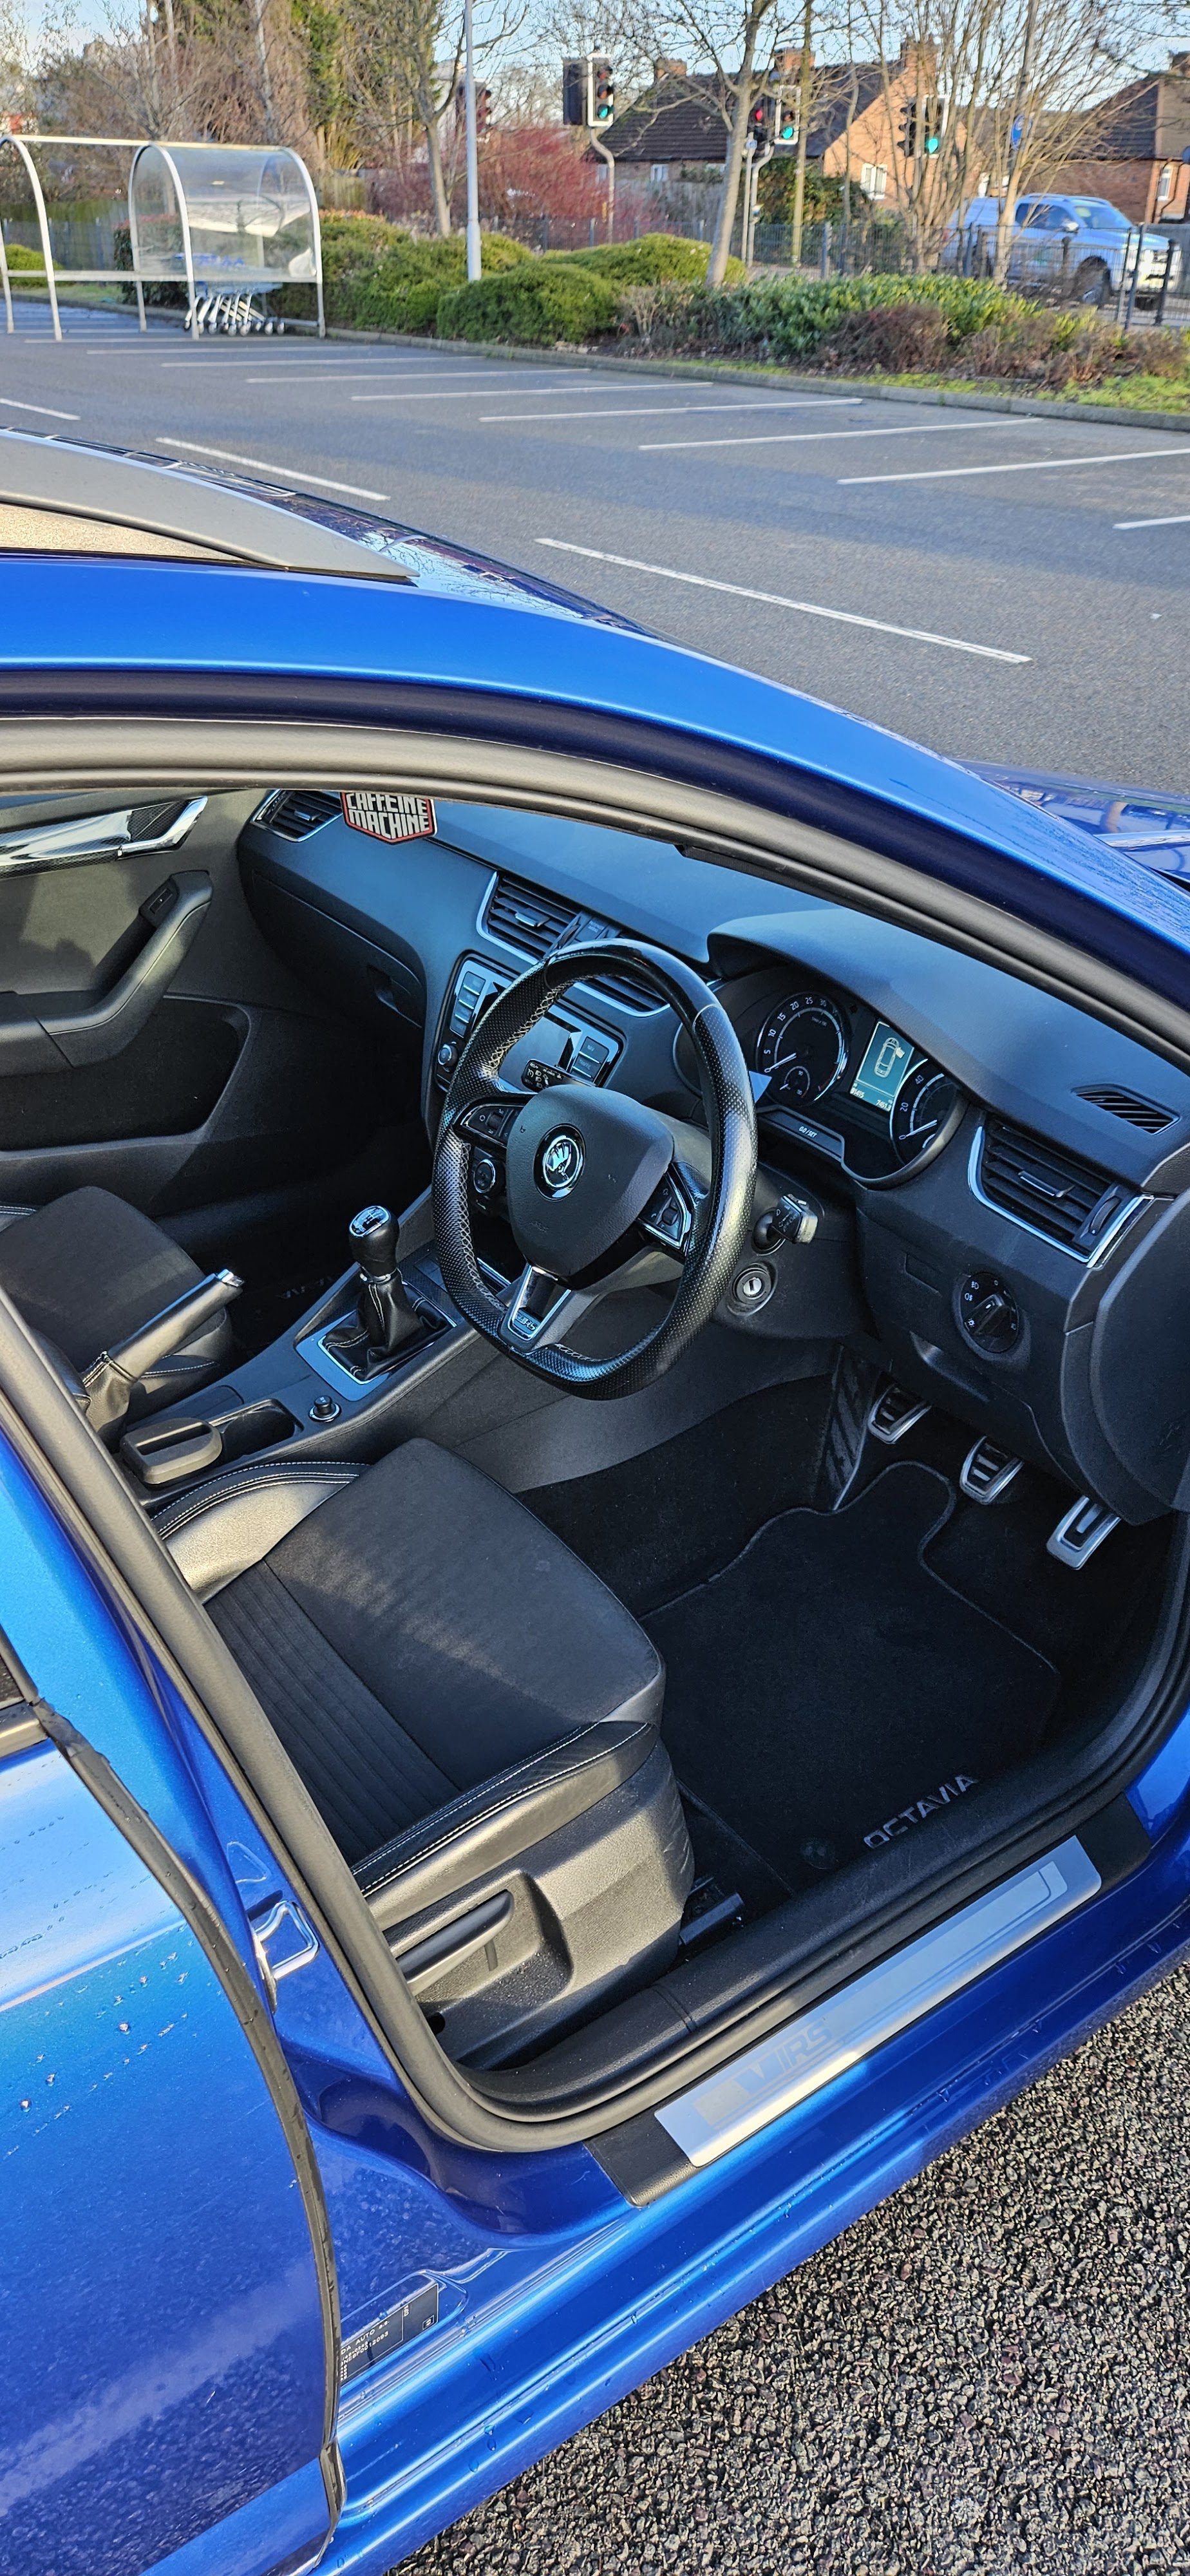
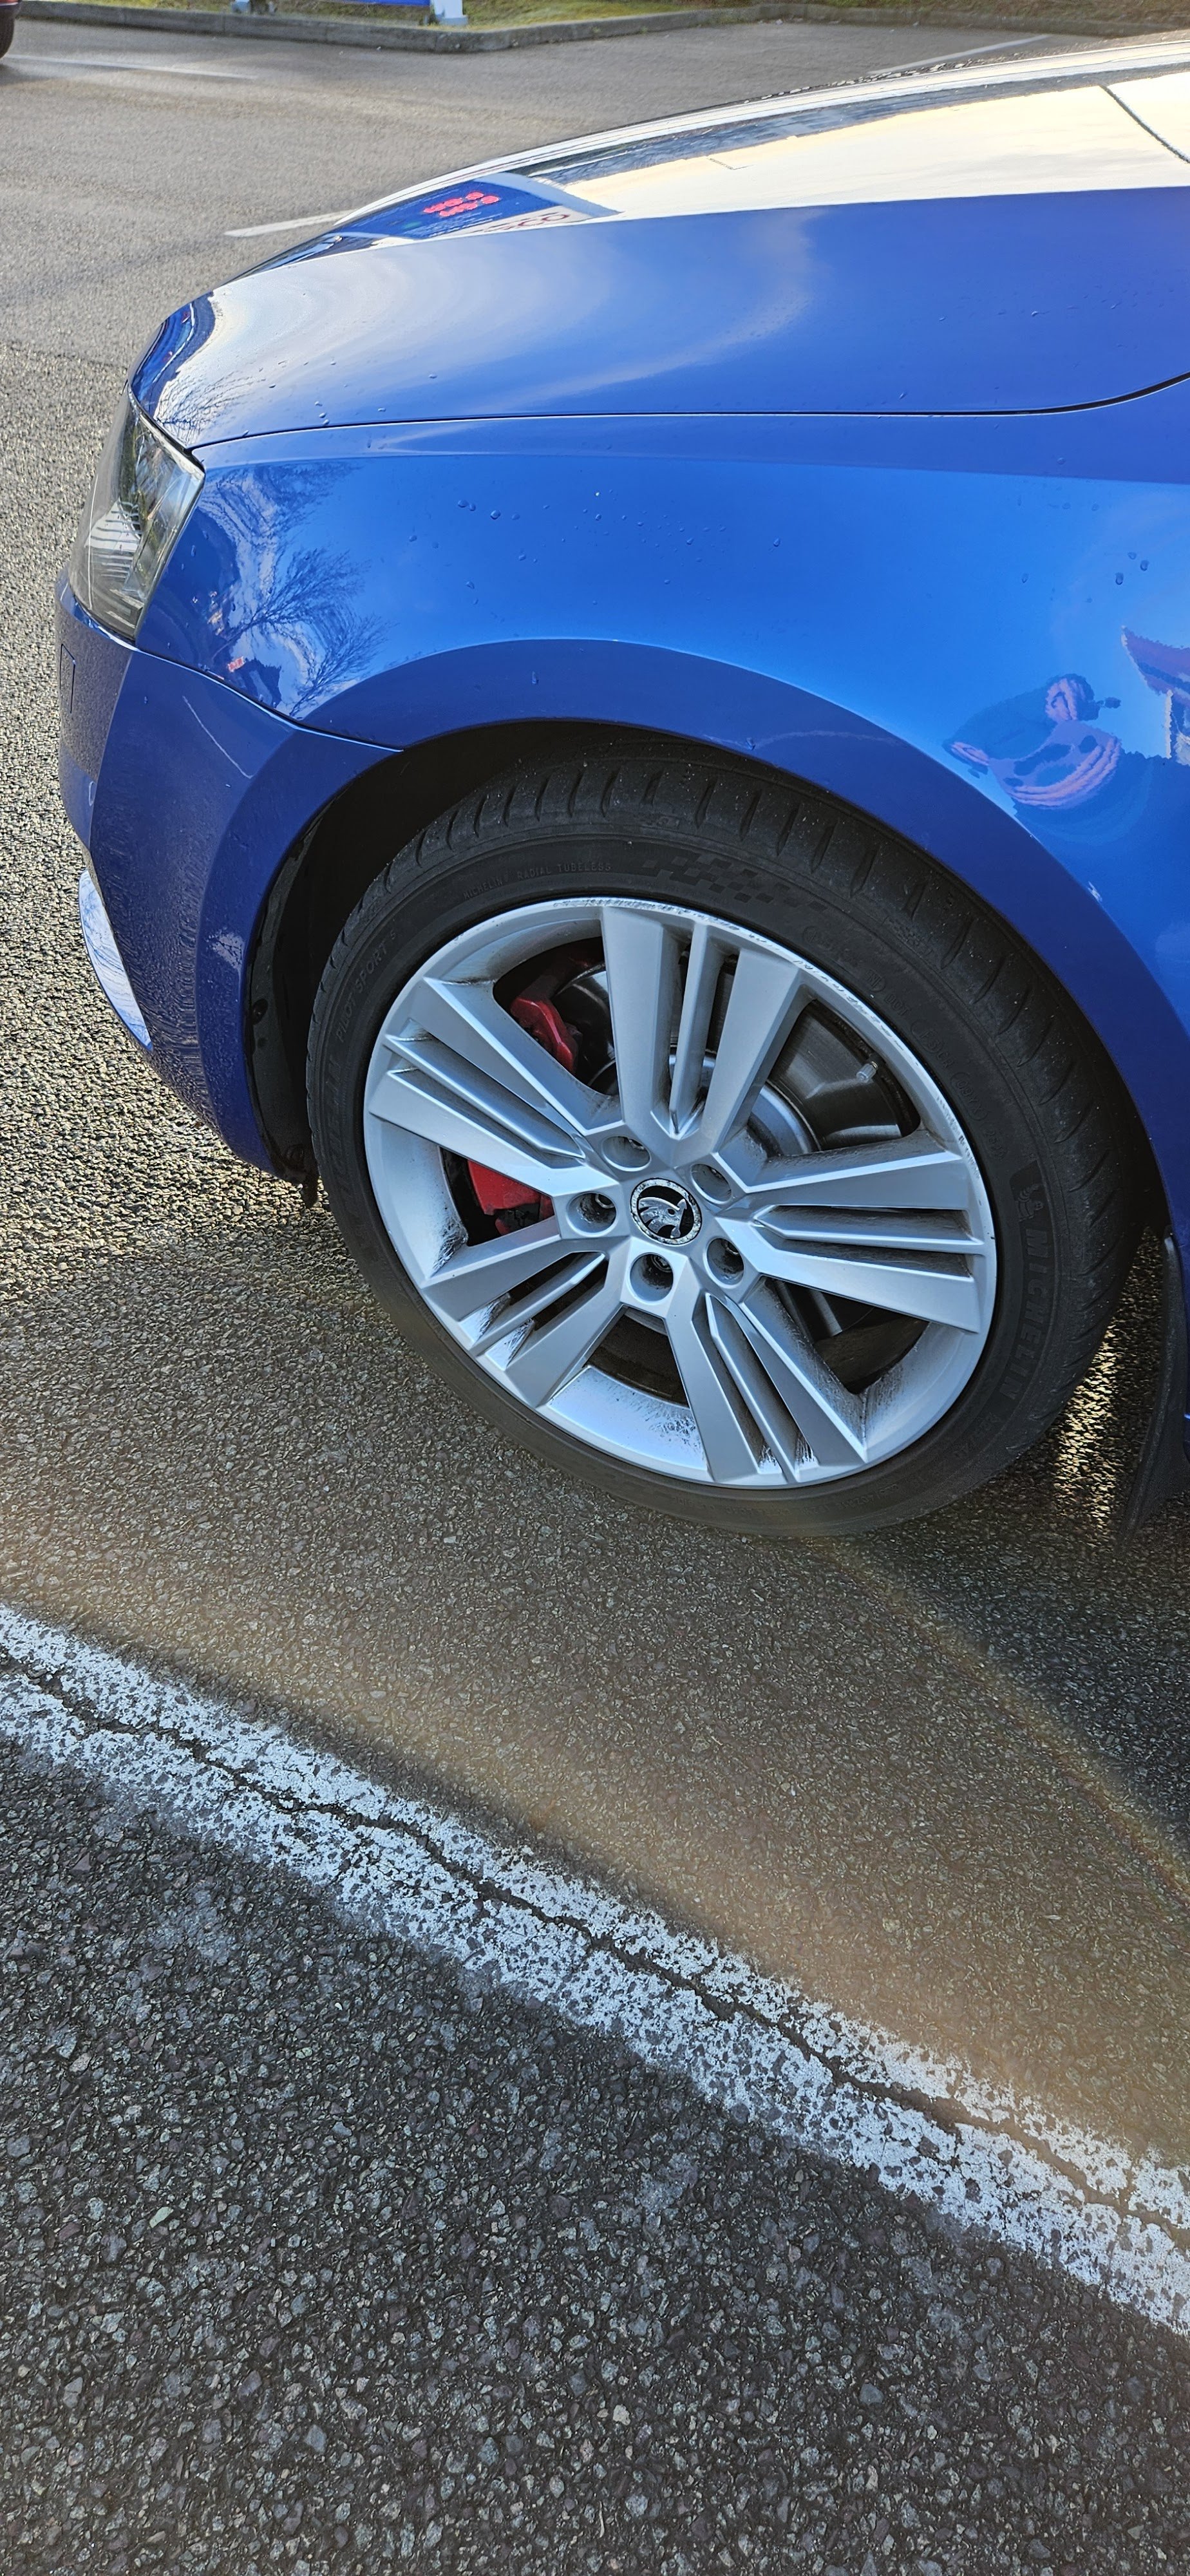
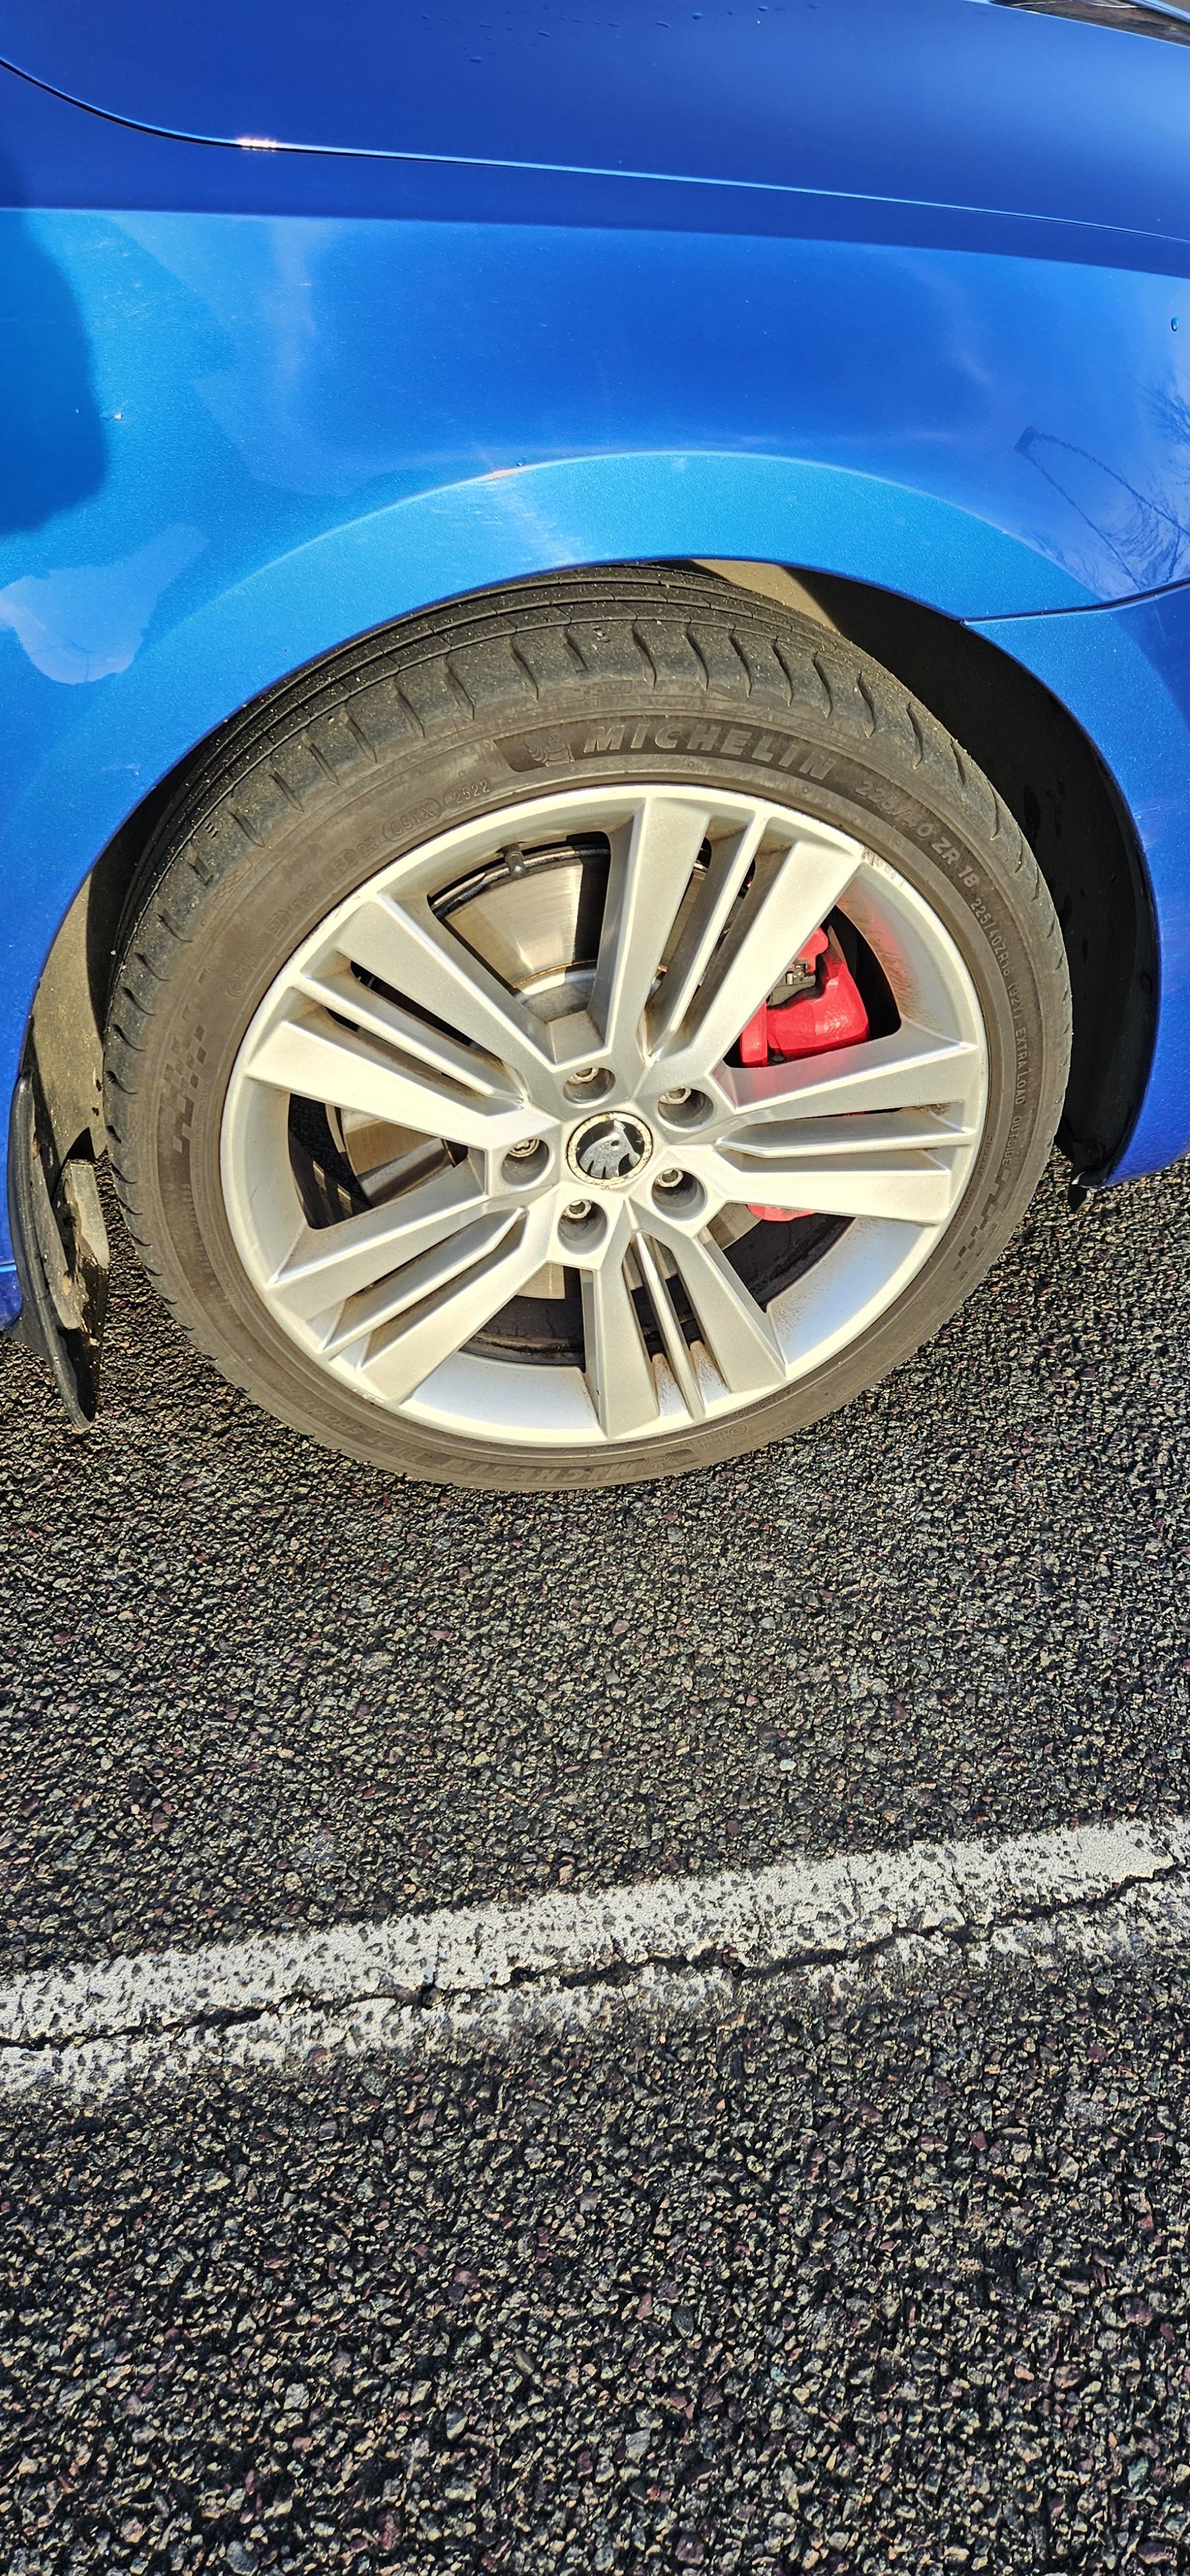
Make & Model: Skoda Octavia VRS 2.0 TDI 2014 Colour: Blue Mileage: 92500 Price: £8500 or offers welcome. Any help on price would be appreciated. Condition: Car is in very good condition for a 10 year old car. A stunning blue colour. The car drives very well and smooth with no issues at all. Summary: Gloss Blue paintwork Carbon effect interior trim accents VRS trim with sports seats Cruise control 18 inch alloys Red brake calipers Auto dim rear view mirror Auto lighting with LED Daytime running lights Auto climate control with left and right zones Tinted rear glass remote central locking with 2 keys Built in touch screen display adjustable centre armrest with storage Auto rain wipers 2 keys FSH incl cambelt and waterpump in 2019 £30 a year road tax Negative - 2 of the alloys have scratches on the wheels. Luckily not too noticeable due to the silver colour. Original plate is back on the car AX14 ACF. Any questions or requests for more photos welcome. Service History/Receipts/Recent Service work: MOT until 26th June 2024. 92500 miles with last service in June 2023. No service book as online service history. All prints out available due to full Skoda and Skoda sepcialist service history. Front brakes changed in Jan 2024. Collection: Leicester, 1 minute walk from South Wigston train station. Pictures:
1 point
-
Hi all, I am looking for some Thule roof bars for my octy mk3 estate. it seems that 7104 (foot pack) and 7112 (bars) are the right codes but does anyone have the old part numbers before Thule changed them a few years back?1 point
-
Hi all, As many VAG cars, my Superb Mk3, is fitted with a DSG6 (DQ250) gearbox. Here is a tutorial to change its oil and filter on your own. You'll probably tell me: What's the point with it? Just have a look on Google or YouTube and you'l find plenty of them! That's true, but having done this exercise, I could see that it is very rare to have all information in a single tutorial. I will therefore try to be as exhaustive as possible. Here a list of some Skoda models also DSG6 equipped (I nevertheless let you check on your own, since depending on engine type or MY, some may be DSG7 fitted⚠️ instead of DSG6) ! - Octavia 2 - Yeti - Kodiaq - Superb 2 - Superb 3 First of all, here is the DQ250 gearbox: We're going to focus on the following items: #17: Filter housing - Tightening torque : 20Nm #18: O-ring - P/N N910 845 01 (normally sold with the filter) #19: Oil filter - P/N 02E 305 051C #26: Oil pipe - Tightening torque: 3Nm #27: Seal ring - P/N N 043 089 2 (normally sold with the sealing plug) #28: Sealing plug - P/N N902 154 04 - Tightening torque: 45Nm Not shown on this pic: DSG Oil - P/N G 052 182 A2 - 6l - Difficulty : 2 - Time needed : approx. 2h - Number of person needed : 1 - Necessary tools : ¤ VCDS software (or similar, To be confirmed) ¤ 24mm socket ¤ 8mm and 14mm Hex ¤ Torx 25 and 45 ¤ Ratchet or classic wrenches for disassembly ¤ Torque wrench(es) to apply specified torques (3 / 20 / 45 Nm) ¤ Short and intermediate extensions for ratchet or torque wrenches to enable easier access to screws ¤ Small flat screwdriver ¤ Filling hose VAS6262 ¤ Wooden toothpick ¤ Small fork ¤ Slip joint pliers ¤ Oil drip tray ¤ Twine (about 80cm long) or an old metallic hanger (wire one) ¤ Wide masking tape ¤ Rags ¤ Lifting means Concerning VAS6262, you can find one on numerous website at various prices. Without switching to a much more expensive pump model, I suggest taking a filling hose with a 1/4 turn shut-off valve close to the adapter on the can side. These ones are less widespread but still at affordable price and of course easier to use, since you can work without being 'showered' with oil. I've chosen this one on toolstogo-uk.com https://www.tools2go-uk.com/13664247/gear-oil-filling-hose-for-vag-dsg?g…=&Lng=en Dealing now with the DSG oil kit, you really have to be careful on the kit content ⚠️. Indeed some kits only content DSG oil and oil filter, but no sealing plug nor seal ring! ⚠️ Warning: Prices can really be different from a website to another (starting form 90€ up to ~200€ !) Chose the right one! After hours of searches and checks, I finally bought the Febi-Bilstein kit, which can be found on autodoc.co.uk for 100€-ish https://www.autodoc.co.uk/febi-bilstein/15821763?search=FEBI BILSTEIN Transmission oil change kit (171762) It effectively contains: - 6l of gearbox oil - DSG oil filter (#19) and its O-ring (#18) - Sealing plug (#28) and 2 seal rings (#27). By the way, I still don't understand why 2 rings?🤔 Note: I did not take time to ask for OEM spare parts prices by my local dealer. Step #0 : Preparation You need to lift the car high enough to get under the car and to get enough space to move your arms comfortably around the gearbox. Note: Though you've lifted the car, it needs to remain horizontal to make a proper filling with right oil level (see step 7). Step #1 : Air system removal Start with removing the air box. You first have to remove the 2 T25 Torx screws (#1), then unclip the cover on the rear face (#2) and lift it by rocking it as shown by arrow to avoid breaking the 2 lugs at the front side of the cover (#3). Finally simply push to the rear to release the lugs (#3). You now have to unclip the 2 lugs, where the 2 torx screws you have just removed where tightened (#1). Be careful for this step, since these 2 lugs may break. I've seen 1 or 2 pics of broken lugs on this forum. ⚠️ Then, you need to push the airbox backwards, so that its front side can 'rip' other the bonnet slam panel. Then unclip the hose (#3) and with a rocking motion back and forth, release the front side so that the airbox can be fully removed. However, do not hesitate to put one hand on the back of airbox to be able to pull forwards more easily (#4) and take the airbox out, which is quite large. This being done, you need to remove the air filter housing. This is simpler. Start with unplugging the small hose (#2) at the air filter housing outlet and unplug the air flow meter connector (#3). ⚠️Be careful: There's a small grey latch on the connector (if equipped) to unlock before pulling the connector off, otherwise it won't come out or you risk ripping it off. Now, remove the metal collar (#4) on the large air hose downstream the air flow meter. Use a slip joint plier for this. You can now unclip the air filter housing, which is simply fitted onto 3 shock absorber pins (#1). Pull vertically upwards. Don't hesitate to pull hard (continuously and not jerkily), it holds up really well! The 3rd pawn is under the air box (dotted circle), but it comes out quite easily when the other 2 are already out. Once the air filter hosing has been unclipped, all you have to do is disconnecting the large hose, downstream from the flow meter. Be careful to 'close' the hose to avoid any foreign object damage or even just dust towards the engine. Masking tape will do do the job! Step #2 : Battery removal To take it out, you need to remove a 13mm hex screw, which tightens a retaining bracket et holds the battery in place. This screw is on the front of the battery (#5 on previous pic). Then remove both battery terminal covers (by lifting vertically) to access the clamping nuts of both battery terminals posts (10mm Hex socket). Warning⚠️: Start disconnecting the "-" terminal post before disconnecting the "+" terminal post! For more safety, wrap them with masking tape as well if you want. Battery can be then removed easily, even if it weighs! Step #3 : Battery fixing plate removal You can now access the battery fixing plate, which is held by 2 10mm Hex screws (blue squares) and one 10mm hex nut. Sorry, the latter is out of the pic, but it can be found easily (just follow blue arrow). Be careful don't be too quick at this step, several fixing staples are indeed attached to the battery holder. You might be tempted to cut the tie-wraps, but these are attached to small brackets, which are simply stapled (red circles) or clipped (orange circle) to the battery fixing plate. Staples can be removed by simply pushing them with a flat screwdriver, while the clip-on holder can be pulled out with a small fork. There is now a small Control Unit attached to the battery fixing plate. Unclip the small lug (red circle) and pull the control unit vertically (as suggested by arrow) to remove it from the battery fixing plate: The battery fixing plate can now be removed. Step #4 : Oil draining You can finally access the DSG oil filter housing: A 24mm hex socket is necessary to remove it. Once done, protecting the filter location against foreign object damage or dust is necessary. Aluminium foil will do the job. FYI, here is the difference between a new filter and a filter with 60,000 km on the clock. Now remove the sealing plug with the 14mm Hex. Once done, the oil flow will be very thin, due to the oil pipe. Remove the oil pipe, using a 8mm Hex. After that, the oil flow is more important. Step #5 : Oil filter replacement Once the gearbox is empty, you can put back in place: - The Oil pipe (still using the 8mm Hex. Tightening torque = 3nm). If you don't have a torque wrench complying with such a low range. Take it easy! Just to give an idea, it is roughly the same order of magnitude as for closing a jam jar lid. (Sorry, this is the only simple image I found quickly ...). Well just keep in mind, it's light !! - The new DSG oil filter (don't forget to moisten the O-ring in its hole) - The new O-ring on the filter housing (don't forget to moisten this one too) - The filter housing, which must be tightened at 20 Nm (with the 24mm Hex socket) Step #6 : Reassembly Steps #1 and #2 can be processed in the reverse order to reassemble : - The battery fixing plate (and the small control unit) - The Battery - The air filter housing and the hoses - The airbox. Step #7 : Oil filling The filling hose can now be screwed in the sealing plug thread At the other end, donc forget to shut the 1/4 turn valve, before screwing it onto the oil can. To make it easier, you can attach the can to the bonnet with a 80cm long twine or an old metal hanger (wire one), that you can shape to transform it as a can holder. If you want to fill the gearbox faster, you just need to make a little hole in the can bottom (now upside down ) to enable air getting in the can. Of course, don't forget to open the 1/4 turn valve. http://img.xooimage.com/files1/b/e/c/whistle-1bb1.gif You have to fill approximately 5,5l. Once again, don't forget to shut the 1/4 turn valve upon each oil can change http://img.xooimage.com/files1/b/e/c/whistle-1bb1.gif. Warning: Do not make a hole in 6th can, otherwise there could be some side effects... http://img.xooimage.com/files1/3/e/0/33-2bc7.gif When the 6th can is half empty, shut the 1/4 turn valve, remove the can from the filling hose. Put now the free end of the filling hose into the dip tray. You can now open the 1/4 turn valve to start adjusting the oil level Step #8 : Oil level adjustment ⚠️ Now, start the engine and keep your foot pressing the brake pedal. Move the gear lever in accordance with the following sequence: P to R, wait 3s R to N, wait 3s N to D, wait 3s D to S, wait 3s S to D, wait 3s From this point, most other tutorial suggest getting back directly to P. I personally rather got back step by step, still waiting 3s after each step. Once back to P, you can remove your foot from the brake pedal, but keep the engine idling. Now, connect your VCDS cable and select the gearbox controller (02 Auto Trans): Once in the gearbox controller menu, there are 2 options: 1) Either get into "08 Meas. Blocks". then in the new window, get into "Group 019" and check the Temperatur cell of "ATF (Auto Tranmission Fluid)" parameter. This is at least what I've found in several other tutorials. But though owning an official VCDS cable, the "08 Meas. Blocks" is greyed on mine. (may be my Micro-CAN version starts reaching its limits). Hence I had to use option #2 below. 2) Or get into "Adv. Meas. Values" menu: From this point, type "trans" in the search cell to find all parameters related to the gearbox. In the results list, tick "ATF temperature - Transmission fluid temperature": Now with the engine still idling, just wait for the oil temperature to get between 35 and 45°C. It may take several minutes. Be patient. When oil temperature is close to 35°C, you can remove the filling hose completely. Don't worry temperature is increasing really slowly. The oil flow from the oil pipe starts decreasing. Once the oil temperature is within the 35-45°C range, you can observe that a slight amount of oil flows out via the overflow tube every 30 seconds, independent of the oil level. This is caused by oil pulses, which cool down the coupling. According to workshop manual, this oil quantity is not a criterion to determine the correct oil level. Therefore, they must not be taken into account when assessing oil level. You can now screw back the sealing plug (with 14mm Hex). Tighten it at 45Nm. From this point, you only need to stop the engine, disconnect your VCDS cable and put the soundproof housing back in place under the engine, and... That's it! Well, non counting the specific tools, you've just saved ~200€! Note: I'd also like to write special Thanks to @J.R., who helped me to translate some technical words I was missing! Much appreciated.👍 _1 point
-
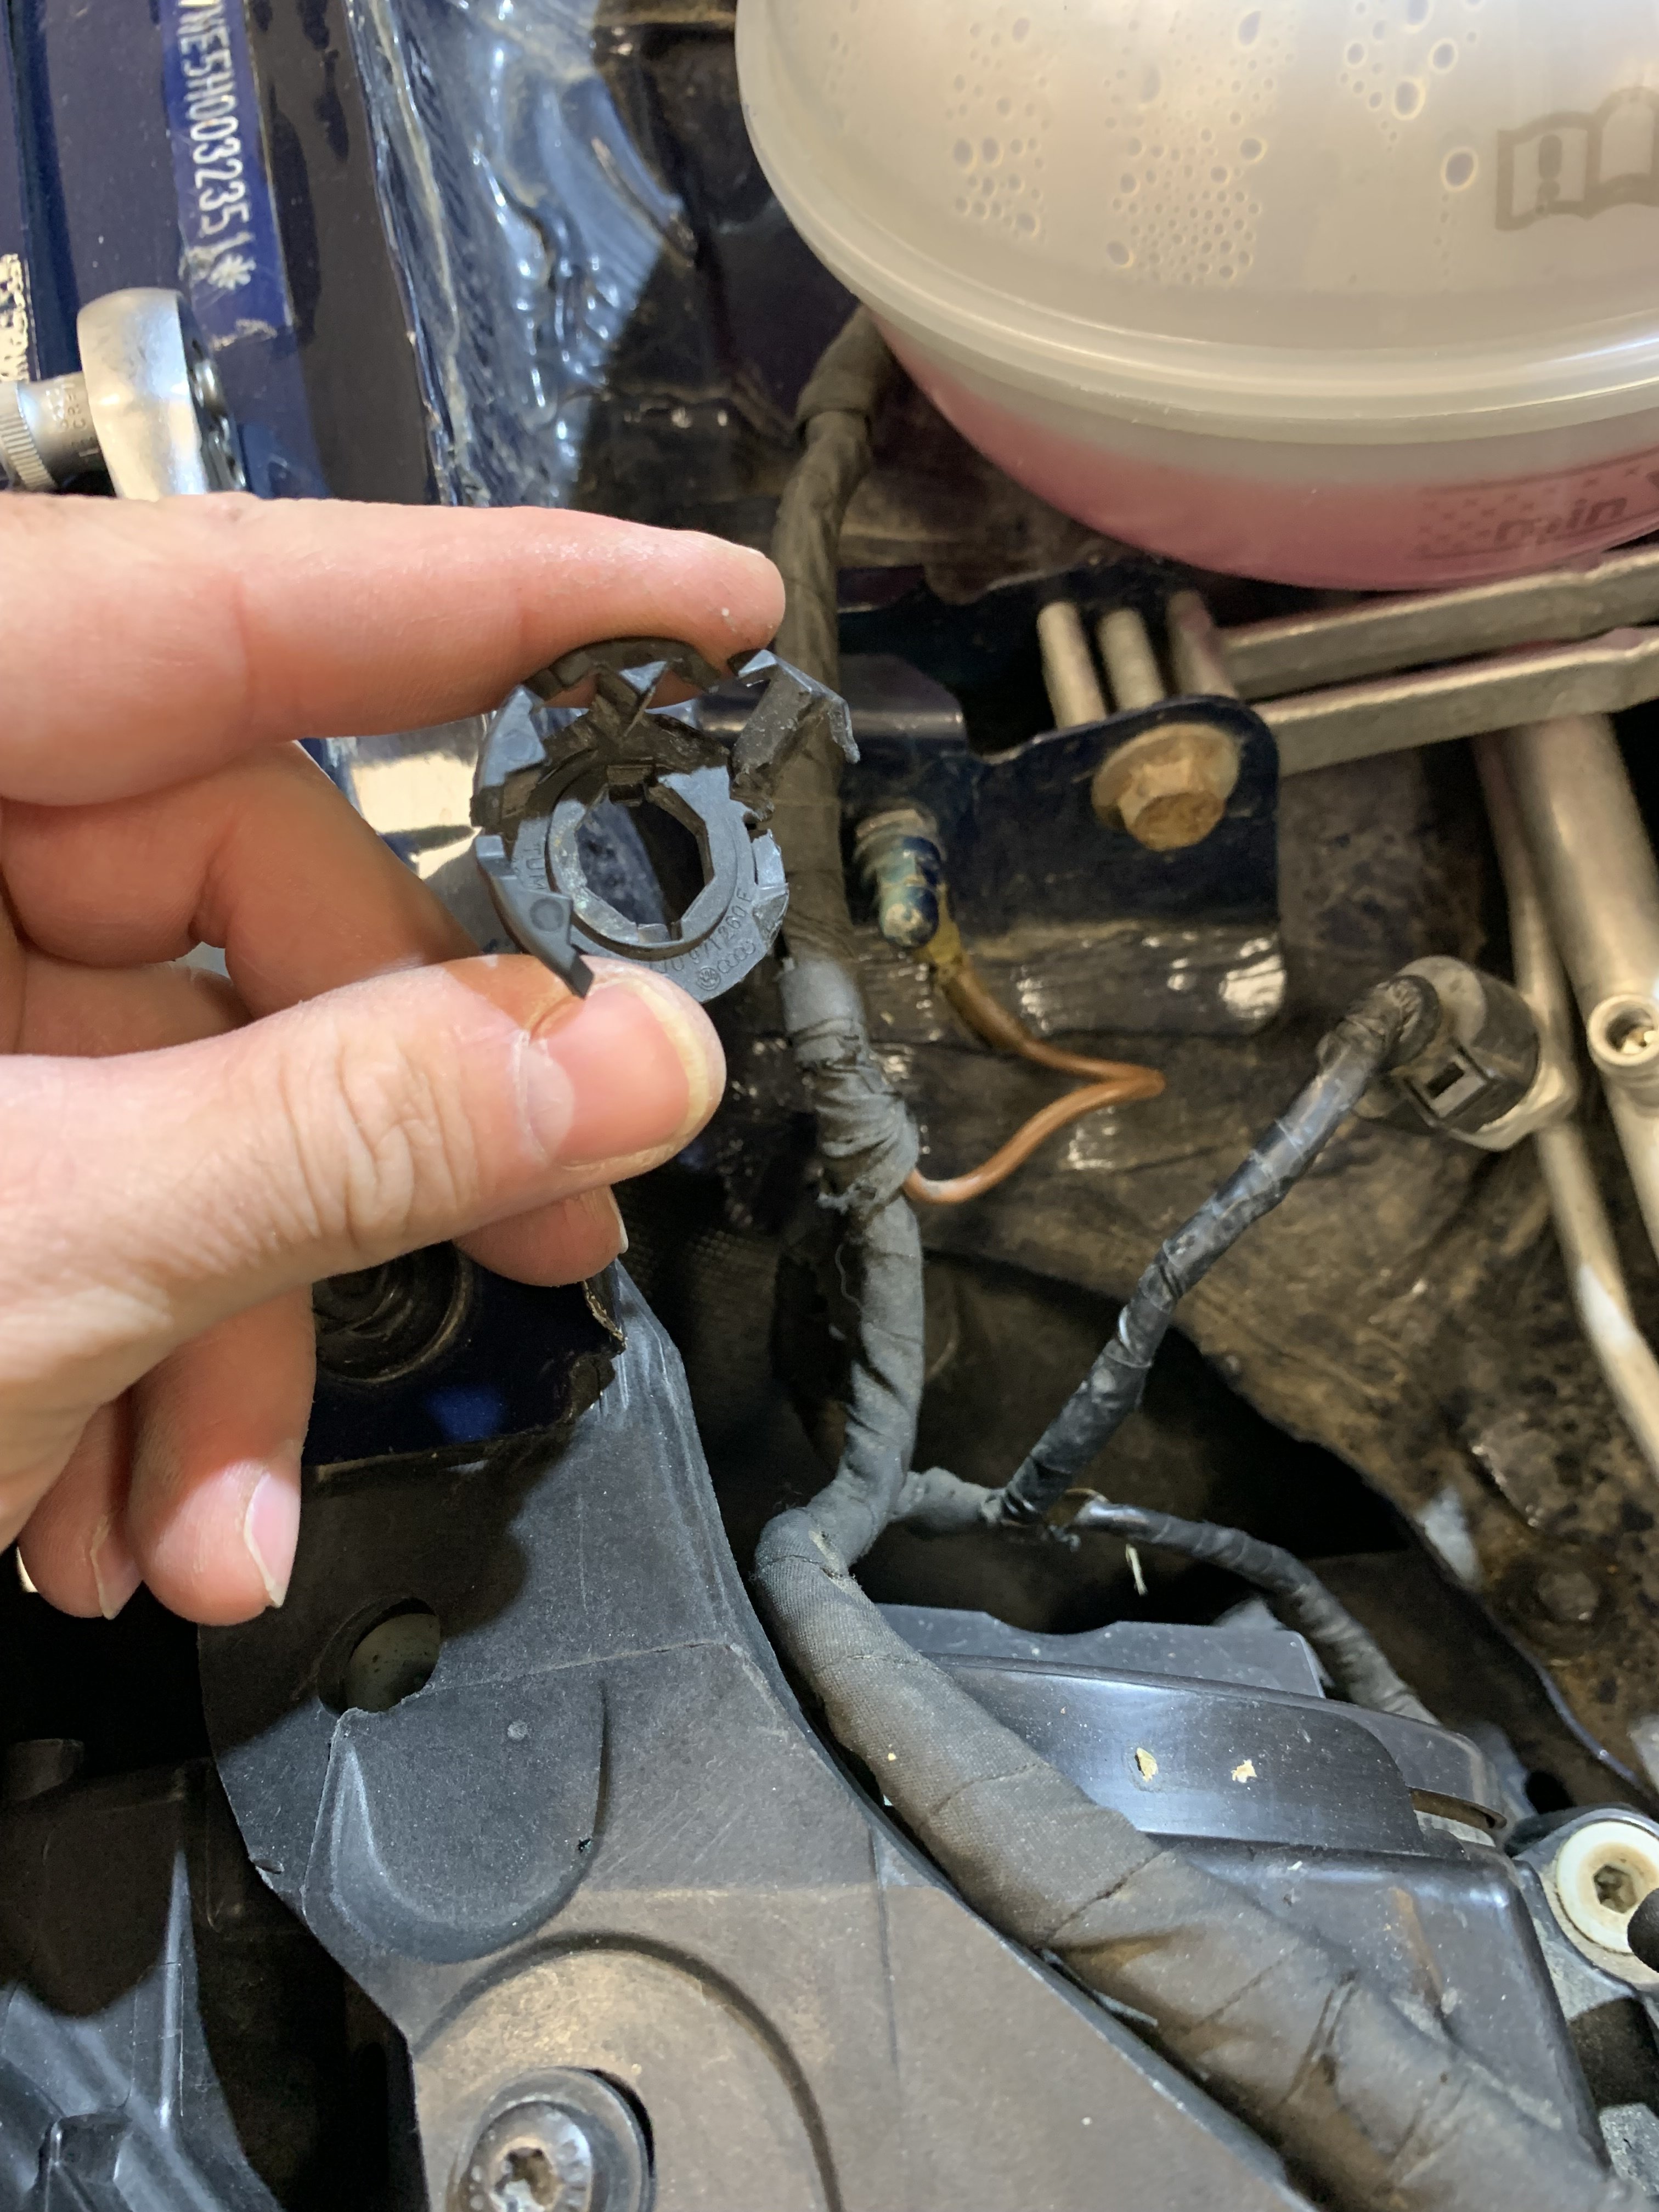
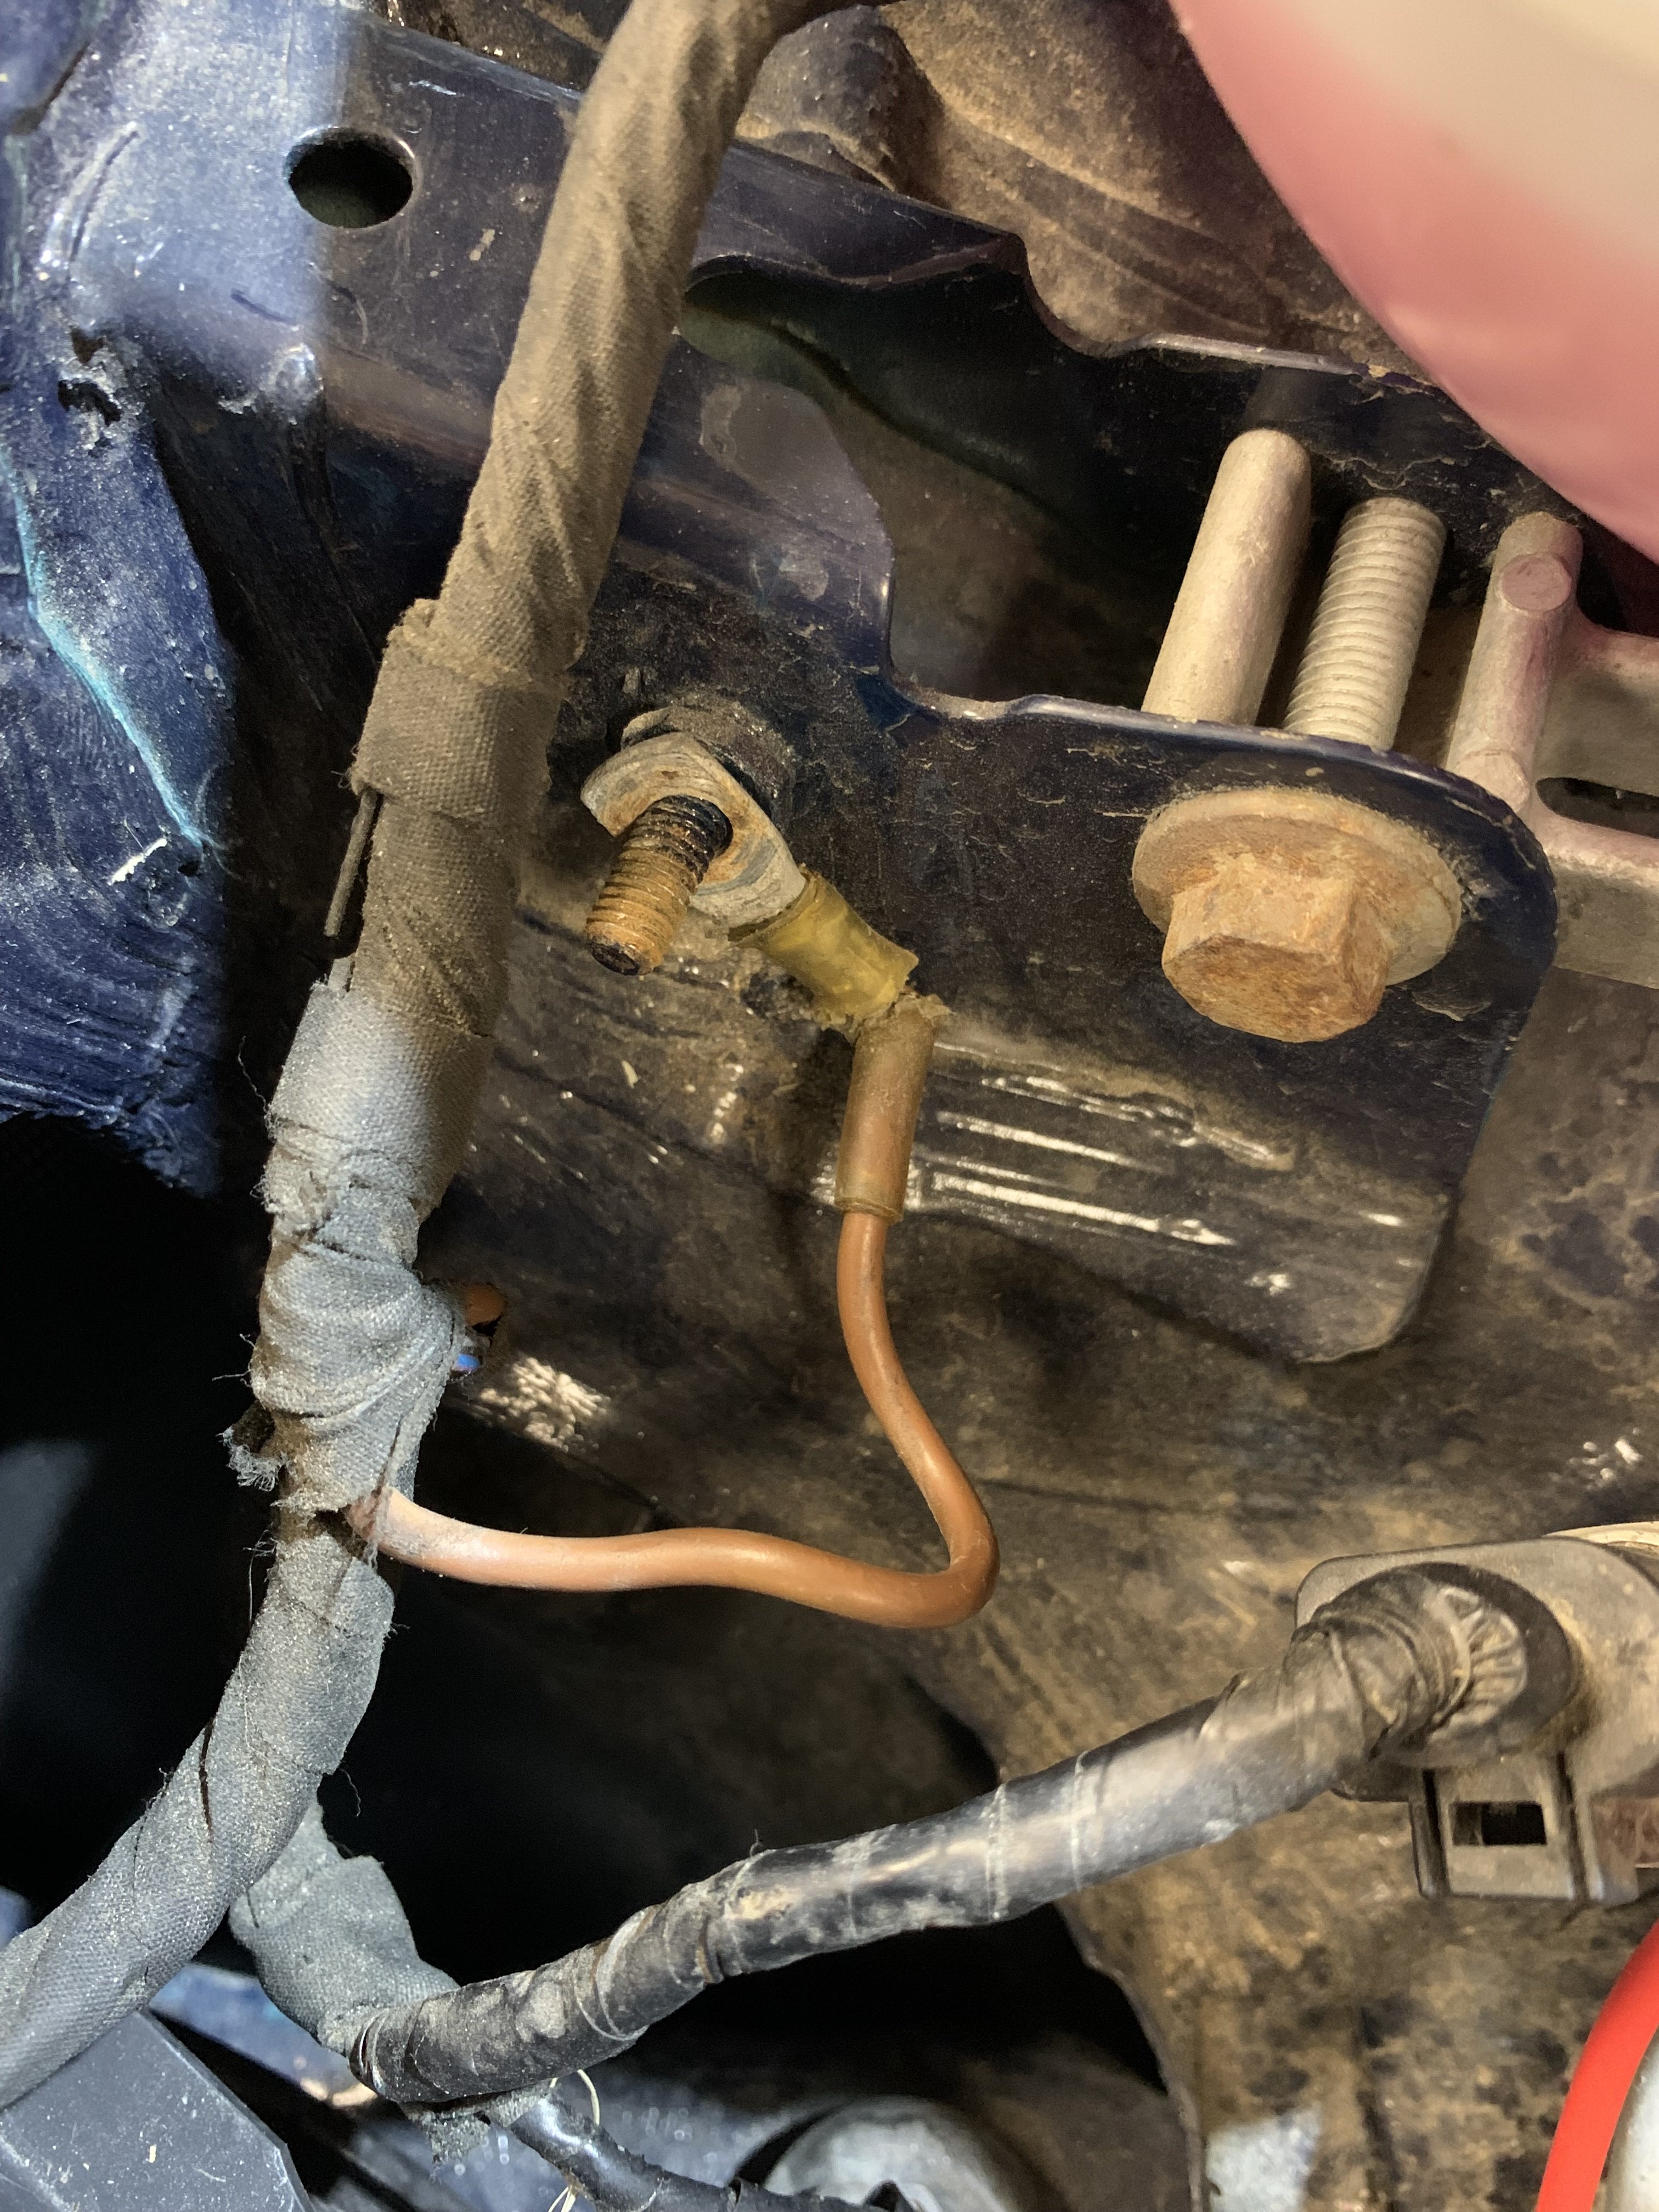
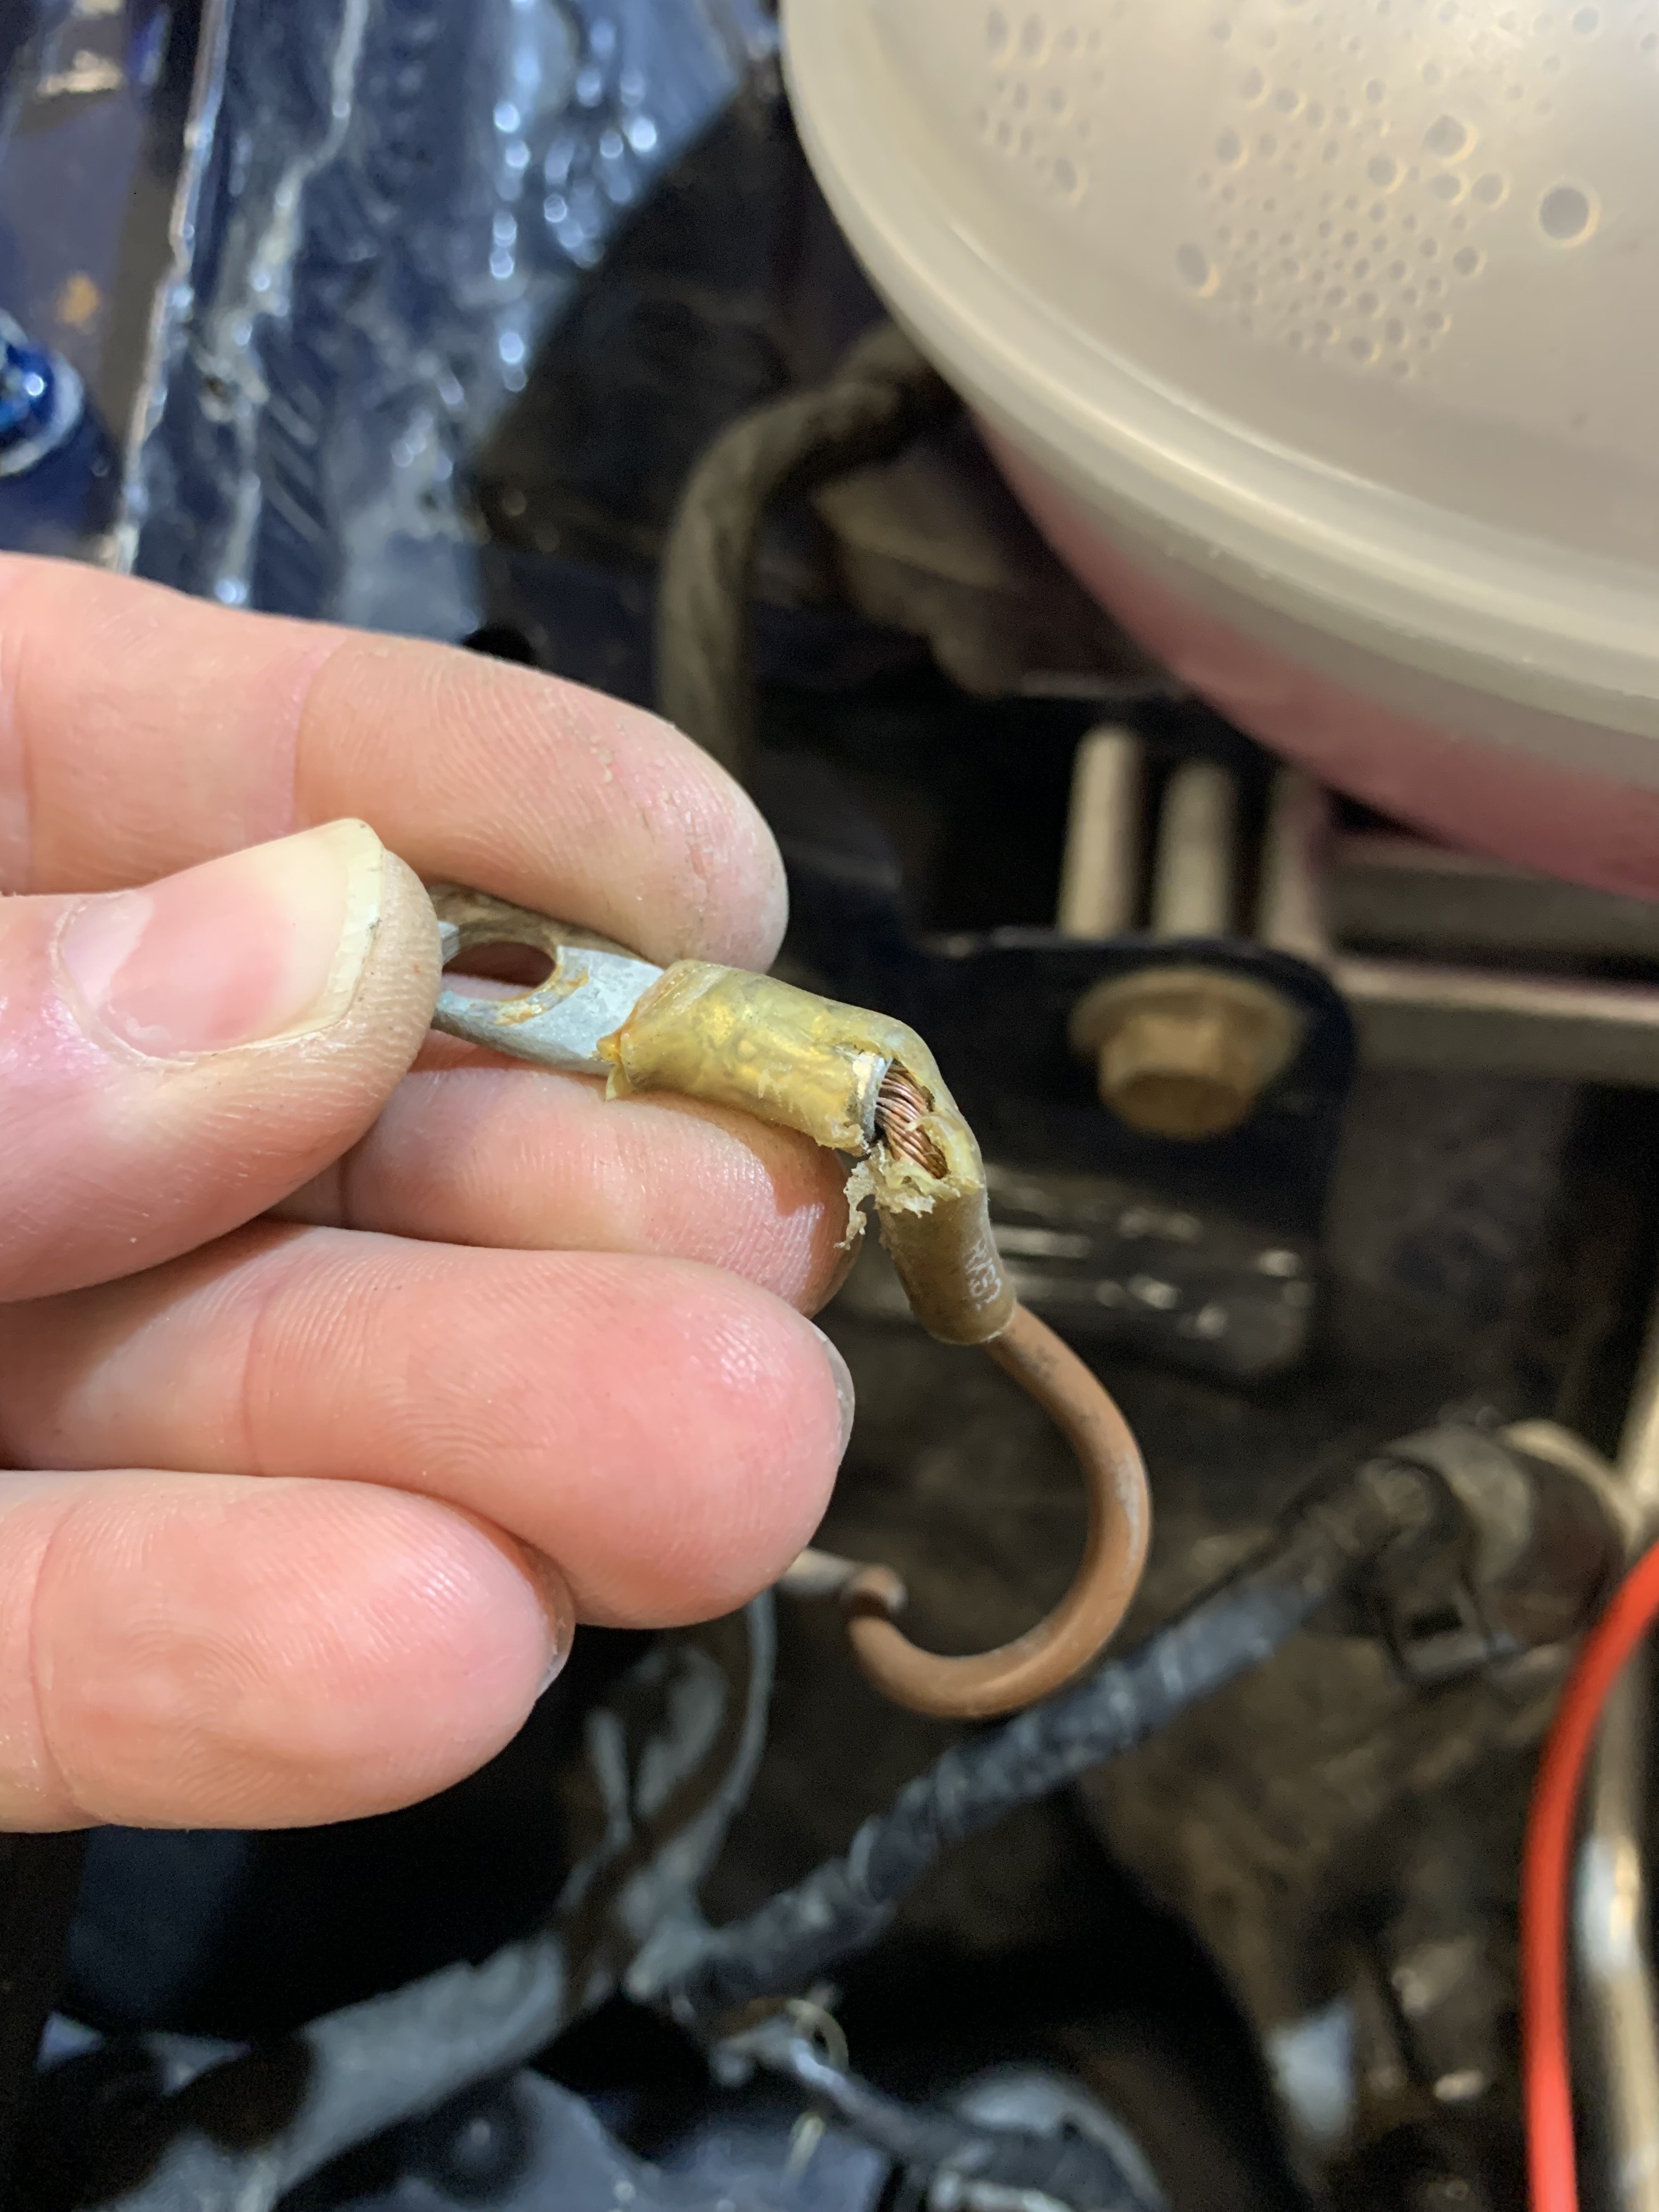
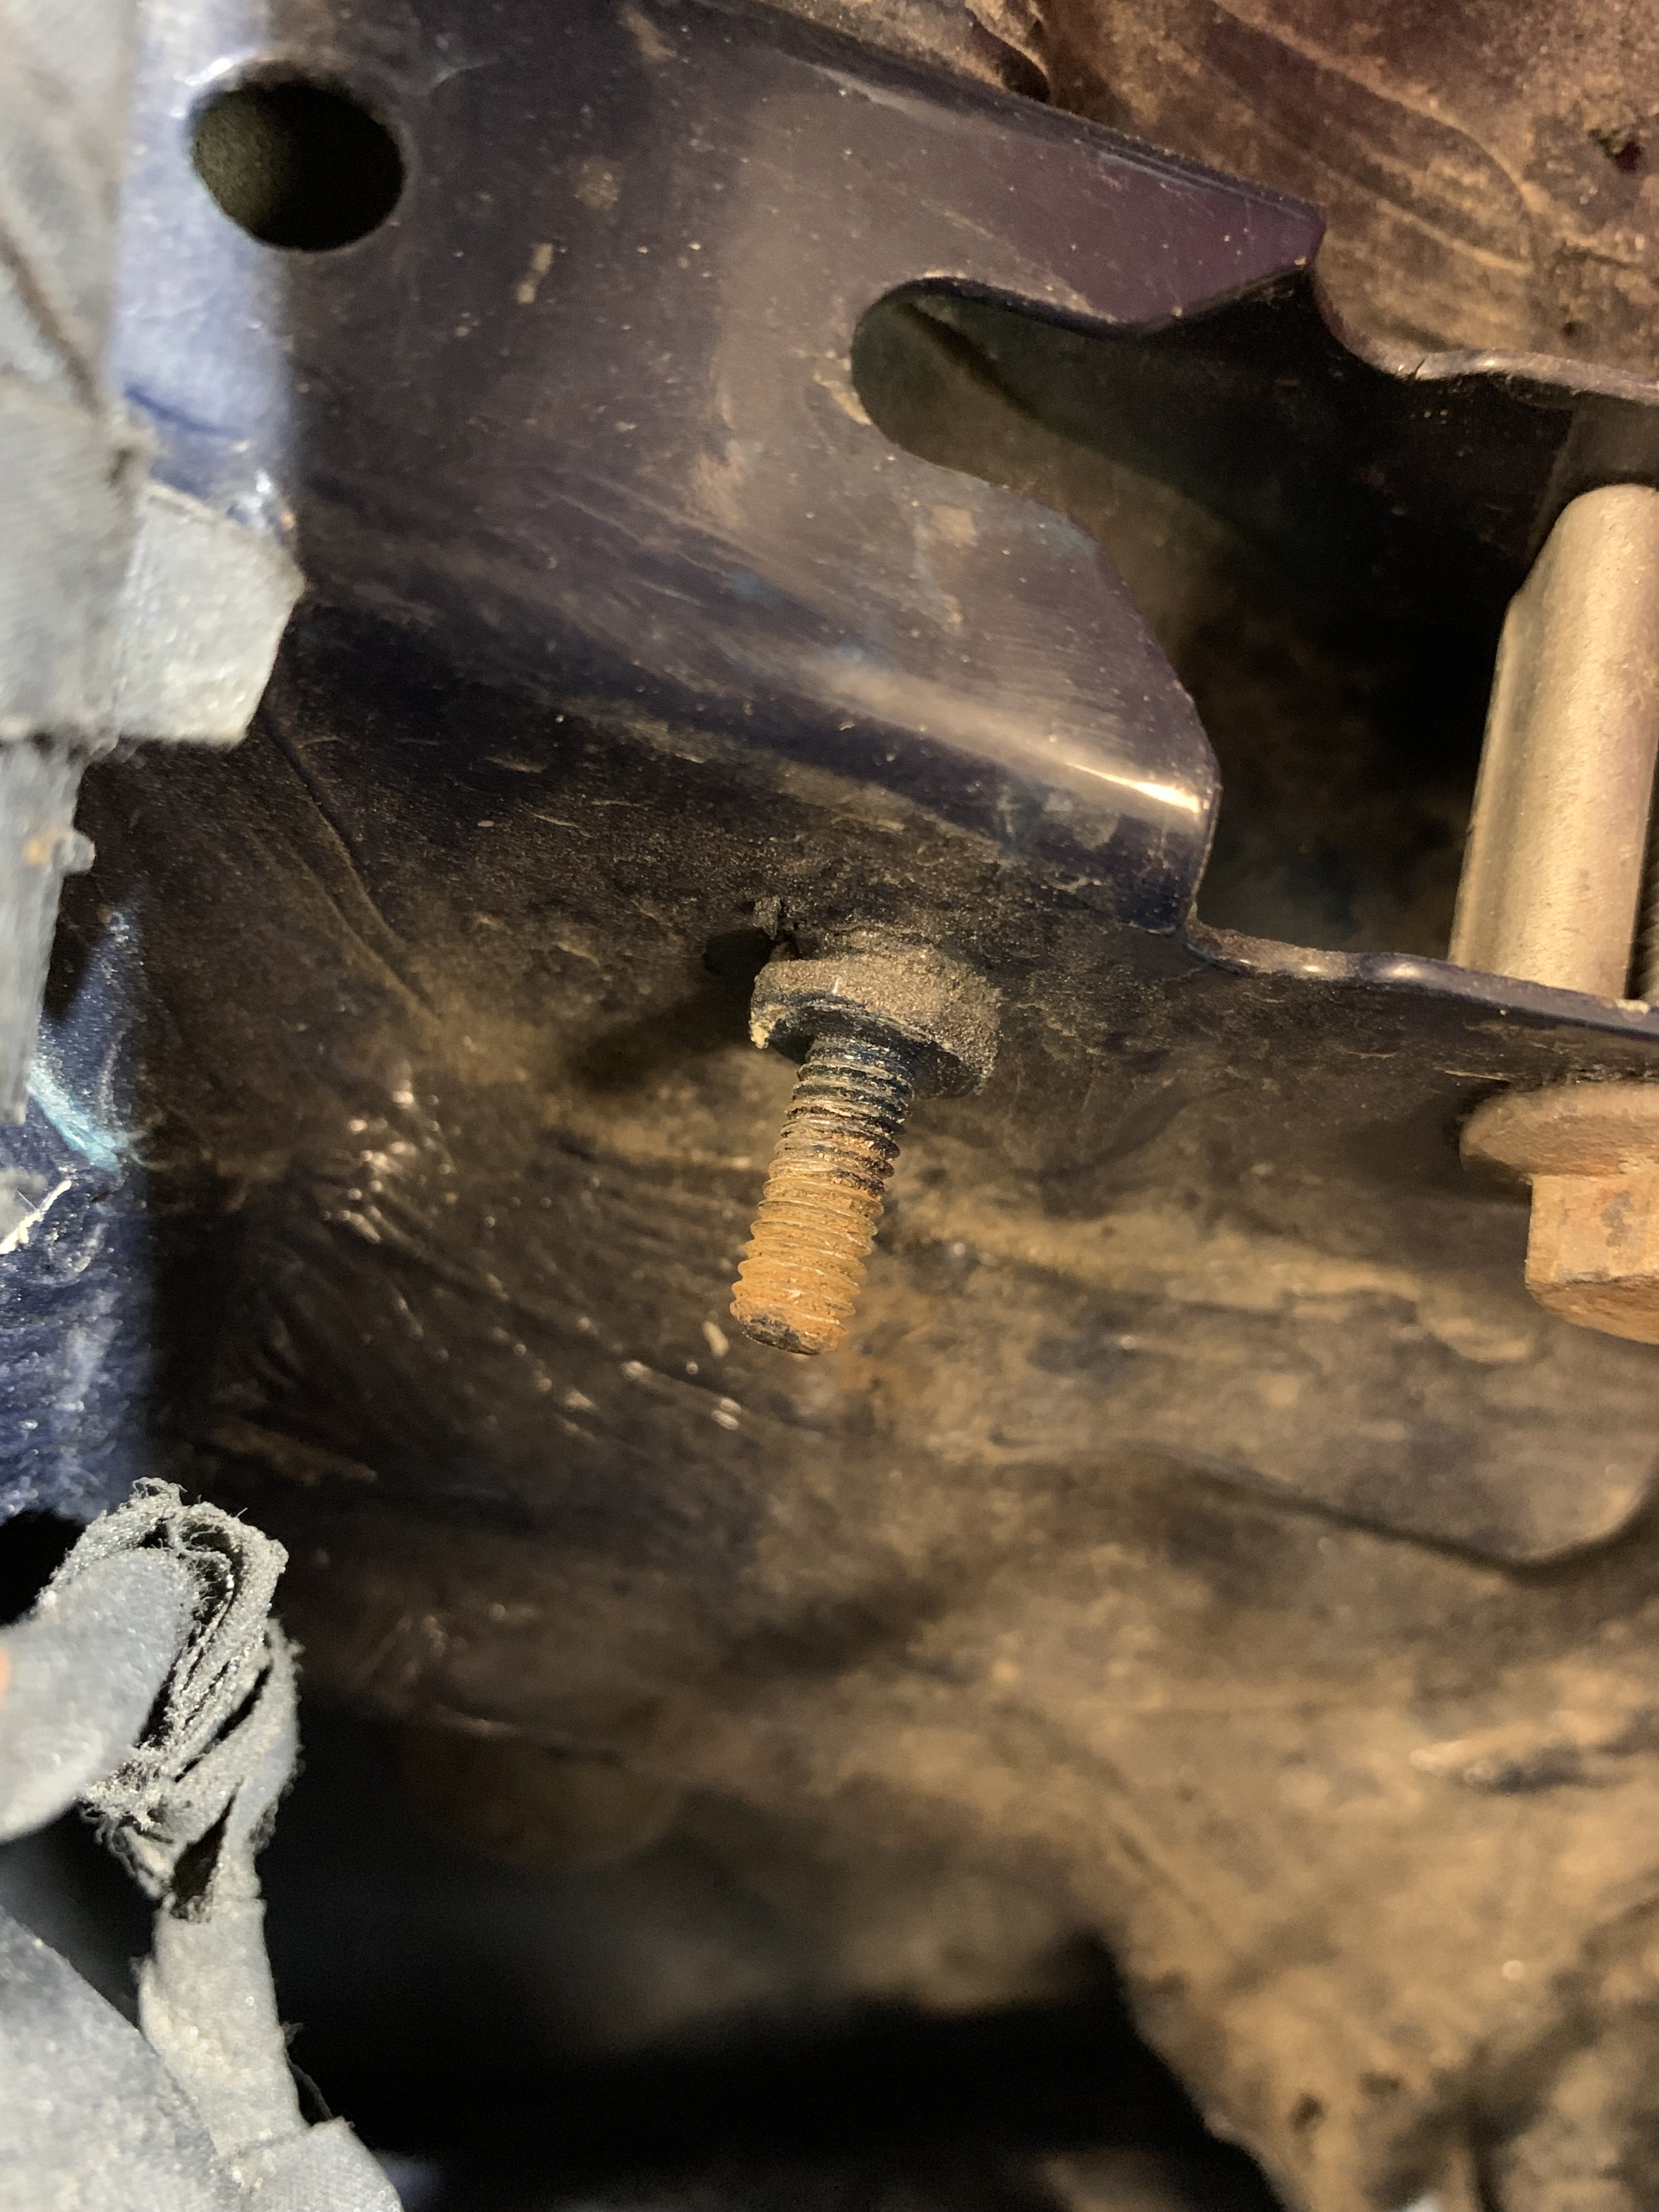
SOLVED!!! There was a bad ground connection of ABS module in engine bay. The bolt was rusty and painted. Also there was a plastic ring between the nut and the bolt and some damage to the ground cable. I removed the plastic ring, remove every rusty spots, gave a little twist to the cable so the remaining wires can connect better to each other and voila!!! My initial measurement on the ABS plug wasn’t proper. I didn’t check the ground of the plug (pin 13), just measured the power feeds with another ground point. My bad!!! I will post some pictures about the finding. Anywho, thanks for the input. I hope this case will help others too. Bye.
1 point
-
I'm just getting to like the vehicle and I want to take good care of it which is why I have come to the platform as I have been learning a lot on here since last year.1 point
-
Cambelt and water pump was replaced last in 2022. I bought the vehicle in 20231 point
-
Good road surfaces getting broken up is one thing. It does not take good eye sight to see that the repaired after repaired areas with potholes regularly there is commonly were where the road was dug up by various Utility Companies or by the contractors. Those are not just little business,s doing a crap job, the Local Authorities know who they are or should do.1 point
-
Just for info road pavement construction and lifetime calculations use MSA or million standard axles and the calcs generally ignore cars and LGVs. There are factors to apply in the calcs for them but they don't usually have much impact or make much difference as the axle weights are small compared to HGVs. Also that reference document re weights and dimensions is effectively superseded now as Longer Semi Trailers or LSTs are now allowed to be used on the road generally and not just as part of a long running trial. If I remember I'll dig out the technical note for the calcs tomorrow as it's on my laptop from some analysis I did for United Utilities and Lancashire County Council last year. I'm pretty certain it's CD 224.1 point
-
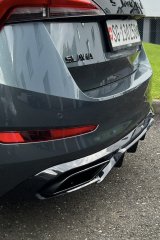
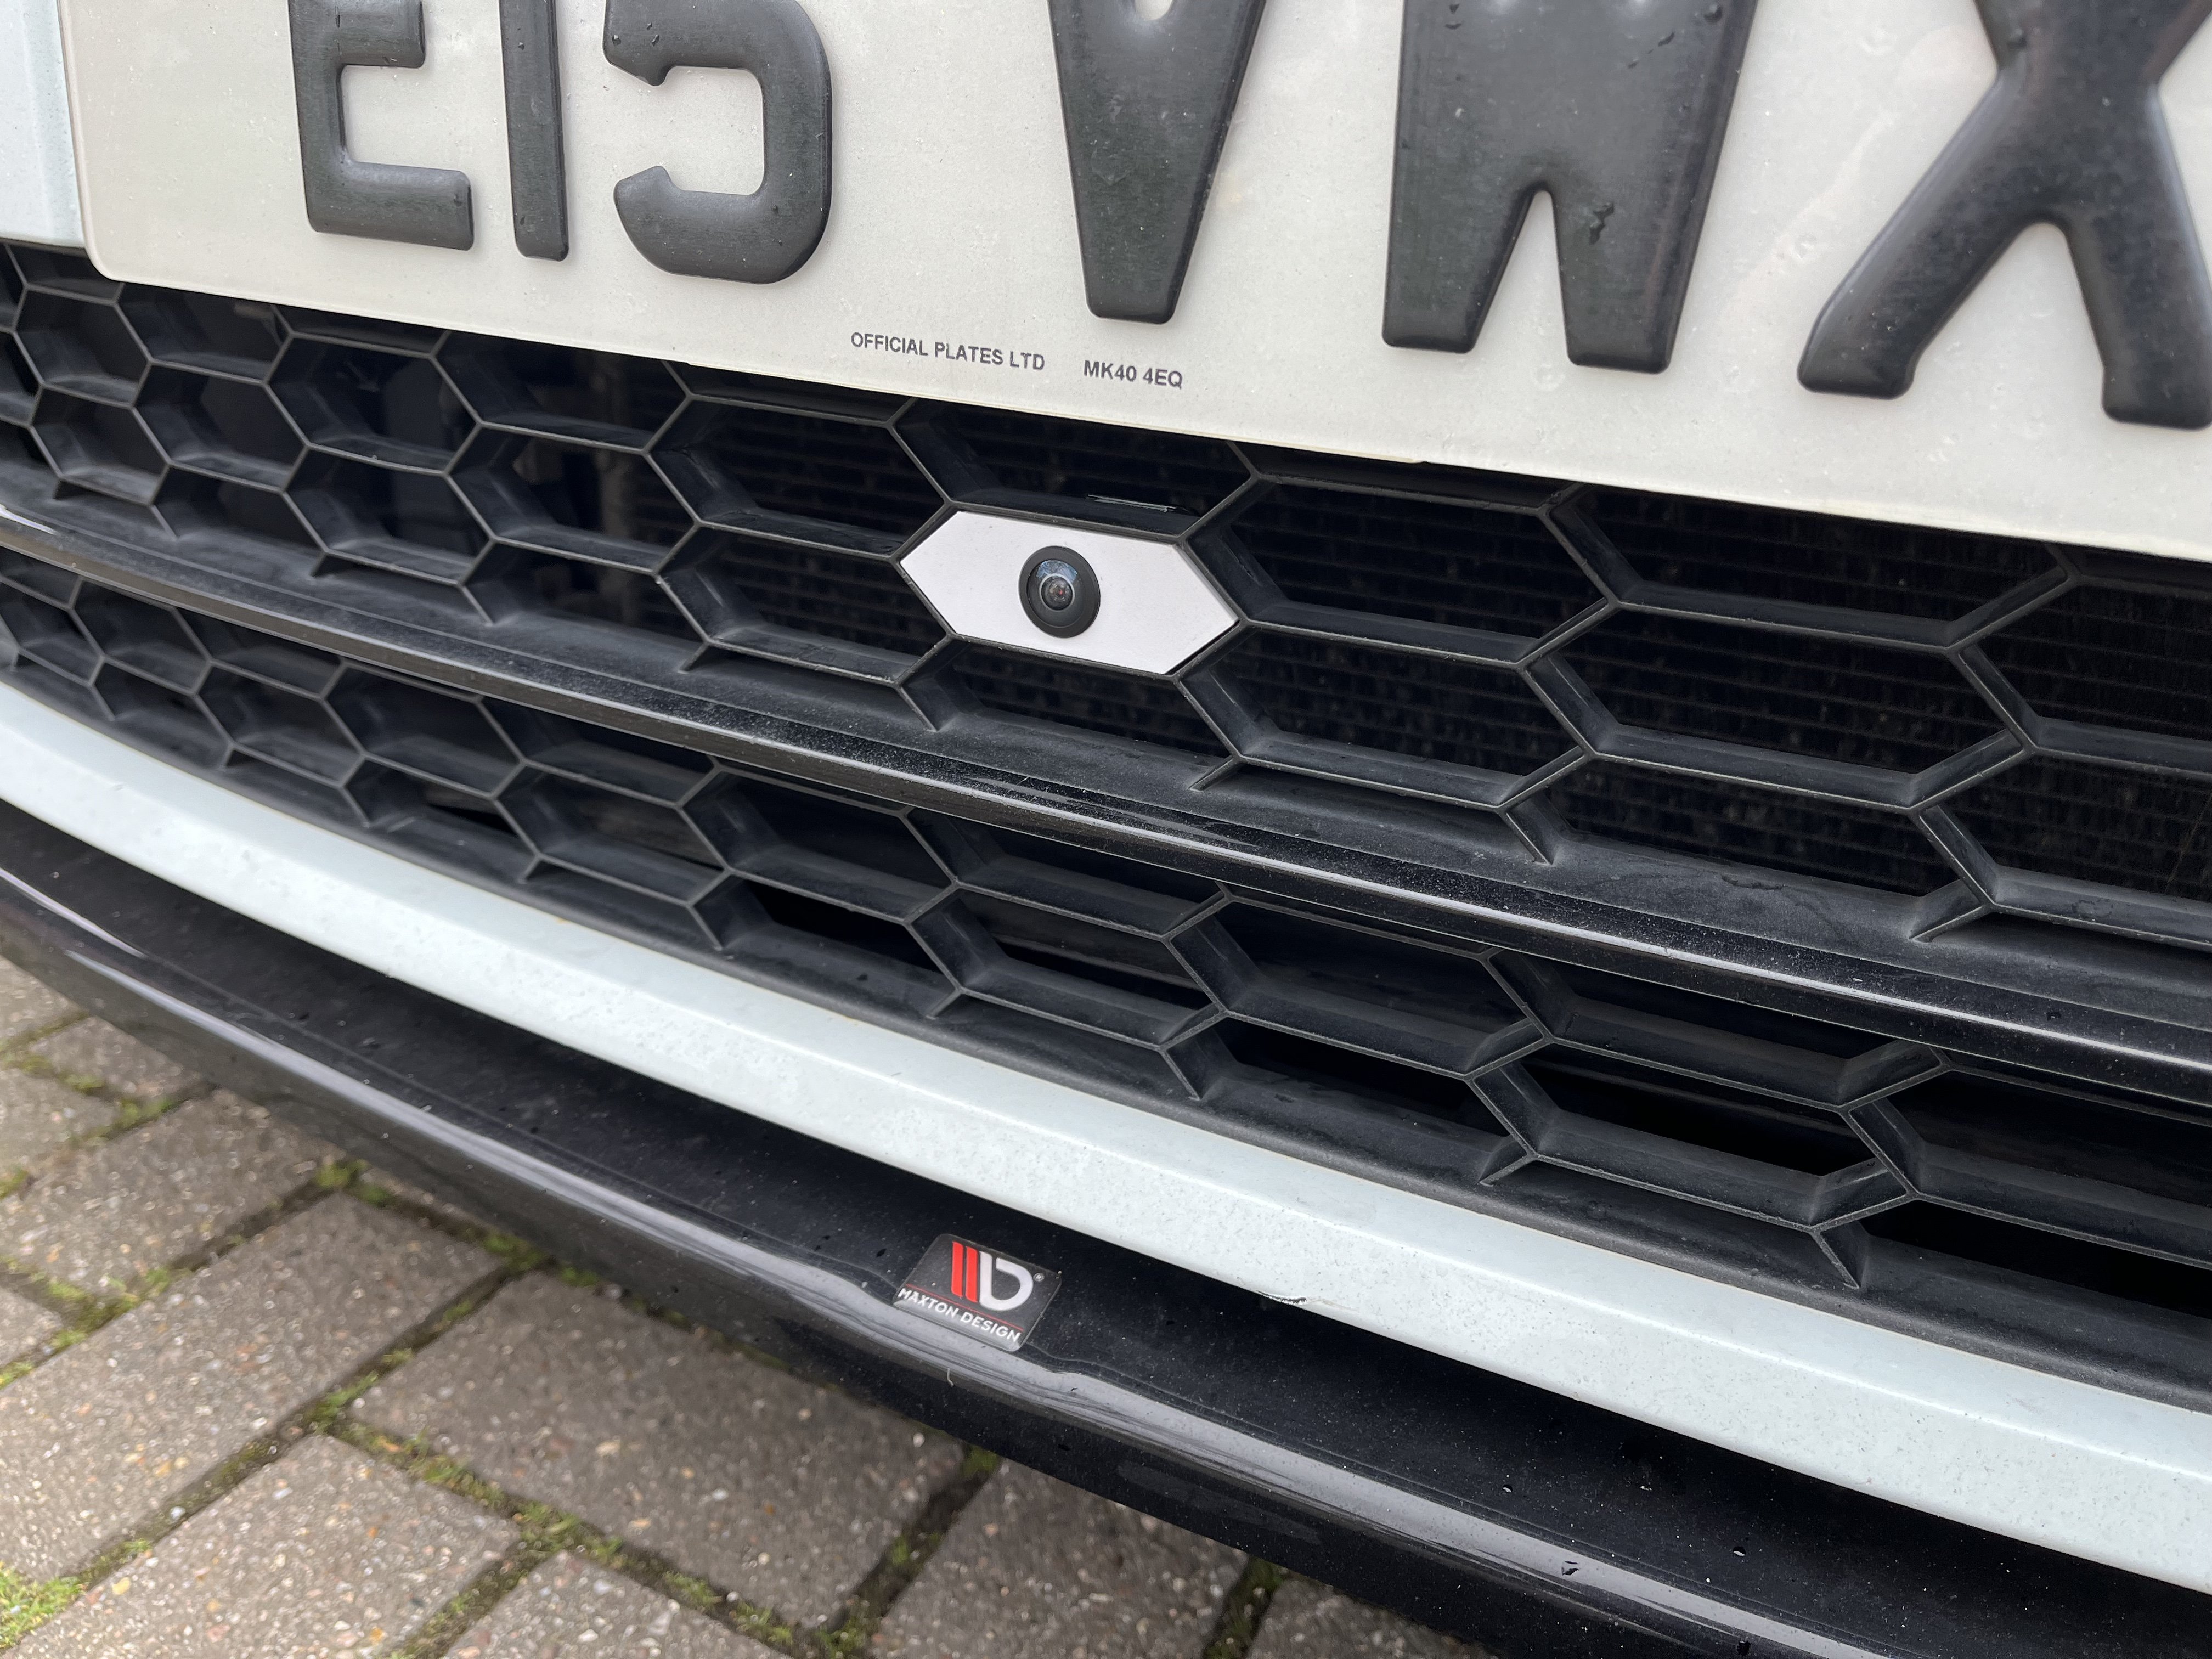
Its drying as we speak, hopefully satin black is okay to match the rest of the grill.1 point
-
I know nothing about science, but i do know that a cars coolant system has a pressurised system for the Coolant / antifreeze / anti corrosion liquid. This raises the temperature at which the liquid boils. When i ran V8,s on LPG i used Water Wetter, So when i ran remapped Twincharger TSI,s i did the same.
1 point
-
That's all very well as far as it goes, but I've seen claims that road damage increases as the fourth power of axle weight from as long ago as the 1970s. I don't think you can blame the Daily Heil's present anti-EV agenda for those!1 point
-
Non Dom Jonathan Hermsworth, 4th Viscount Rothermere, his family and those that own and run his Media Empire probably walk, cycle or just drive around in small city cars or use public transport.1 point
-
Cheers. Will show the better half later as it's a car she was keen on.1 point
-
Bonus points for anyone that can work out what im up to here....
1 point
-
If the roads were maintained better and the contractors and authorities were to exercise better control over the quality of the materials used, then the potholes more than likely would not have appeared in the first instance.1 point
-
This is almost an unicorn part 😞 Still have no luck in getting one.1 point
-
I'm not sure it makes a lot of difference. Yes, they may shut down transmission but there's now a motion detection circuit which is live all the time! Certainly both my 2021 Kessy fobs (with CR2032s) needed batteries changing just before 2 yrs.1 point
-
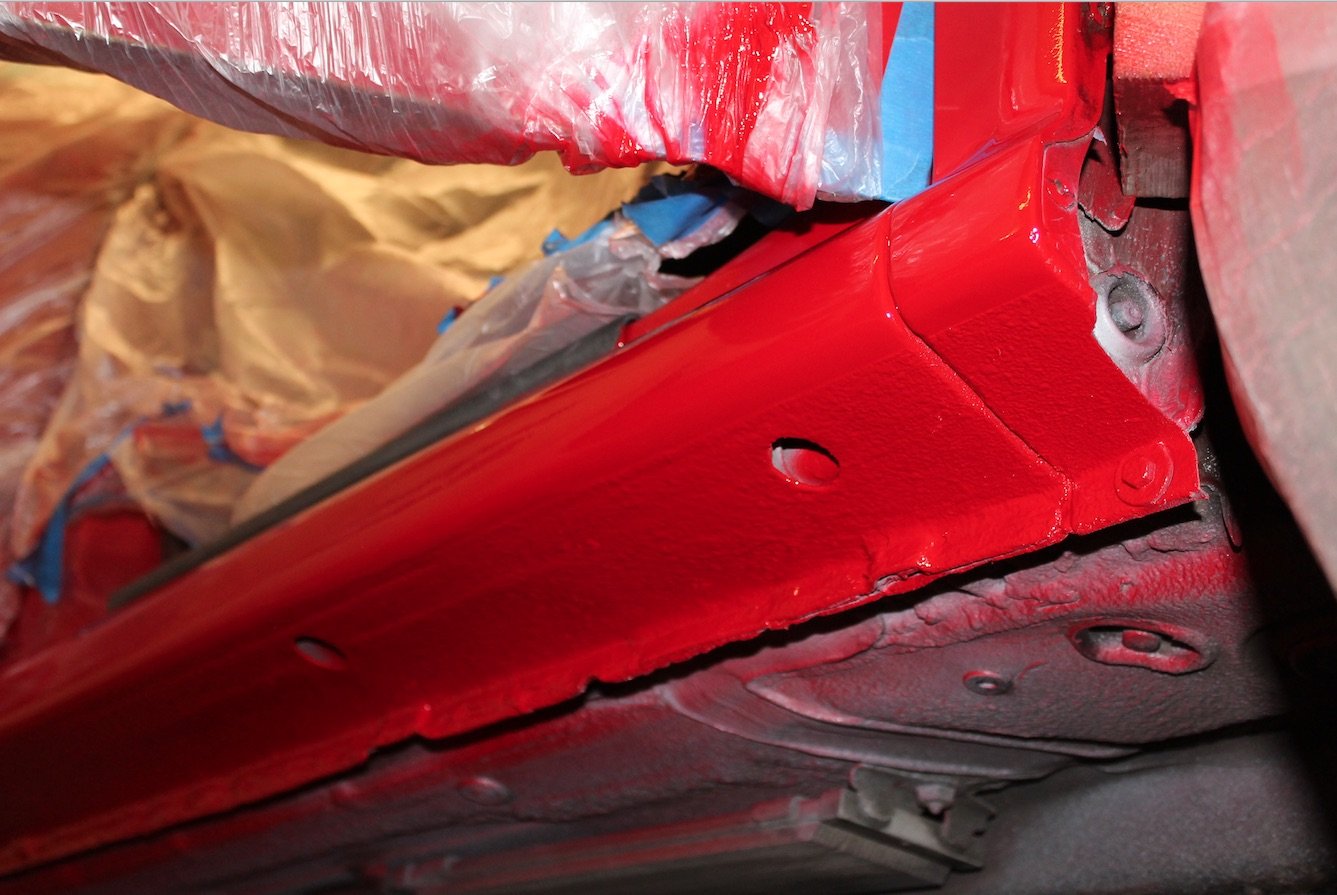
I'm not sure if you can get replacement sills but if yours is like mine was I couldn't justify a panel for the amount I was putting in. Shifting all that factory rubber stonechip was a messy mission, clouds of burnt rubber! Still, it was OK once done. A lot less rusty than an E46 coupe... 😕
1 point
-
Yes thanks for the thoughts exactly what I thought Thanks very much1 point
-
It is the case that hold a folding warning triangle. No idea if empty or not.1 point
-
It's astonishing some of the rises in standing charge, over 60p. Luckily, in greater London or south east is still at 40-odd pence. I agree cost of infrastructure upgrades should be built into per-kWh of electricity, not standing charge. Down here should be a noticeably more expensive than where renewables are located, up there. This makes so much sense. Why let the work van parked not doing anything? When it could be charging or even assisting the grid. Need to start thinking with the mentality that parked cars = wasted resource; plugged in cars = useful resource.1 point
-
London might have 8.3 million people or whatever, but charging BEV,s / PHEV,s need not be all about London. The Green Cabinets are being trialled in Scotland and if the BT / Open Reach vans can charge at then and not hog ones the General Public need then good. http://bbc.co.uk/news/technology-67873890 ........... So today we are told that the National Grid needs £58 Billion spending on the Transmission of Renewables. The Cables from the North to the South and the pylons where the Pylons are required. Obviously much objection from some in England that there needs to be big pylons to get the electricity to them. Stuff the fact the big pylons are running from Aberdeenshire south to get the electricity to England when it is going overland. IMO Get them up where ever needed, and have the end user 100,s of miles away pay the cost of transmission not everyone including those that do not even use the electricity from that source. http://bbc.co.uk/news/business-68601354
1 point
-
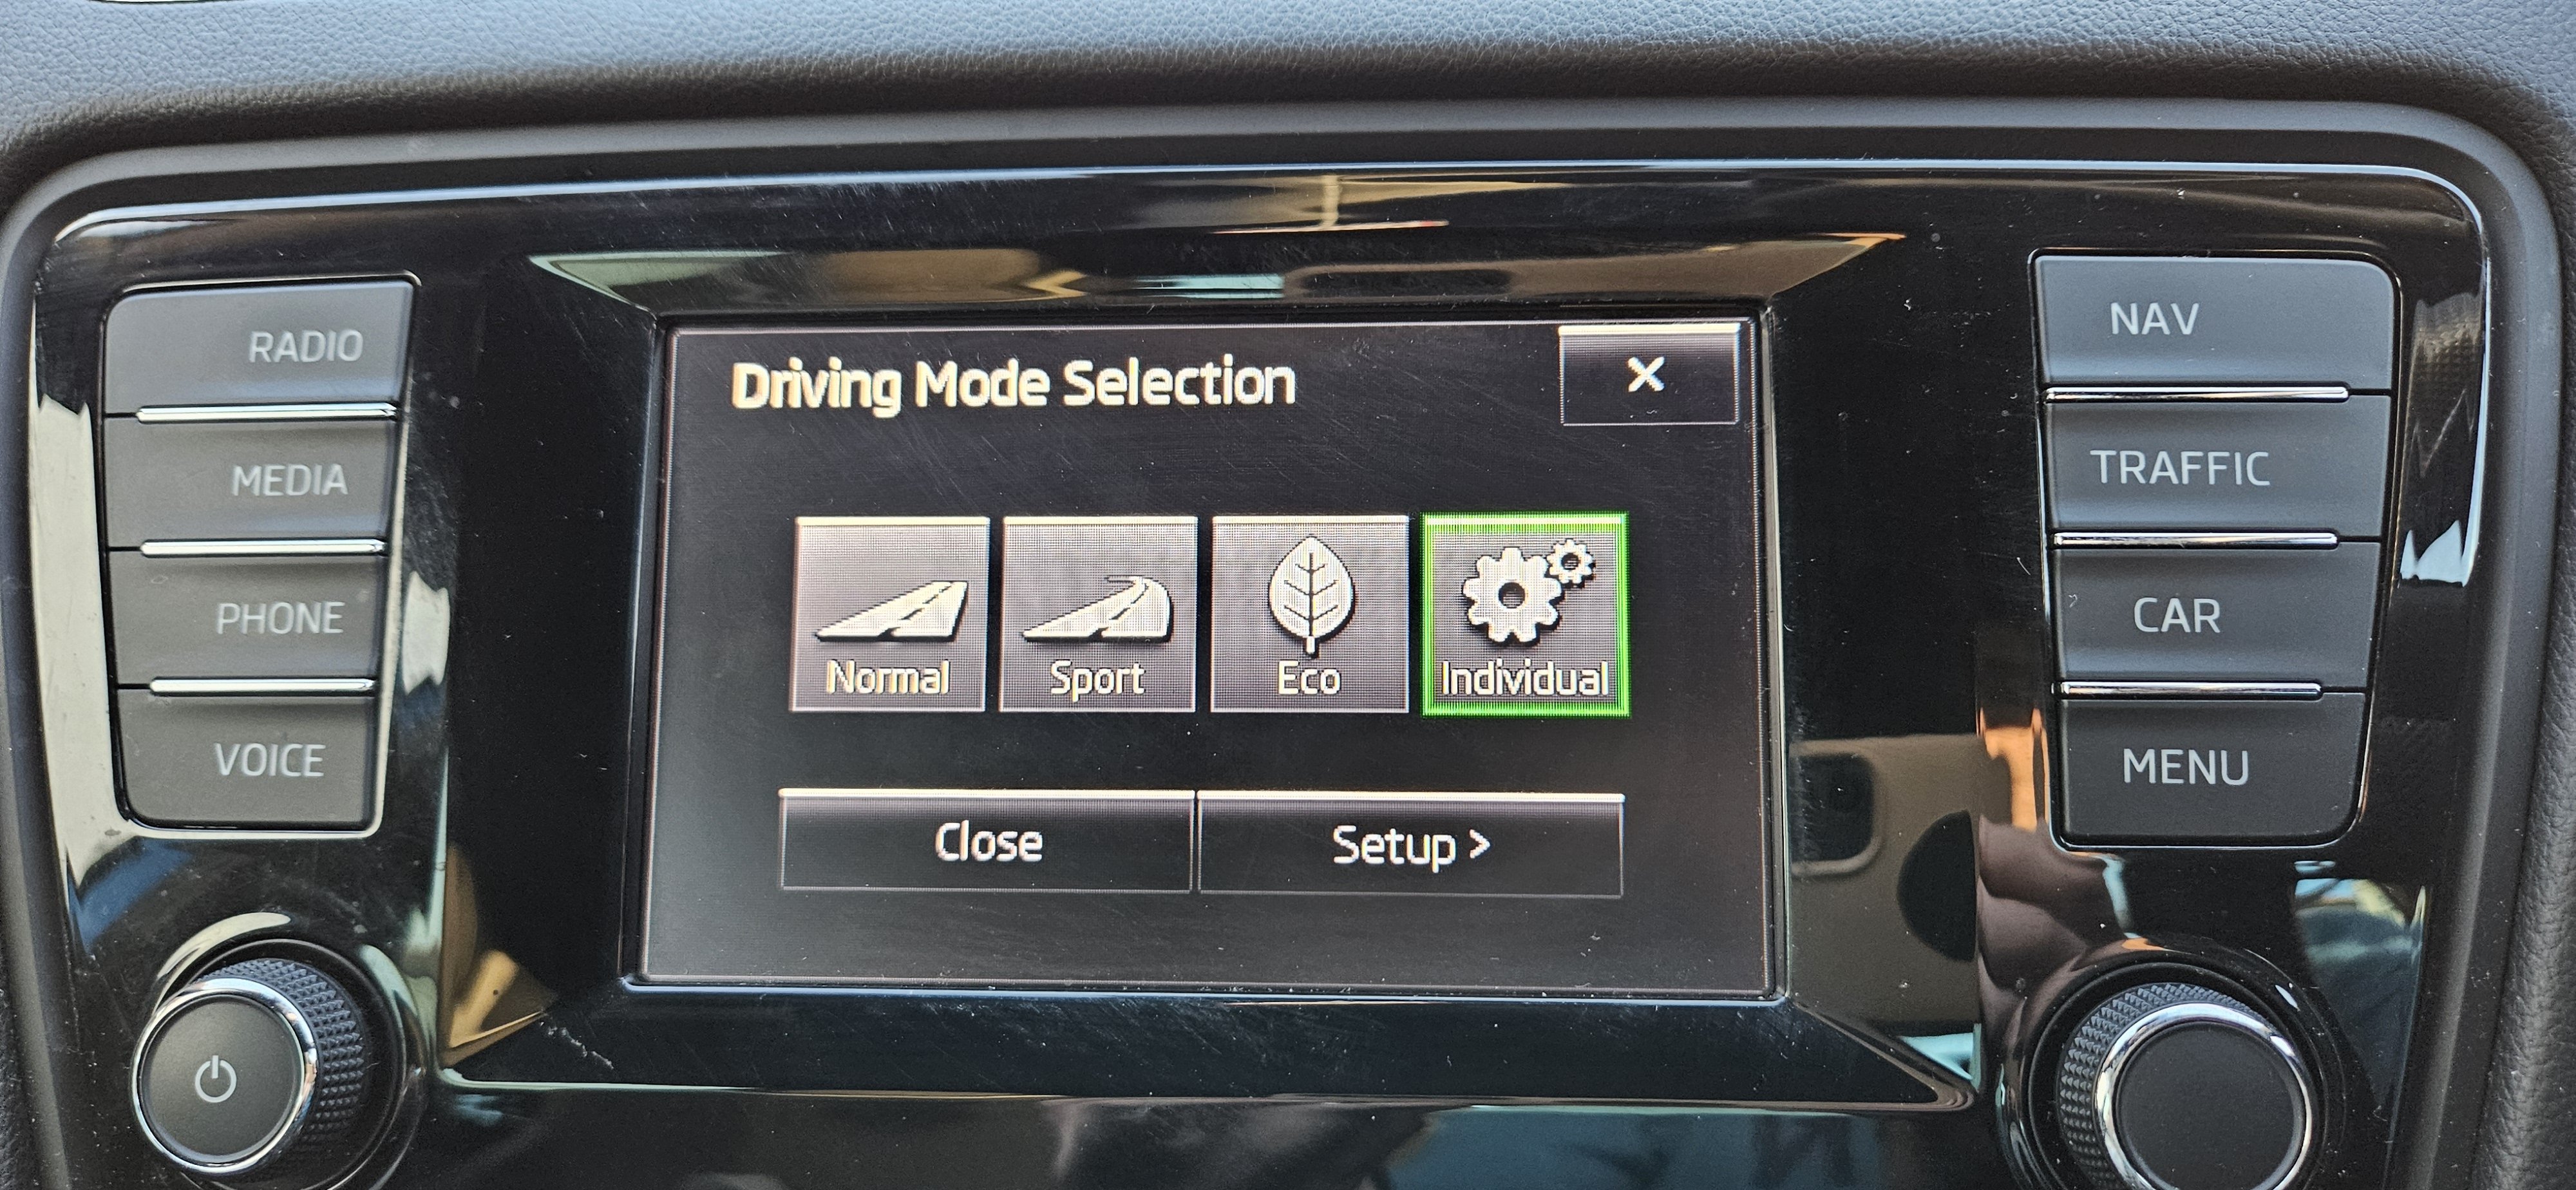
Re PS/BHP/kW & Nm. You are paying for what you get and the Max PS/BHP/kW & Nm in the UK is not the max, it is the Minimum you should get. You are not going above 3,000 ft above sea level in the UK, Ambient temps not more than 40*oC and not colder than -30*oC & the fuel is as it should be Petrol e5 or e10 or diesel. (Not true with BEV,s though as if the Temperature / Battery is cold in ambient temps only as low as -5*oC then power can be reduced until the battery is up to a good temp.) As to official VW Group Figures, 0-60 or 0-62 mph, top speed etc. They often lie. A VW or Audi with the same engine, gearbox as a SEAT or Skoda and the same power can be shown as better performing. They do not like CHEAPER cars looking as better performing. (EDIT> Even if the VW or Audi is heavier than the Skoda / Seat. But then the Kerb Weights can also be 'fiction' if you actually weigh the cars.) This was true in late 2015 into 2016 after the Defeat Device Scandal and Euro 5 emissions. Euro 6 Petrol & Diesels were retested / investigated and VW, SEAT & Audi had ERRORS in their Test Results at their favoured facilities. Fuddle not fiddle. Deliveries were suspended, cars withdrawn and even bought back. Now Test Results were then given for some. They are little liars quite often. If the cheapest Skoda is lighter than the estate, and the Polo, Seat (and the Audi A1 5 door sister car even though it is 136 kW & not only 132 kW) which cost quite a bit more and would be a lower or the same VED class than add 'Success Ballast'. Design, Manufacture & Test adding extra weights and stick them only on the Skoda. Others are making cars lighter, VW tell Skoda, MAKE IT HEAVIER AND GO LIGHT UNDER ACCELERATION. Do not just fit the correct rear springs. Vorsprung Durch Technik.
1 point
-
Yes, there are threads with photos and descriptions of process. Most mk2 Fabias and Roomsters currently on the road will have at least one broken, or repaired door loom wire, I expect.1 point
-
First thing will always be check for: power at the module plug a good ground that is load tested not just resistance check then look for your voltages on the canbus wires If all of this tests okay, then you are looking at a failed ABS module.1 point
-
Are you sure that is correct? the 2ltr has 150 kw output which is equivalent to 204 bhp according to the Audi website1 point
-
I have to go down this road myself so this tread is invaluable to me ! I have it on both sills along with the back quarters where the back bumper meets 😐1 point
-
I've spotted this post: So the diagrams I've seen thus far have a rectangular cover which slots just over the Bowden cable mechanism that is installed in the seat, rather than this slightly larger version which appears to cover the hinge as well... Did some additional swotting on lllparts and found https://www.lllparts.co.uk/product/3G0886295B and https://www.lllparts.co.uk/product/3G0886296B which is different from what I ordered. Decided to order those from Skoda parts, as it looks like it covers the lower corner, which might be useful if I'm a bit more cack handed than I'd like when I start butchering the seat foam and upholstery of the seat cover. I think I've managed to get the red wire for the wireless charger into the requisite slot in the fuse box, so I'll need to actually procure some fuses! More luck than skill though as it's still relatively blind as it's at an awkward angle. The workshop manual suggests that the BCM is lowered down, but firstly the plugs themselves need removing. It's all quite tight down there, so not sure if it's just a case of persevering with my hopefully small enough fingers, or if there's a smarter way to get at them.1 point
-
which is very nice and of course will cause no arguments when you get home and someone else is parked in " your spot" even though you have no legal right to automatically park on the road outside your own home but its still "your spot" ;o)1 point
-
Yes, the same. Buy cheap ELM 327 OBD dongle and install VAG DPF app to phone.1 point
-
@Poremetej I checked the operation of the high beams in my Octavia - with lights switched to auto mode, the first push forward of the stalk sets the system to auto HB if lighting conditions permit (with a small white icon displayed in the instrument cluster) The second press forward switches to HB with the blue icon displayed. The white icon is pretty easy to miss - I've never noticed it before.1 point
-
When I had gremlins (random things not working), it all went away with a new battery. My car is 2018 and I replaced the battery last year.1 point
-
There is an option to switch, but it is not convenient. When one of the two phones is connected, press the menu button and select phone. Then press settings and something similar to "connected phones". In this menu, you see the connected phone via AA or CarPlay. Press one time the connected phone and it will disconnect AA or CarPlay. After that, press menu again, go to Smartlink and select the device you wish to connect. Like I said, not very convenient, but as far as I know the only option without disabling wifi/bluetooth on the connected phone.1 point
-
Well I did have VCDS so I could monitor the oil temperature, but it was a struggle to get it up to 35C (it was fairly cold in the garage). I think in the end it just about hit 35, but it wasn't going to go any higher. So for you, I would suggest the times mentioned above are adequate to get close enough to the right temperature - assuming the ambient temperature is within reason. There is after all a 10C tolerance allowed, so it can't be that critical. And then as you say, remove the plug and let the oil drain out until it stops. Be aware that there is a process going on in the gearbox such that you will get oil spilling out every 30 secs or so, but this is to be disregarded. The manual says this: A small amount of oil comes out of the overflow pipe every 30 seconds, regardless of the oil level. This is caused by pulsation in the cooling oil for the coupling. Such escaping oil does not indicated whether the gear oil level is adequate, so it must not be taken into account when determining the oil level.1 point
-
Press the Car button on the infotainment a few times - it will eventually say why stop/start isn't activating. Mine sometimes says "power consumption too high" which I presume to mean it's busy charging the battery/heating my backside/doing something electrical. It may also say that the engine needs to be on because of the aircon (to stop it misting up on damp days). If you've only been doing short runs then the battery may also be low on charge as @freelunch says. I charge mine over the weekend every few weeks with a Ctek smart charger and that seems to avoid issues once the car is up to temperature (ie. water temp. gauge on 90 in my case).1 point
-
Consider yourself lucky.. In sweden DSG service costs around £300-350.. Thanks for the thread TS! Doing my oil change today so it will be very helpful.1 point


.jpg.8a3ed183a486ac72406750281a1e222a.jpg.35c70b79cd6cb913326c422ff102ab1c.jpg.aa96efc564dffa67ed68532479a0ca31.jpg)


Announcements
-
About BRISKODA
BRISKODA is for the sharing of information on ŠKODA. Founded for all motoring enthusiasts, it's free to join and use. We have members from all over the world.
- Our Guidelines.
- Search the Site.
- Explore the Forums.
- Gaze into the Gallery.
- Make a date, the Calendar.
- Classic, custom or modified car insurance!
- Please be respectful when posting.
-
Images